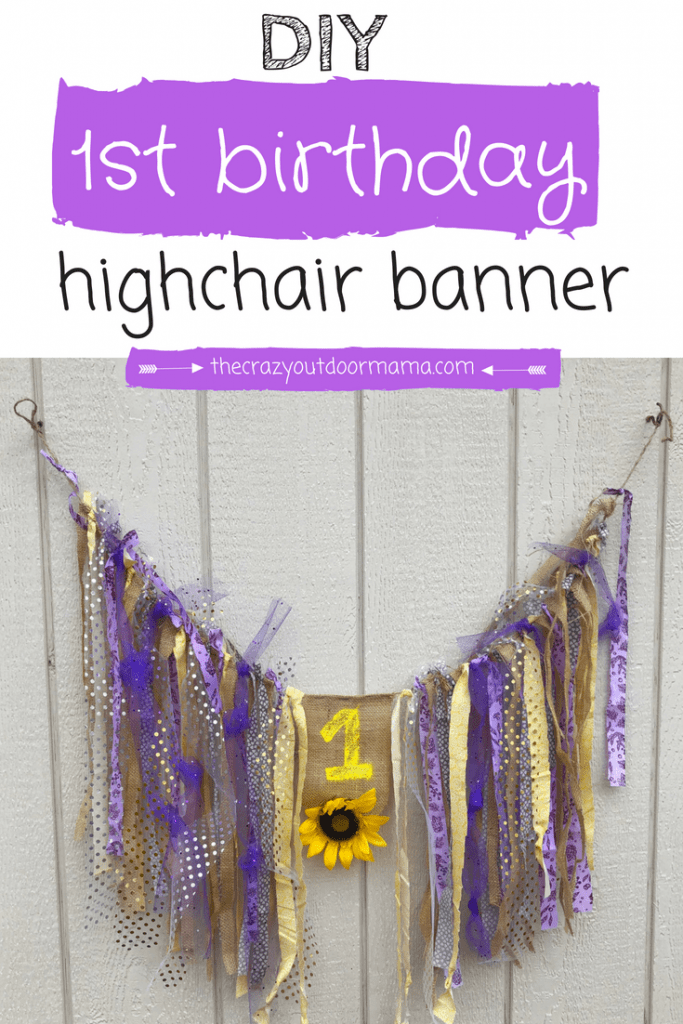
DIY Easy Highchair Banner for your Baby Girl’s First Birthday!
This DIY Highchair Banner is just the handmade touch you need for your baby’s 1st birthday!
With my twins first birthday party coming up, I was full of all the emotions! These are our last babies, and I really wanted to go big!
For me, this meant doing everything DIY – or as much as possible! (Definitely still bought plates and silverware at Sam’s Club!)
IF you DON’T have time to DIY, but love the look, check this out

I know not everyone has time to DIY, so I wanted to find something REALLY similar to my highchair banner. I found this one and it is ADORABLE! Maybe you looked on Pinterest last mintue for inspiration and then became overwhelmed, or maybe you just prefer to pick your battles when it comes to birthdays! Either way, check out this super cute girls’ first birthday highchair banner!
We live in Jackson, WY, which is full of mountain beauty, log homes, and wild!
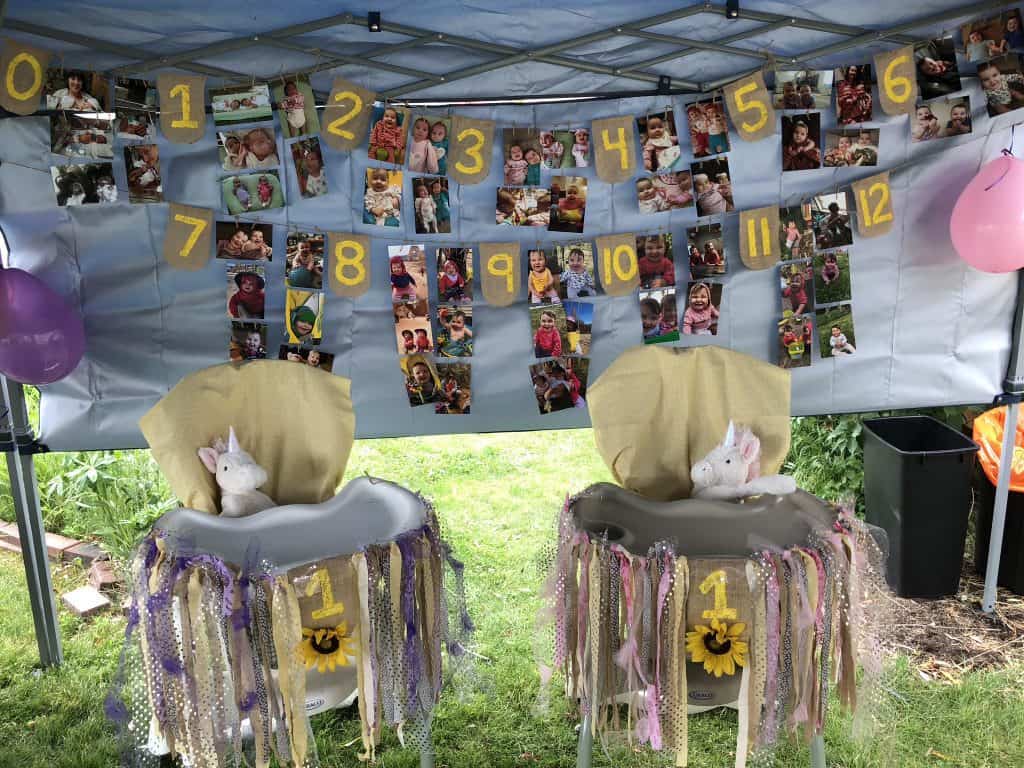
This is what inspired me to create a rustic (but cute!) highchair banner for each of my twin girls!
Not only that, but I was SO looking forward to having little girls, just so that I could incorporate sunflowers into their birthday theme!
P.S. Here is the “Happy 1st Birthday” burlap banner I made here for my twins!
I absolutely love sunflowers, and it’s likely you’ll see some sunflower inspired crafts around here as time goes on!
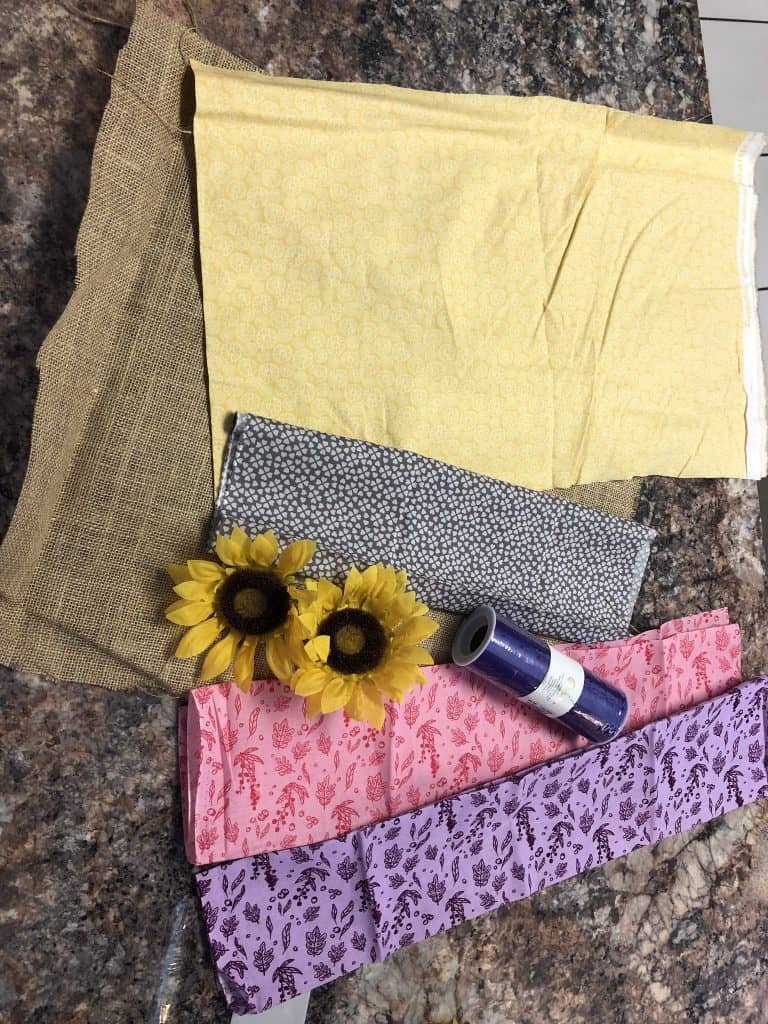
What you need to make this rustic burlap and fabric highchair banner
- 1 Base material – I used burlap, but if you have a different texture you like you could use that instead. Burlap was only 4 dollars a yard at Walmart, so it helped to keep this project cheap!
- 2 Small Pieces of Colored Fabric – I liked colors that looked nice together, so for my twins party, one twin had pink and yellow, and the other had purple and yellow! You really don’t need much – I bought mine from the remnants area of the fabric store!
- 2 Rolls of Decorative Ribbon – Sparkles! Just kidding, pick what you want! But if you’re doing a girl’s first birthday party, sparkles really do help it feel festive!
- Roll of twine – You don’t need hemp or anything special! My roll was 4 dollars at Wal Mart
- Stapler – You can hot glue this, but I found it really helpful to be able to move the burlap pieces around as needed. It also makes it look more natural if you tie most of it on as opposed to gluing it in place!
- Things to make your “1” banner piece – I used paint, but you could use a print out or spray paint!
How to make your cute highchair decor!
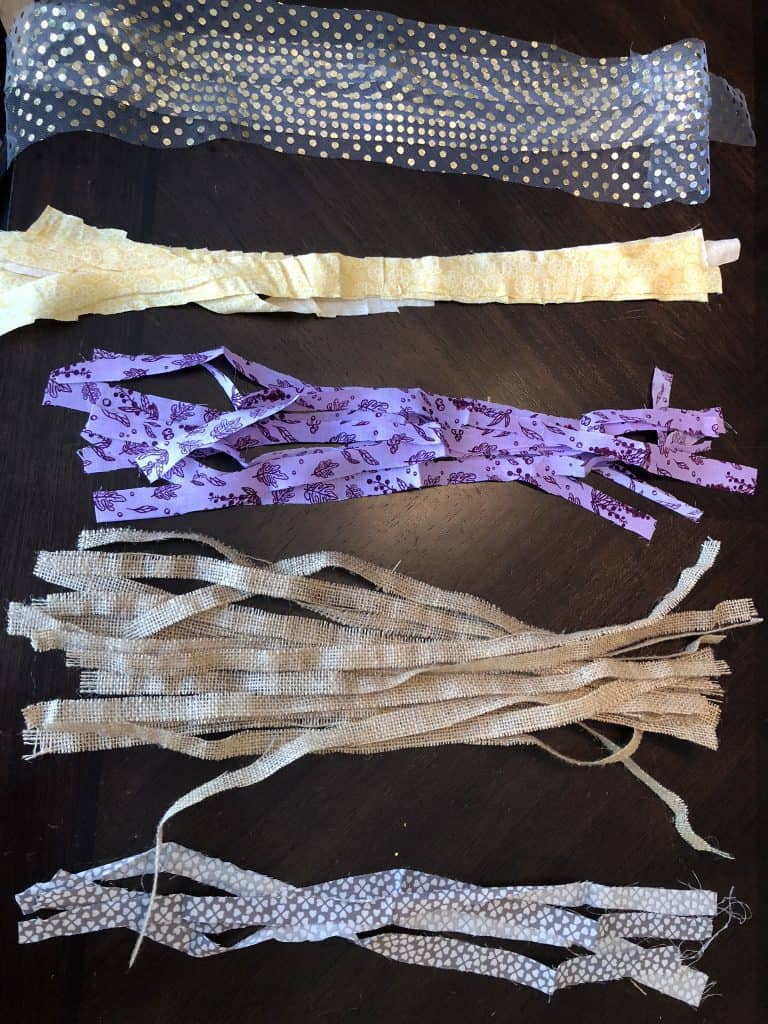
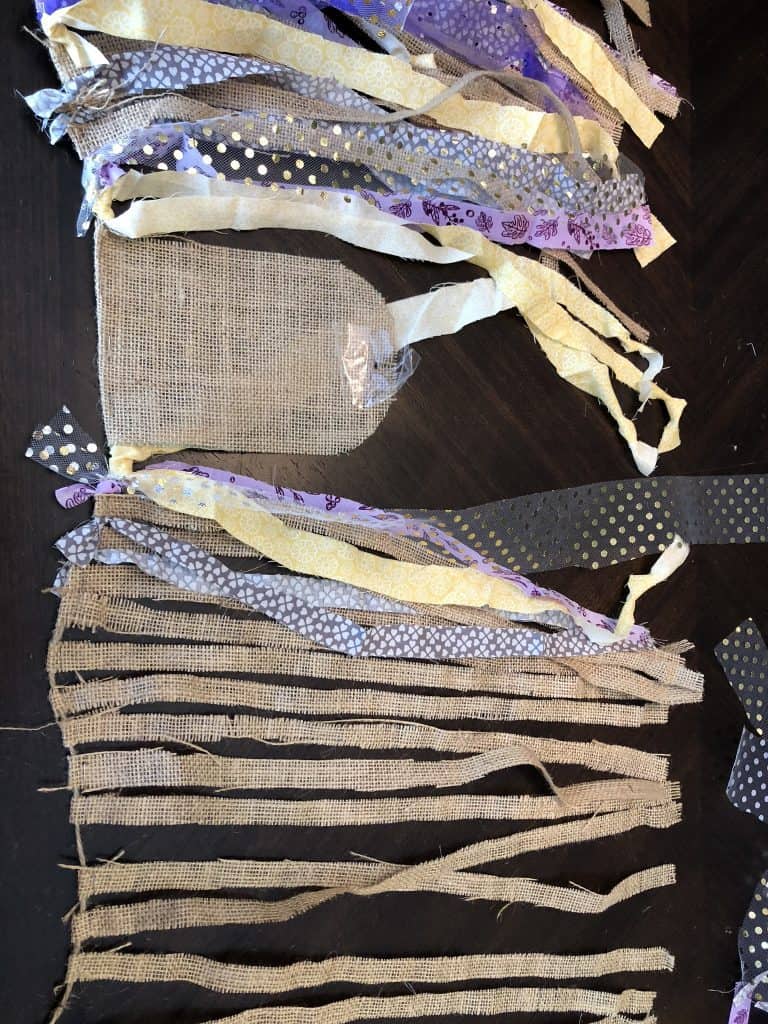
- Cut all your fabric into 16″ strips – This may vary depending on the highchair, but I wanted mine fairly long so as to hang almost to where their legs come out! For width, I just used the width of my finger, which is 1/2 and inch. This may also vary for you depending on how much fabric you have! I found that, with 3 colors and a base, 5 strips of each color were needed and 10 strips of the base material.

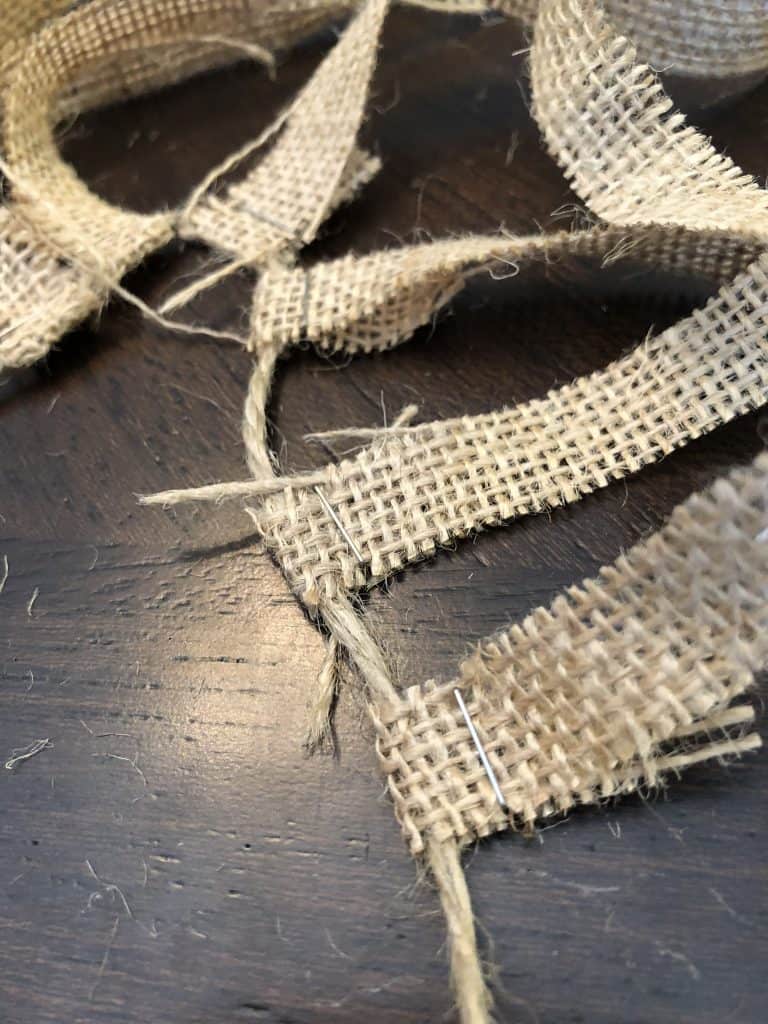
All the material cut into strips! - Cut the twine/string, “1” banner and attach the base material (burlap) – I cut my twine 4 feet long to leave room for attaching to the highchair, but I only filled in around 3 feet of it. I used a stapler to attach the burlap to the twine. I folded the material over and stapled BENEATH the string so that it could still be moved back and forth as needed when I added in everything else. If you are going to put a number on this, be sure to leave enough of the burlap material to cut out a shape you like and attatch that as well!

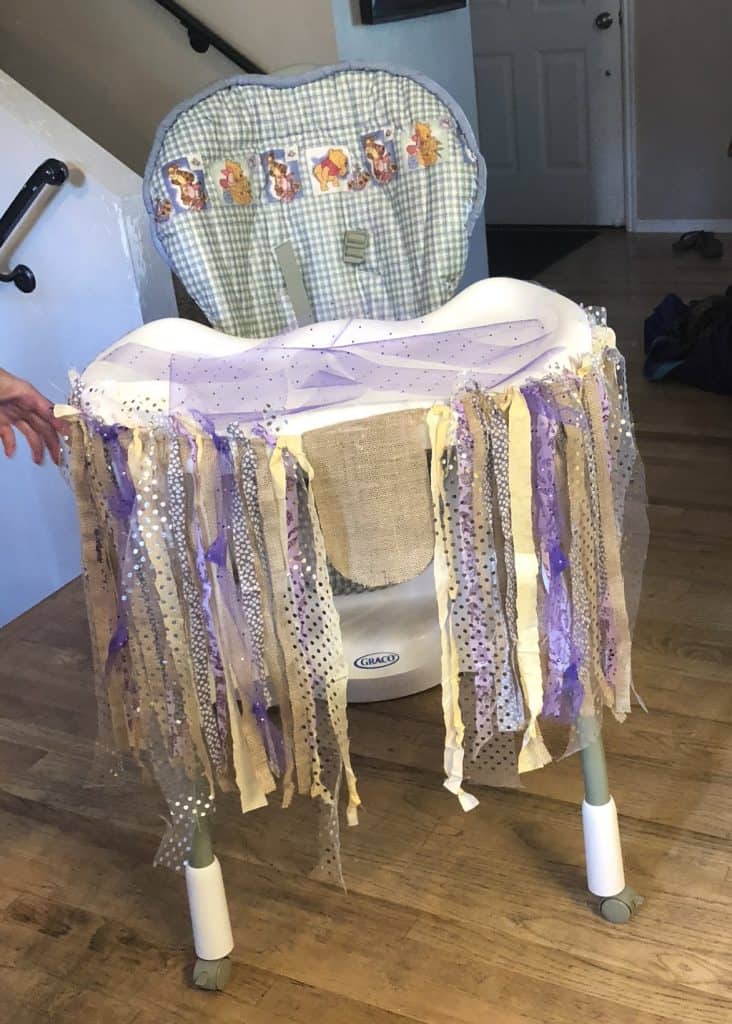
Make sure to staple beneath the string so that you can still adjust the position of the strips once you add everything else in! - Tie on the 3 other materials in a pattern – I found it easiest to make an actual pattern as opposed to just tying on willy-nilly. Tying the material on is a lot easier when you actually attach it to the highchair so that you can see how it will look when hanging. I only did one side at a time (I used my “1” banner piece as the divider since that hangs in the middle) so that I could see it before doing the whole thing.

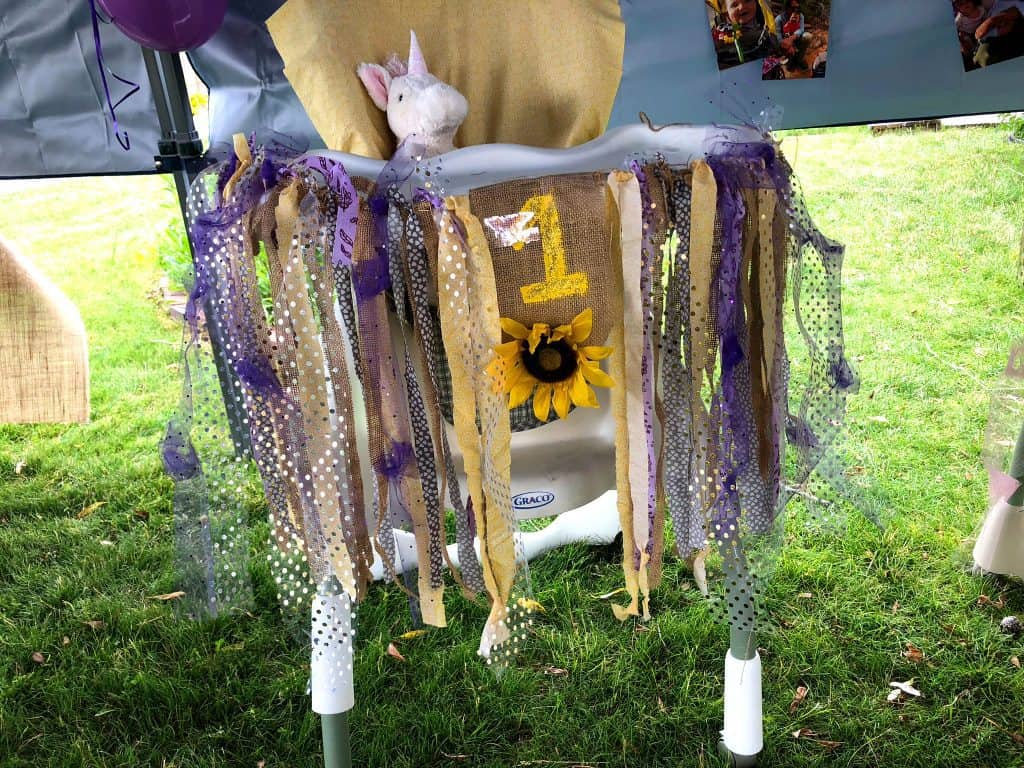
A pattern is done on one side, now just to complete the other! - Hang up the finished product, and tie on any extras! – I bought some cute shiny ribbon as just something extra, so I wanted to hang it on the highchair to see where it would fit in and how it hung. If you’re doing anything extra, now is the time! I added a sunflower to mine, and painted on the one!

I wanted to attach it to the highchair to put on the final touches and make sure everything looked right!
Your homemade 1st birthday highchair banner is ready for the party!
Mine was a hit at our party, and I’m sure yours will be too! I accented mine with sunflowers to match the rest of my theme, but this could work well with alot of themes!
A “wild” adventure theme with woodland animals, a dino banner, or a lumberjack highchair banner!
If you did any of these, I’d absolutely love to see them! I’d even add them on this post if you are ok with that so as to inspire others!
Looking for more highchair banner ideas? Check these out!
This rag tie banner is so easy and really cute!
Here is a shabby chic highchair banner I LOOOVEE! I would have done this if I hadn’t already done mine!
Here is a really cute idea for a boys highchair banner that has tractors and farm animals!
- Solar Eclipse 2024 Kids Printable Activity Pack! - April 8, 2024
- 11 RV Bathroom Makeovers to Inspire You! - April 7, 2024
- 13 Dreamy Hammock Camping Set Up Ideas + Pics - February 22, 2024