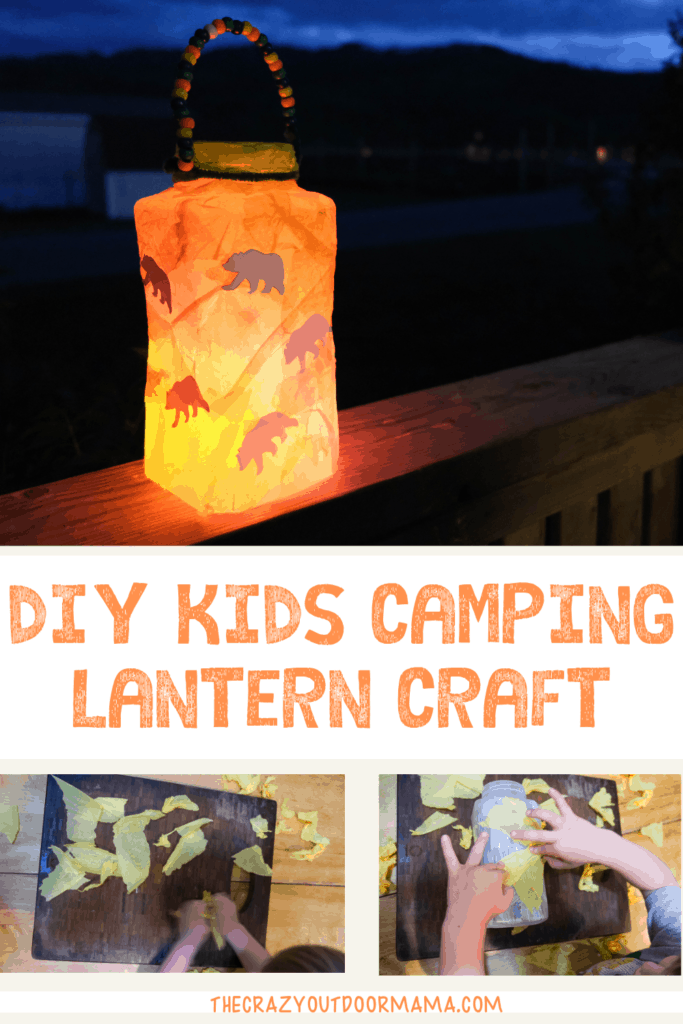
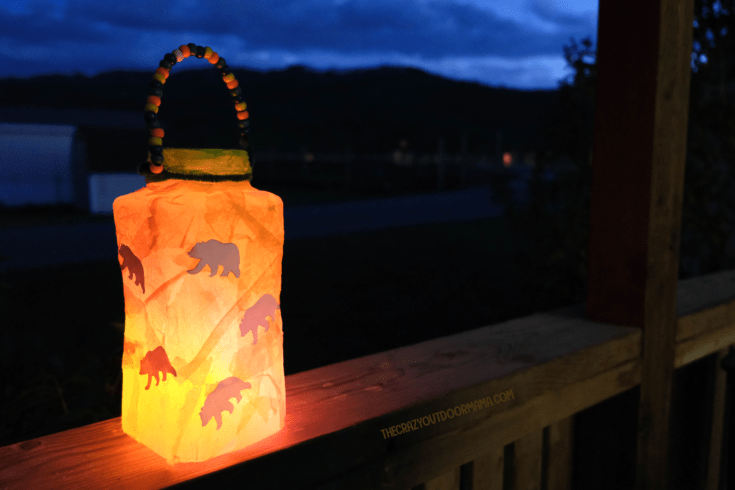
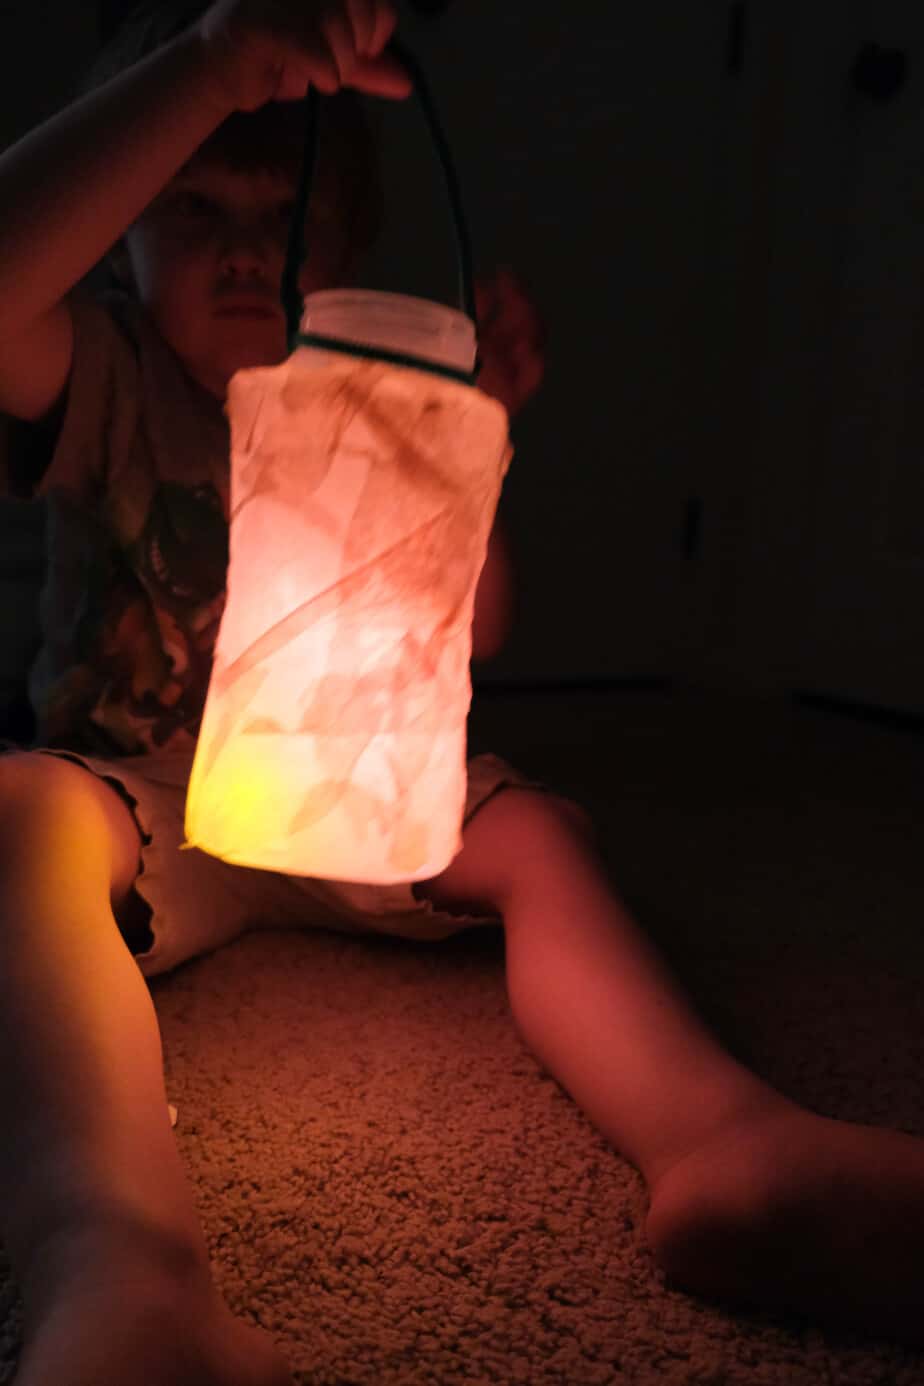
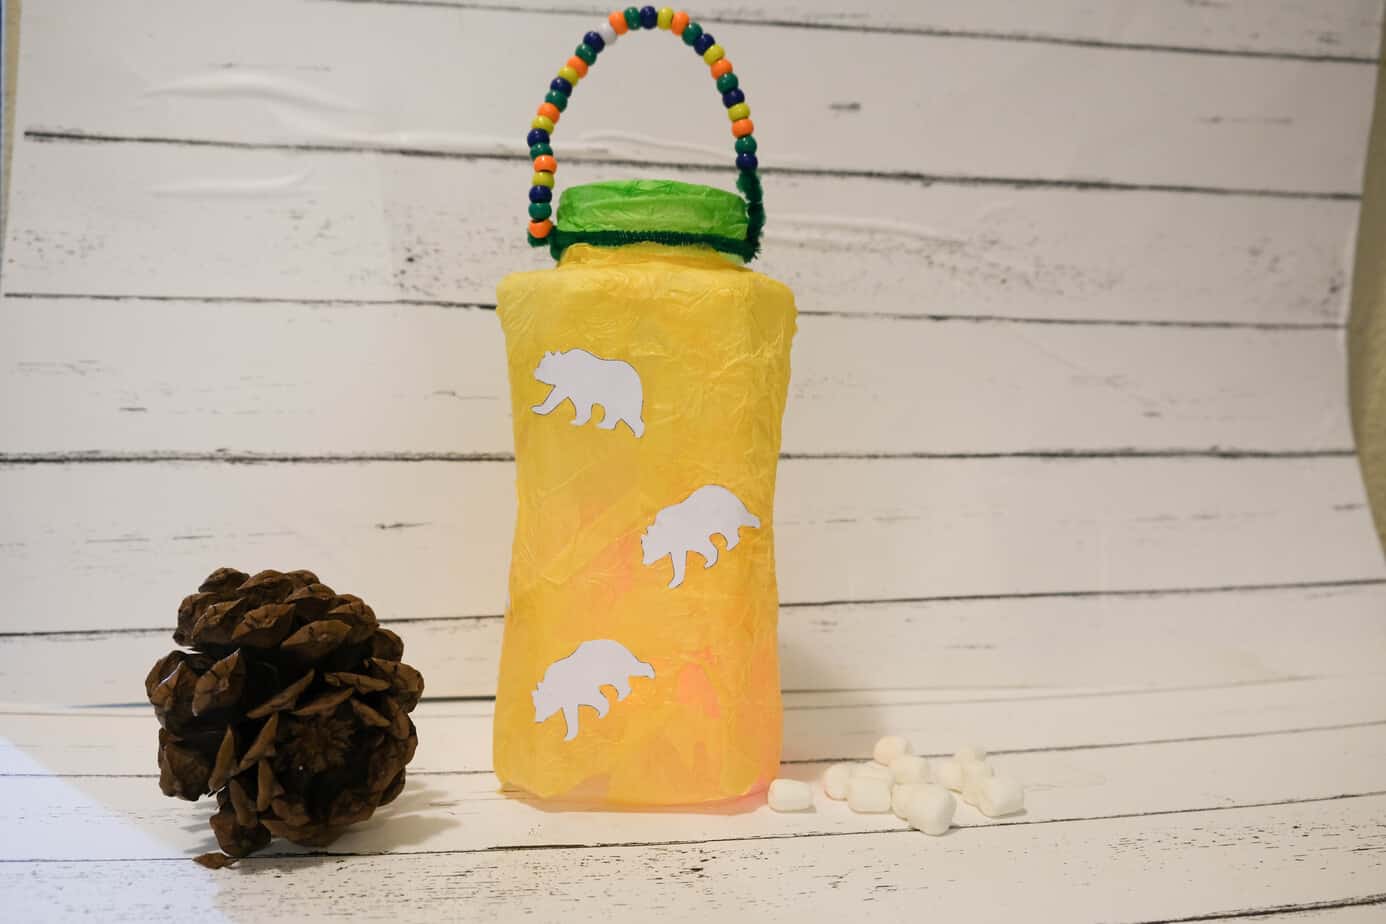
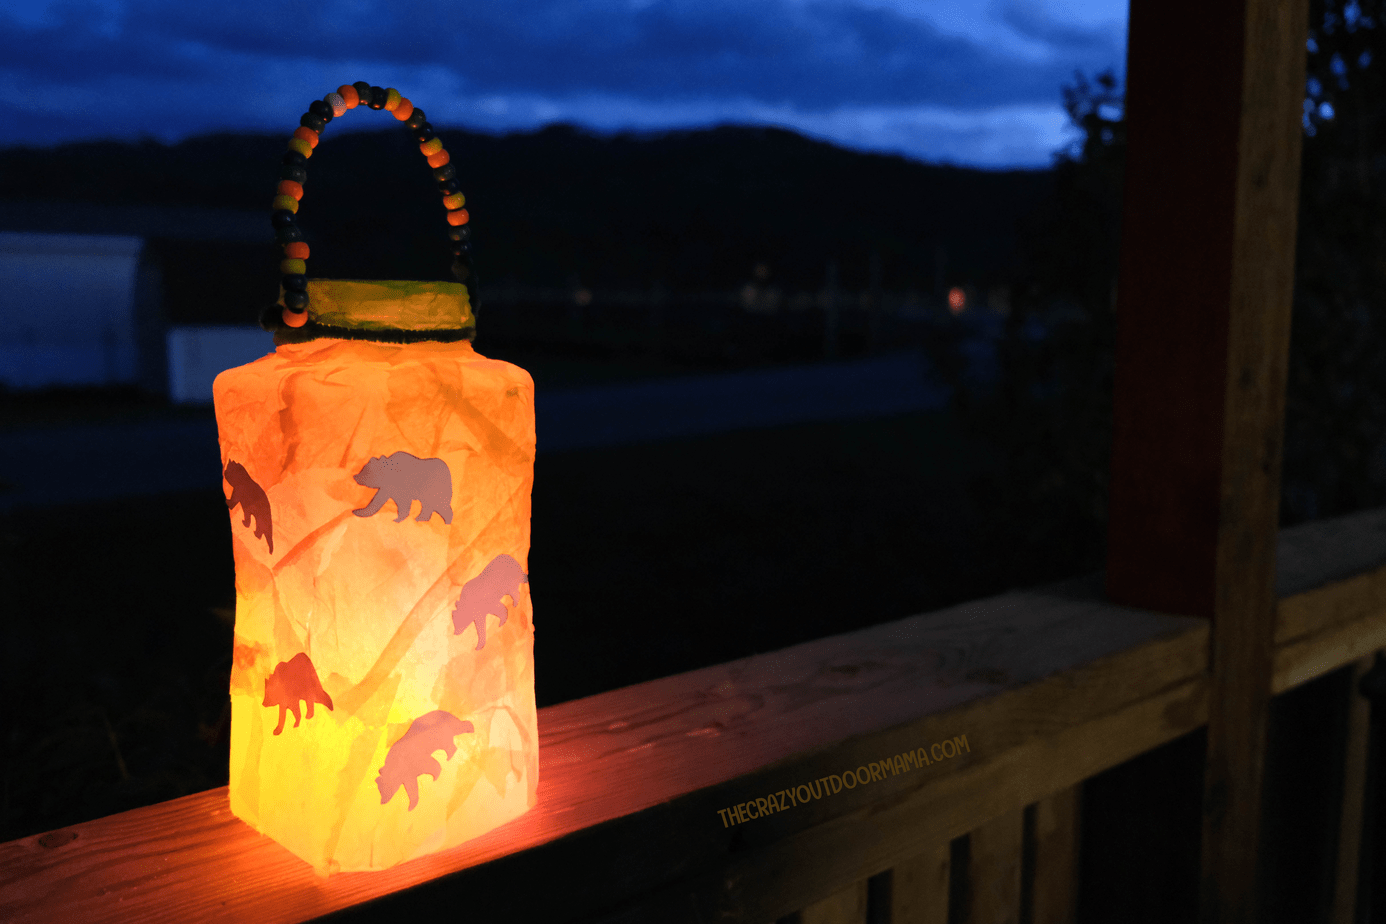
I absolutely love camping lanterns, both for the craft possibilities and also just for the magic of seeing a glowing lantern in the pitch black of night! I decided to bring the two together and create this pretty tissue paper decoupage camping lantern that I feel really catches the prettiness of the light!
I originally made this without bears, but my kiddo loves them and I thought it made the lantern even more exciting! It’s fun to stick on your favorite part of camping (for my son it’s bear stories or s’mores!) which makes it so fun to personalize!
Related: 53+ Kids Camping Crafts that cover EVERYTHING having to do with camping!
This can definitely be as easy or beautiful as you like (my son mostly did this one, but if you want to see a similar “rip and stick” piece you should check out my 4th of July lantern!)
Let’s get into it!
How to make this cute kid camping lantern craft
The materials are pretty easy for this one (especially if you’re a crafty person!). If you have an electric tea light for this craft, you can also use it to make this glowing campfire craft!
Related: 53 Favorite Campfire Songs for the whole family + free printable camp themed classics!
Kids "Rip and Stick" Camping Lantern Craft
This easy and fun camping lantern is quick to make and has tons of possibilities for personalization for use at places like camp birthday parties or summer camp!
Materials
- - 1 Clean Clear Plastic Bottle (OJ, coffee, juice, etc). Smooth sides work best!
- - 1 sheet of yellow tissue paper
- - Small strip of green tissue paper
- - Modge Podge
- - 2 Pipe Cleaners
- - Beads (Optional)
- - Electric candle and/or glowsticks
- - Printed decor items to paste on lantern (optional)
Tools
- Paintbrush
Instructions
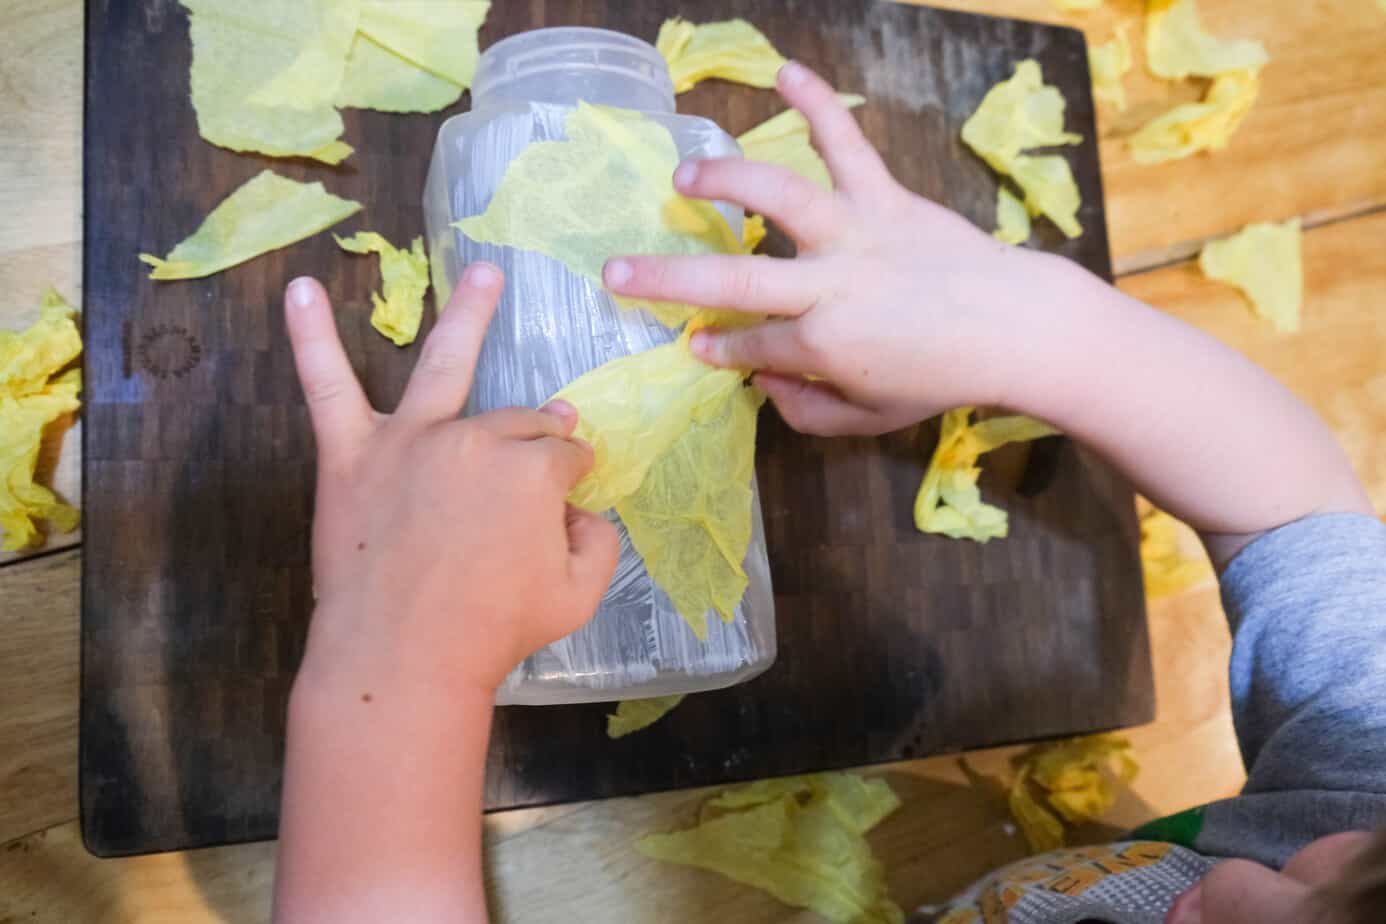
- Tear up the yellow tissue paper into smaller pieces and set them aside in a pile

- Squirt a dollop of modge podge onto the container and use your paintbrush to spread it around. Depending on the age of your child, either do portions of the container at a time or just cover the whole thing with modge podge!
- Start putting the yellow pieces of tissue paper on - they don't have to be exact edge to edge. The fun is in the overlap and the way the light shines through it!

- Put some modge podge on your paint brush and cover the threaded portion of the container. Put the green tissue paper over this to hide it.
- Now with a little modge podge on your brush, glue down any edges. You want the whole thing to be smooth! (It dries clear, don't worry!)
- Create a tight circle around the opening of the container with a pipe cleaner, then use the other pipe cleaner to create a handle. Add any beads you want (if you have letter beads, those are perfect! Attach both side of the handle pipe cleaner to the circle pipe cleaner at the base of the opening.

- Add any extra decor you want (we used bears!) using the modge podge. To find silhouettes and such, just do a google search for "____ outline". I found the bear one and just made it much smaller before printing!
- Drop in your electric candle or glow sticks... and you're done!

What do you think? Let me know if you used a different animal (I love pictures!)
Did you do some different animals? Let me know, I’d love to add it to this post as inspiration for others!
Here are some more camping crafts and tips you’ll love
- This cute campfire
hand print that’s easy and has a free printable template! - These 55+ camping themed crafts for every occasion!
- A “rip and stick” glowing BEAR lantern craft that’s magical and oh so fun (what kid doesn’t love tearing stuff up?)
- A fun camp themed cootie catcher that inspires creativity and teamwork!
- Give your kids their very own camping journal to document each camp trip in!
- Camping Queen or King Crown Craft – Awesome for the birthday kid at a camp themed party or to reward the best camper!
- This pack of free winter outdoor nature hunts for kids – there’s a type for neighborhoods AND forests!
- These 13 awesome camping books for kids that will really get the camping vibe going!
- Camping BINGO and some fun camping scavenger hunts to really bust boredom at camp!
- Starry night campfire craft made with popsicle sticks and paper!
- Tons of ways to make yummy s’mores (HINT: You DON’T need a campfire or even any open flame!)

- Solar Eclipse 2024 Kids Printable Activity Pack! - April 8, 2024
- 11 RV Bathroom Makeovers to Inspire You! - April 7, 2024
- 13 Dreamy Hammock Camping Set Up Ideas + Pics - February 22, 2024