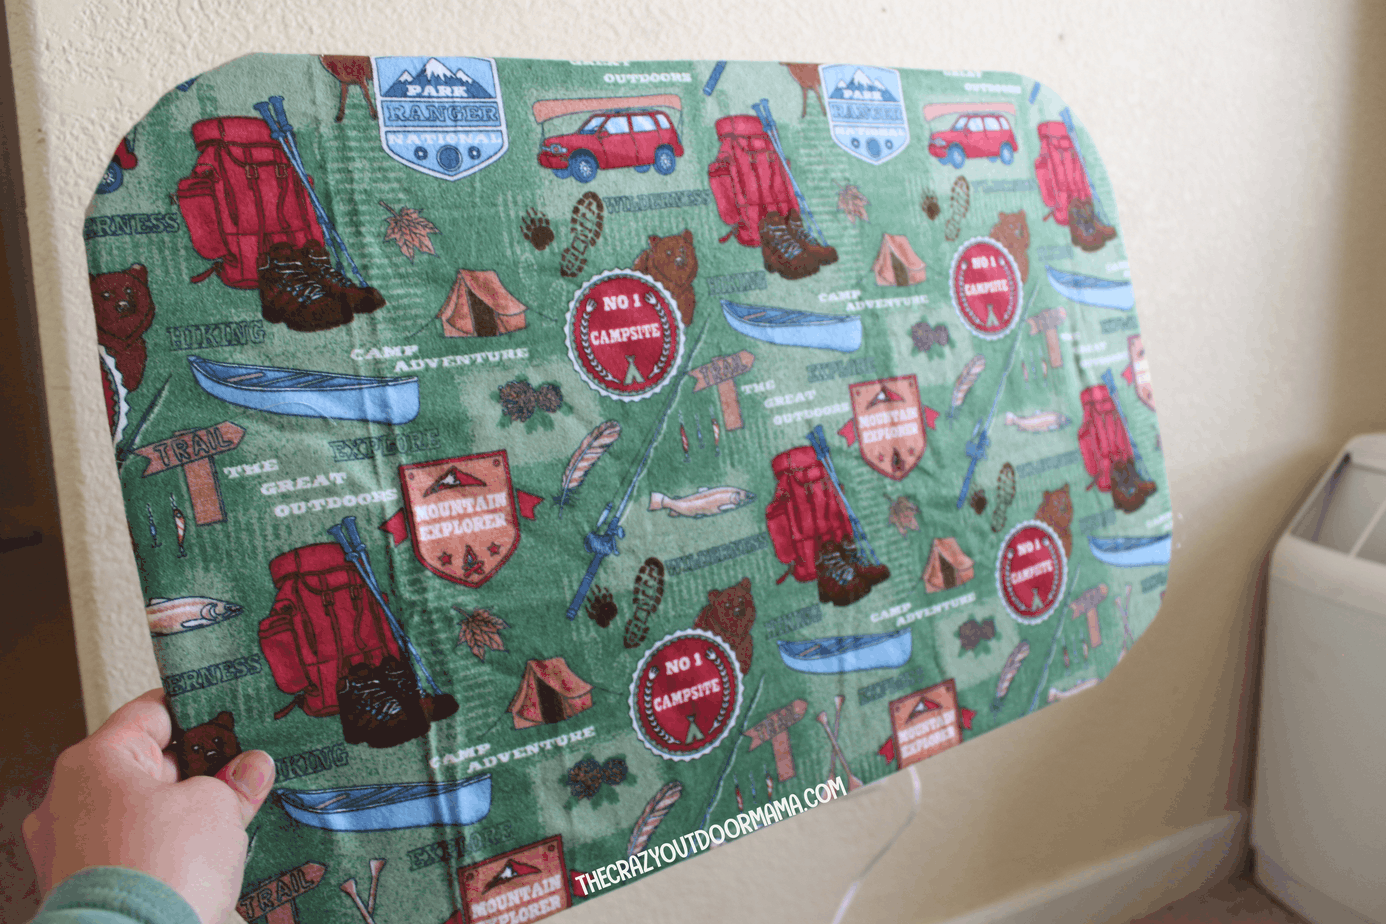
How to Make Custom DIY RV or Camper Window Blackout Covers (For Cheap!)
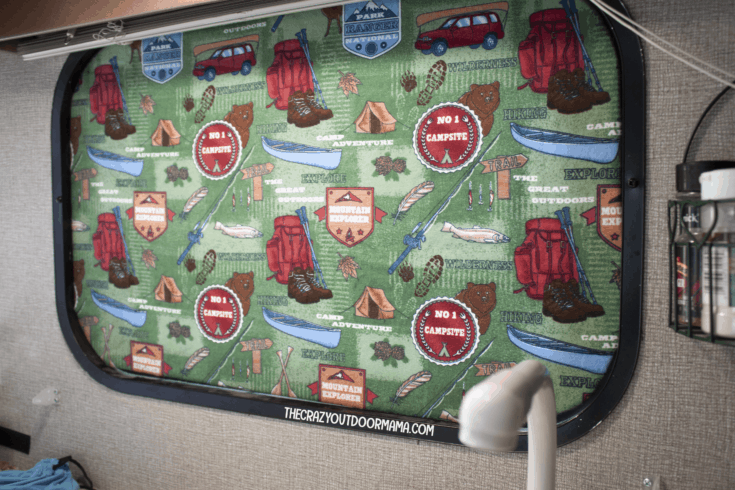
Make your own DIY RV window blackout covers for cheap with just a few materials! You can modify this to make it more "blackout" as needed!
Prep Time
20 minutes
Active Time
30 minutes
Total Time
50 minutes
Materials
- Tissue paper, contact paper, or some other thin, see through paper for tracing your window shape onto
- Tape
- Foam Board (You can get it at the dollar store)
- Material enough to cover board (get enough for both sides if you want more black out and temp control power!)
- Marker to trace
Tools
- Hot glue gun
- Exacto knife
Instructions
- Tape your see through paper over your window.
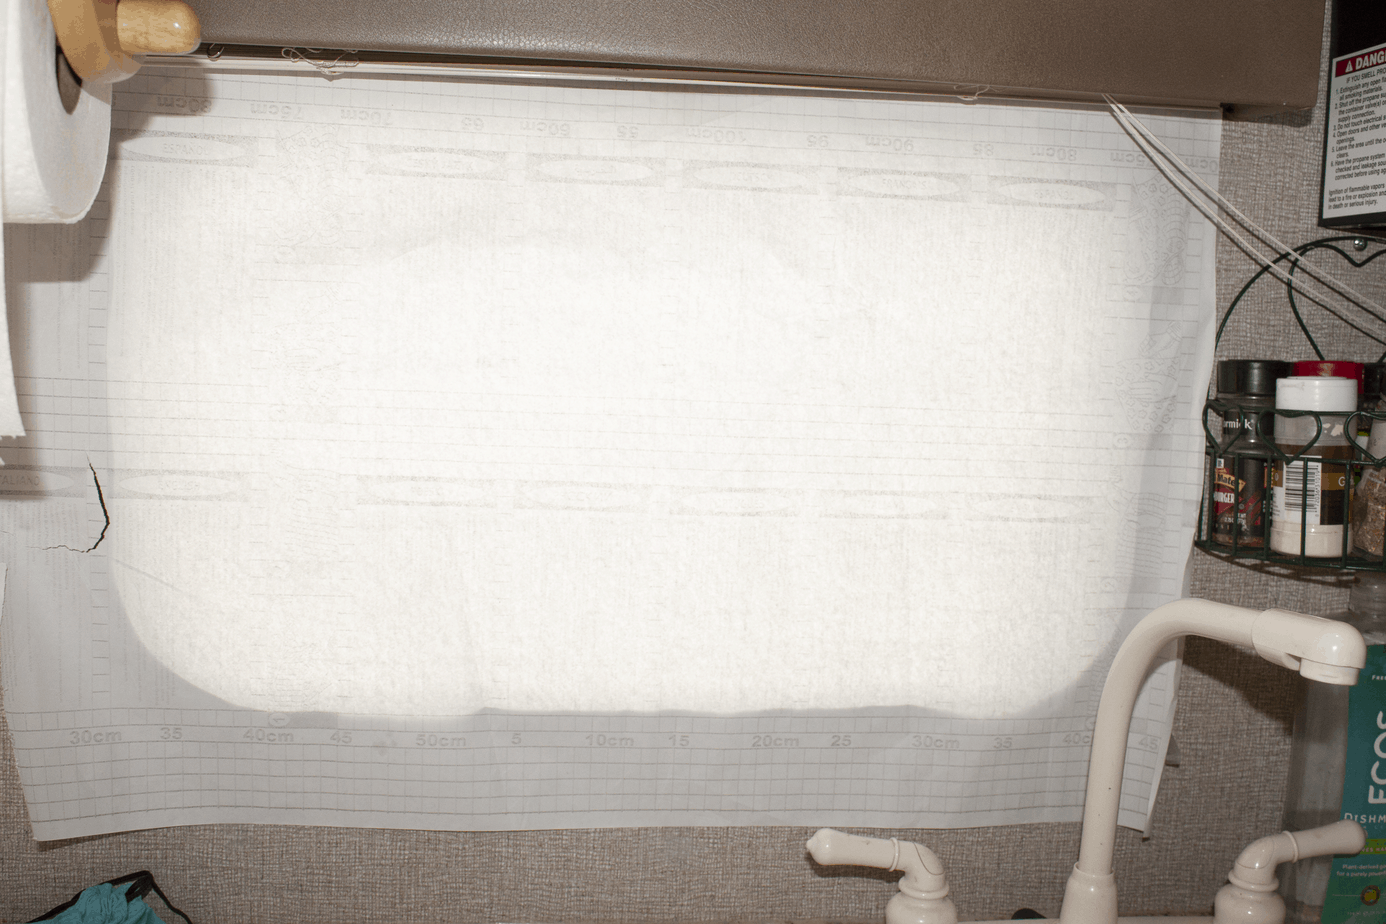
- Trace the contours of the window (you should be able to use the frame of the window as a guide) Remember, this is to be placed INSIDE the frame, so trace the inside, not the outside! (see pic)
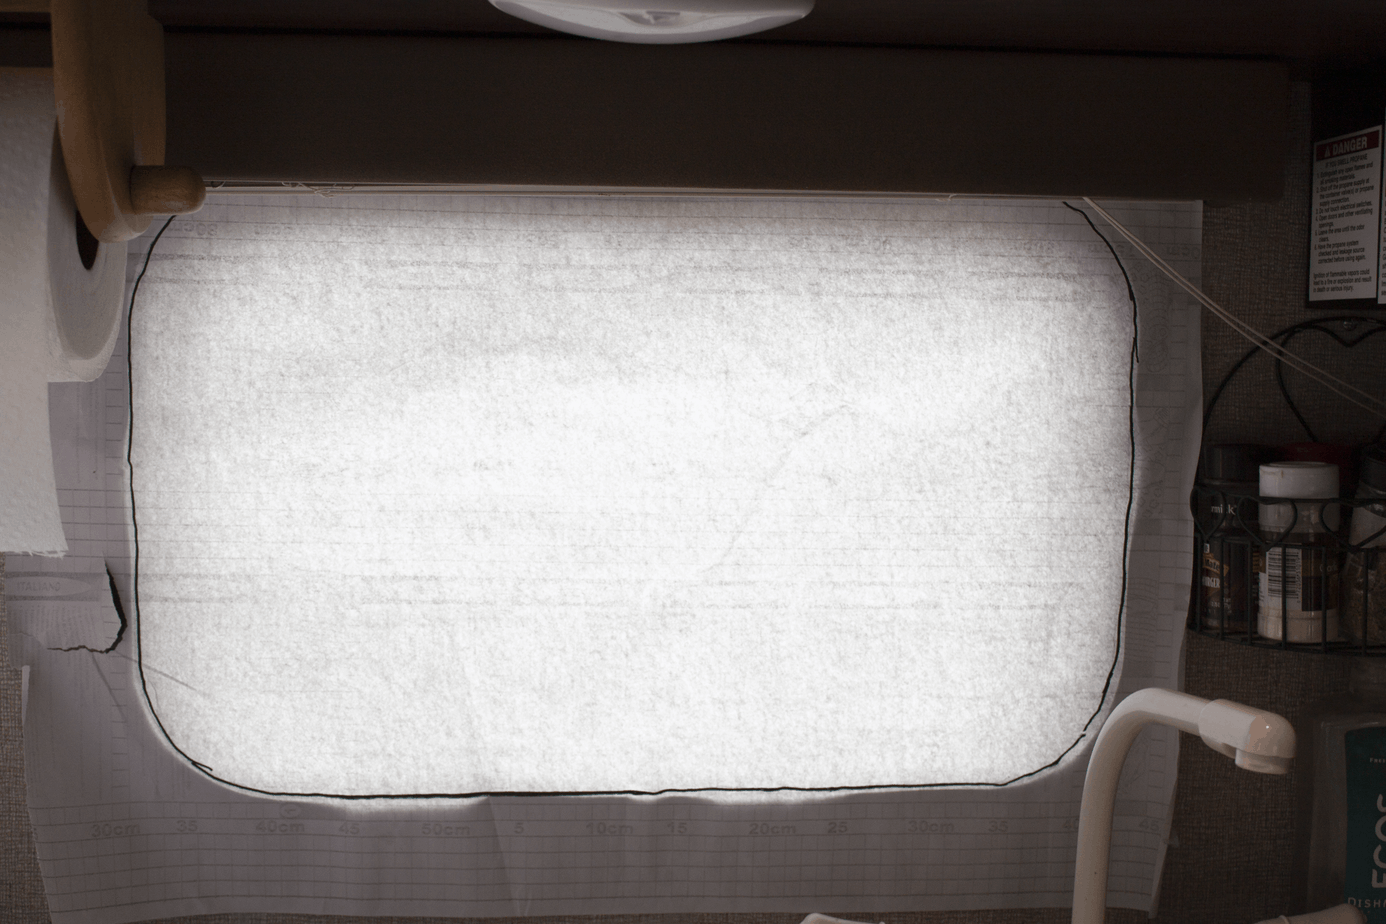
- Remove see through paper and tape it to your foam board
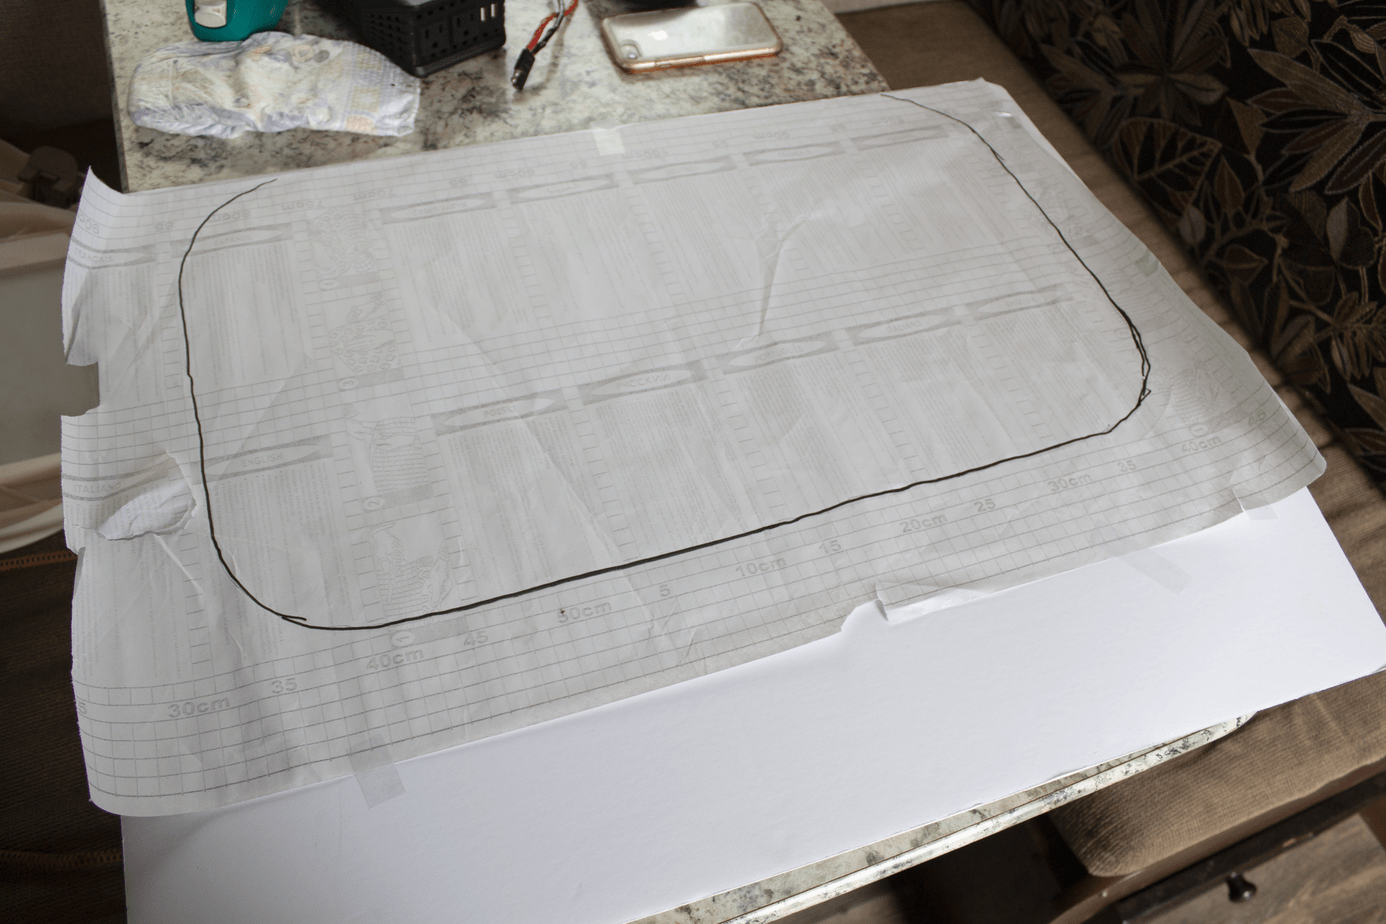
- Start cutting out the window shape with an exacto knife Leave a small notch so that it's easy removable!
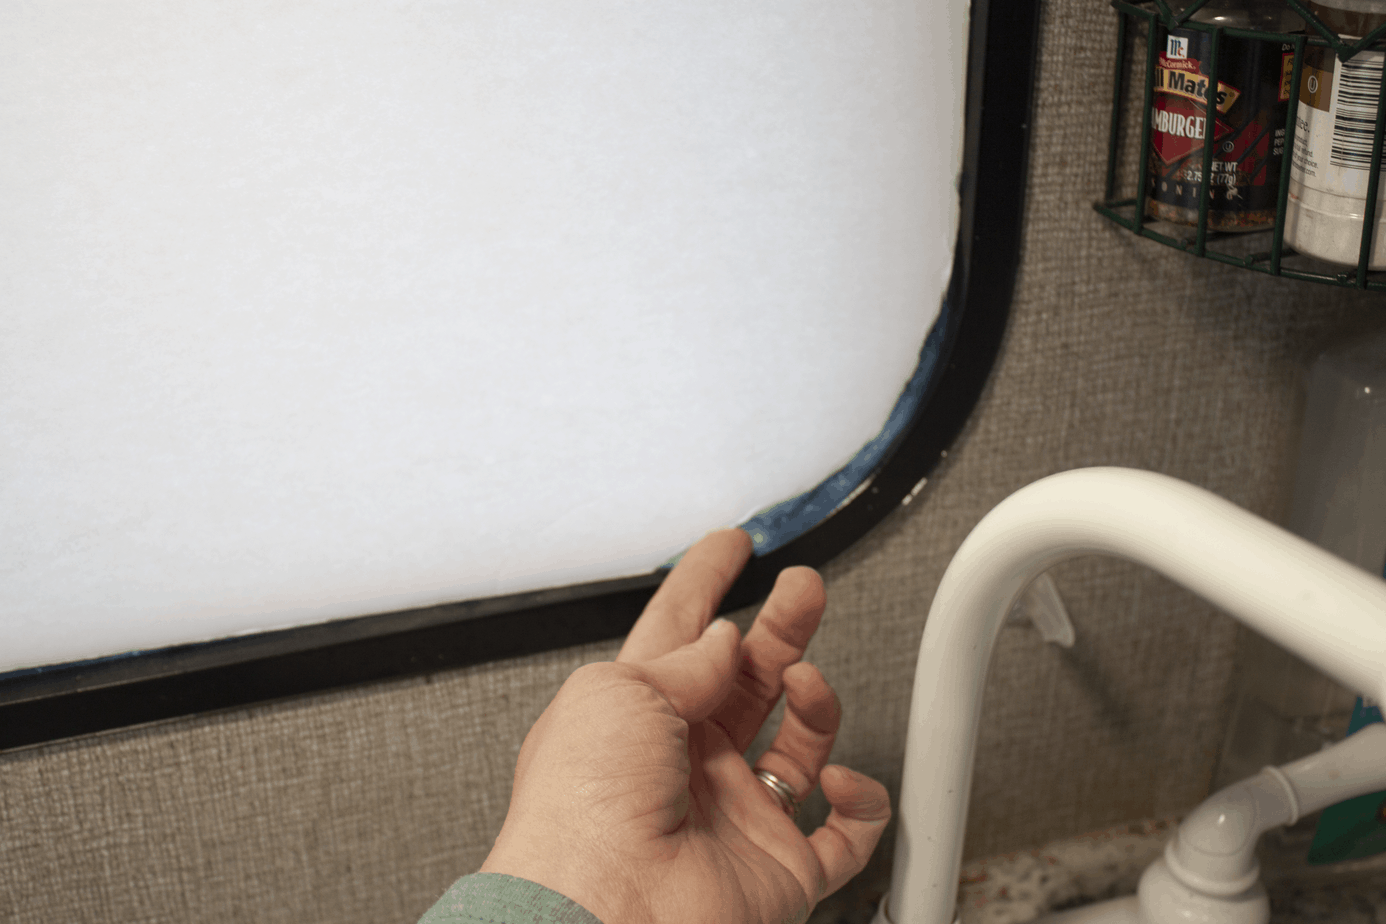
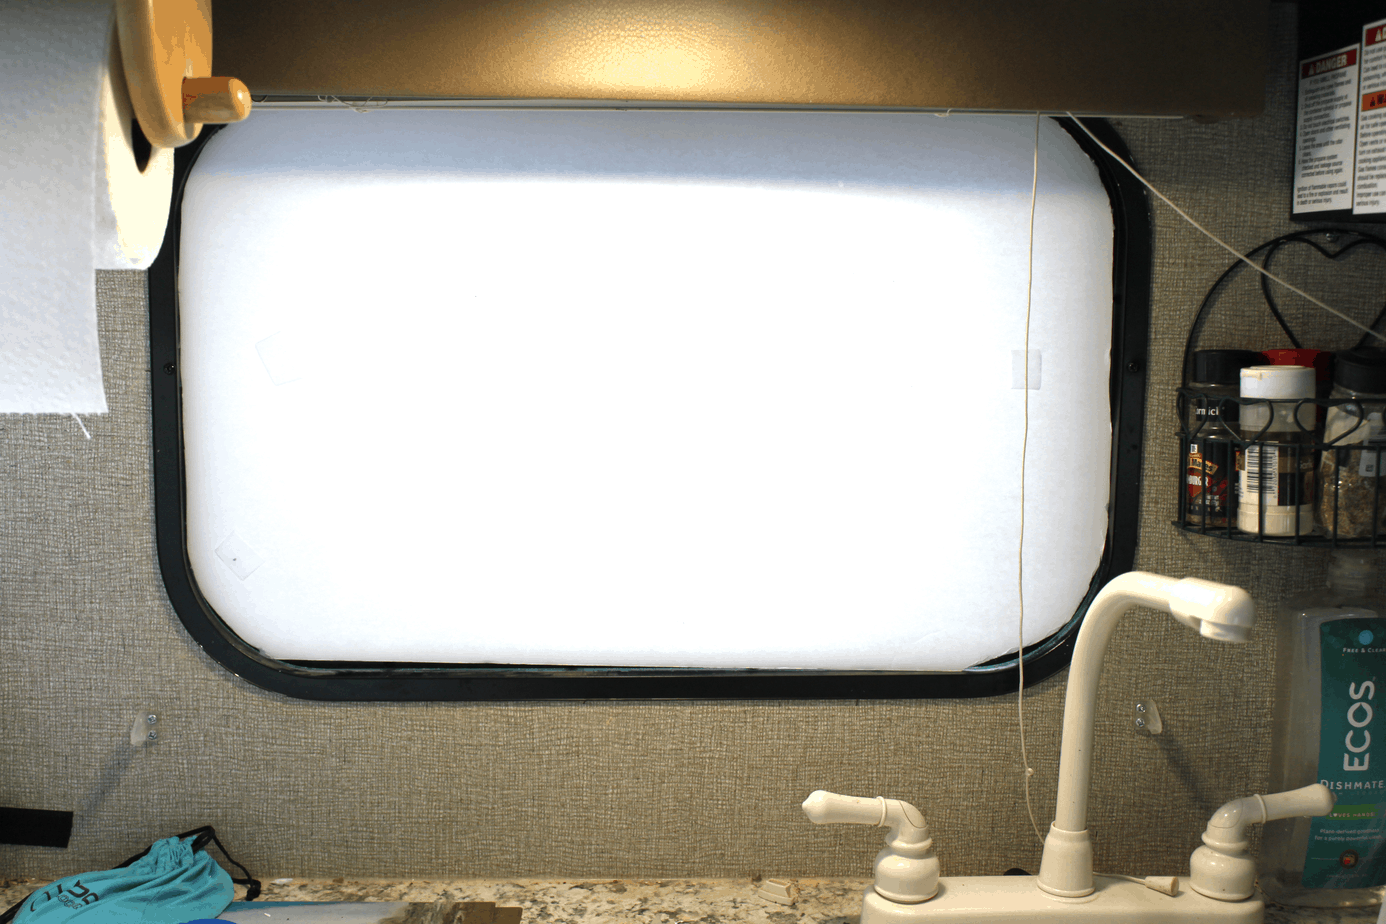
- Once cut, make sure it fits by testing it in your window. It's good to fit snug!
- Bring it in the house to prepare to glue the material to the foam board. A note on materials - Mine was thin, so isn't as "blackout" as some desire (and I only had enough for one side!), so make sure to pick a thick enough / dark enough material for your needs! They do sell black out material near the curtain fabric section in walmart!
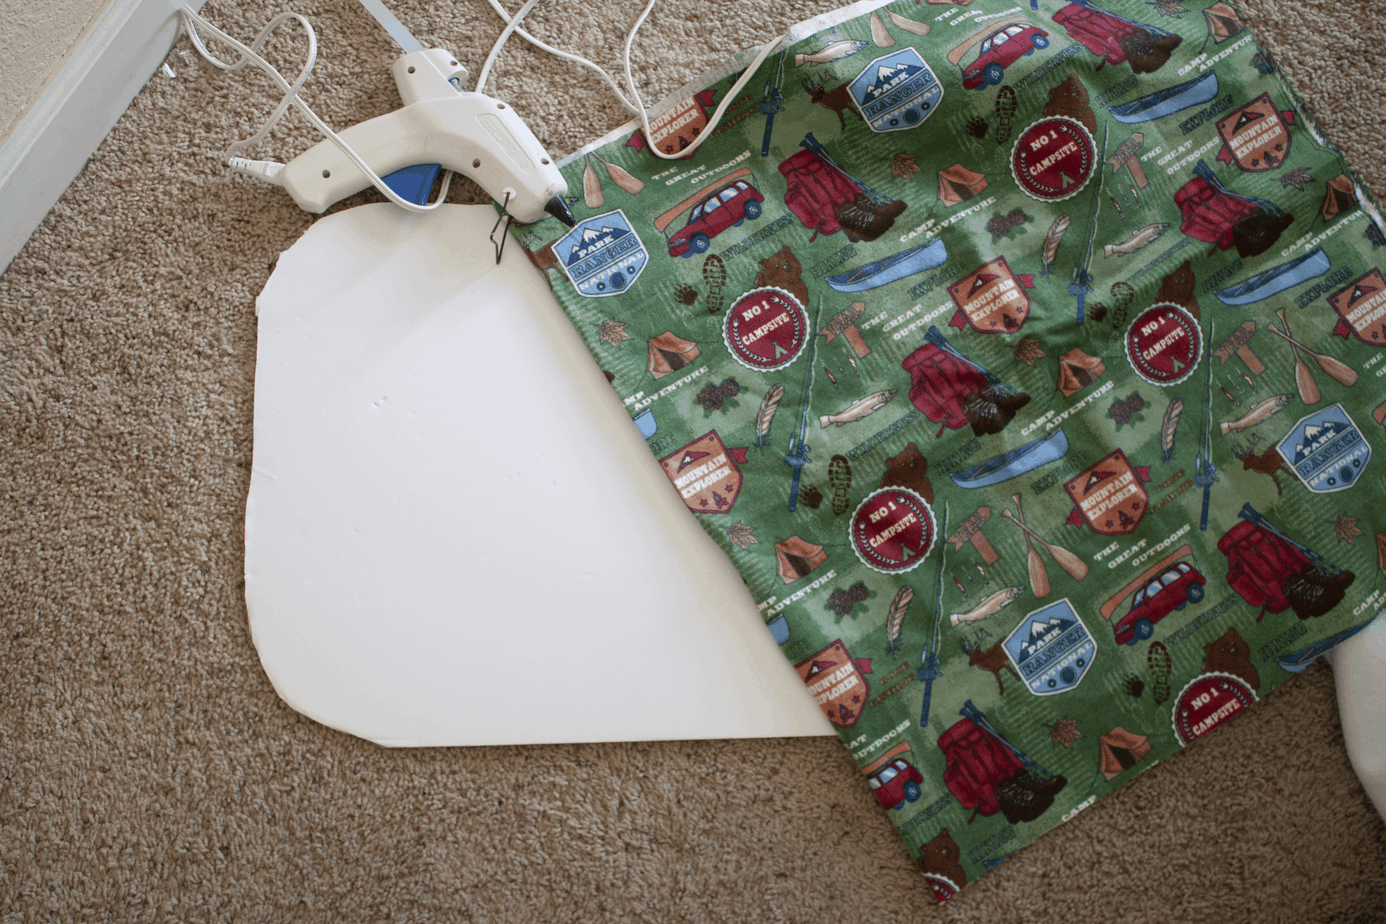
- Trace around your foam board window, leaving an inch or two extra around it for gluing over the edge
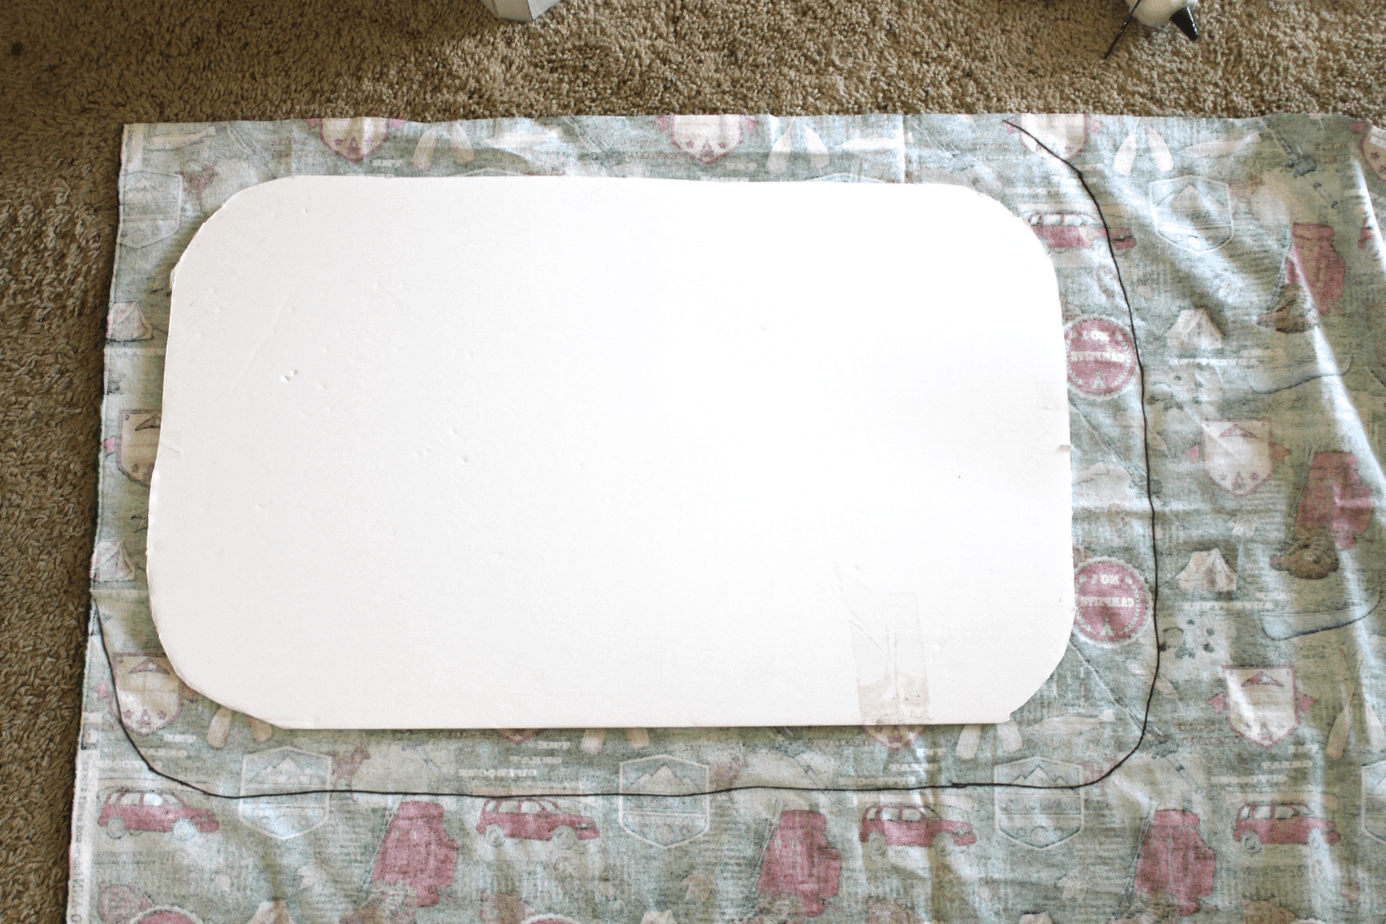
- Glue all straight edges first
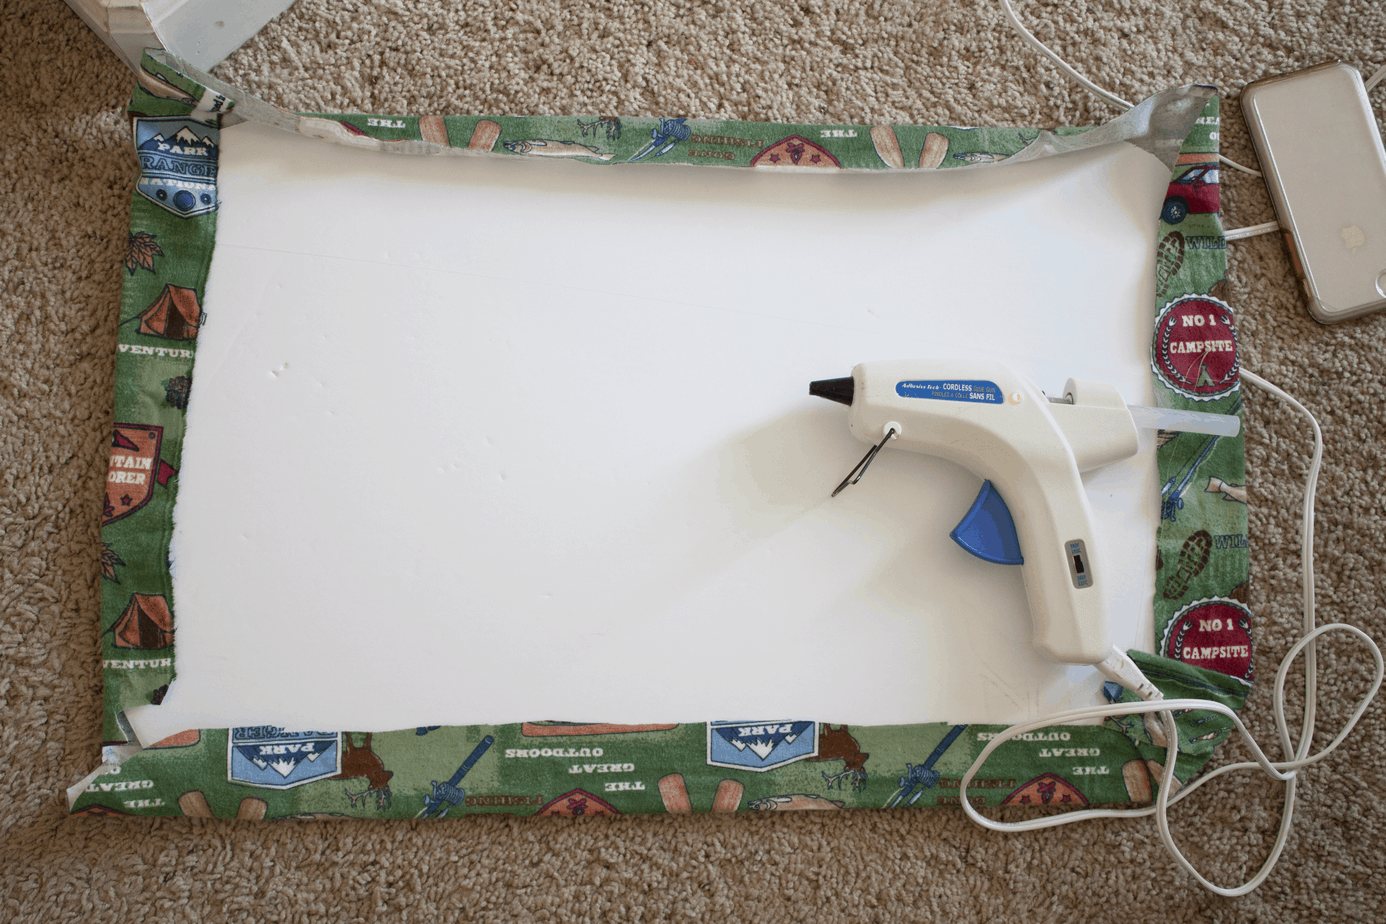
- Go back and do your corners (I'm no seamstress, but I found cutting them a bit helped to make them lay flat better!)
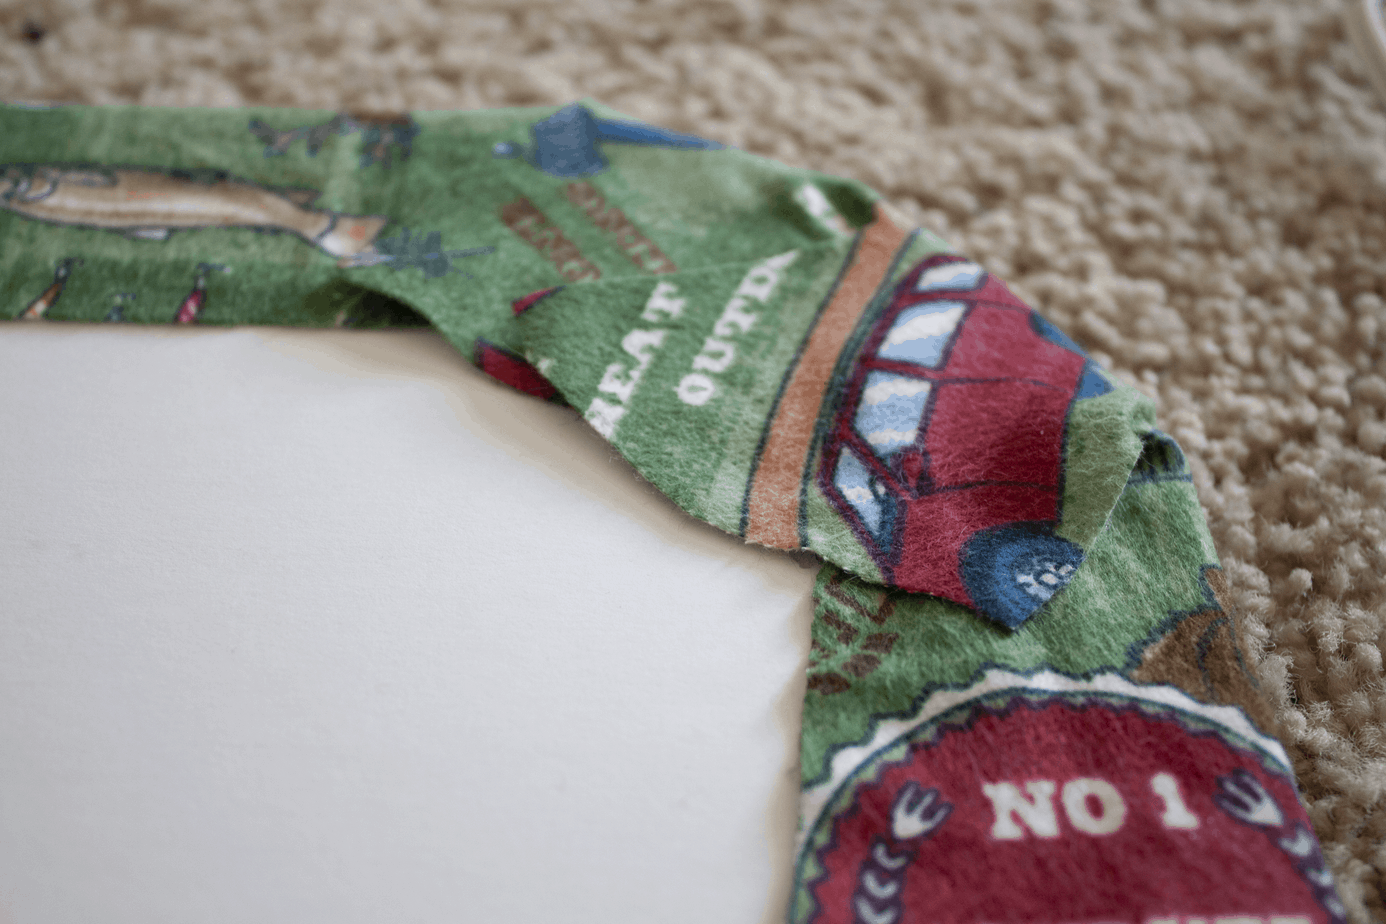
- Done!
