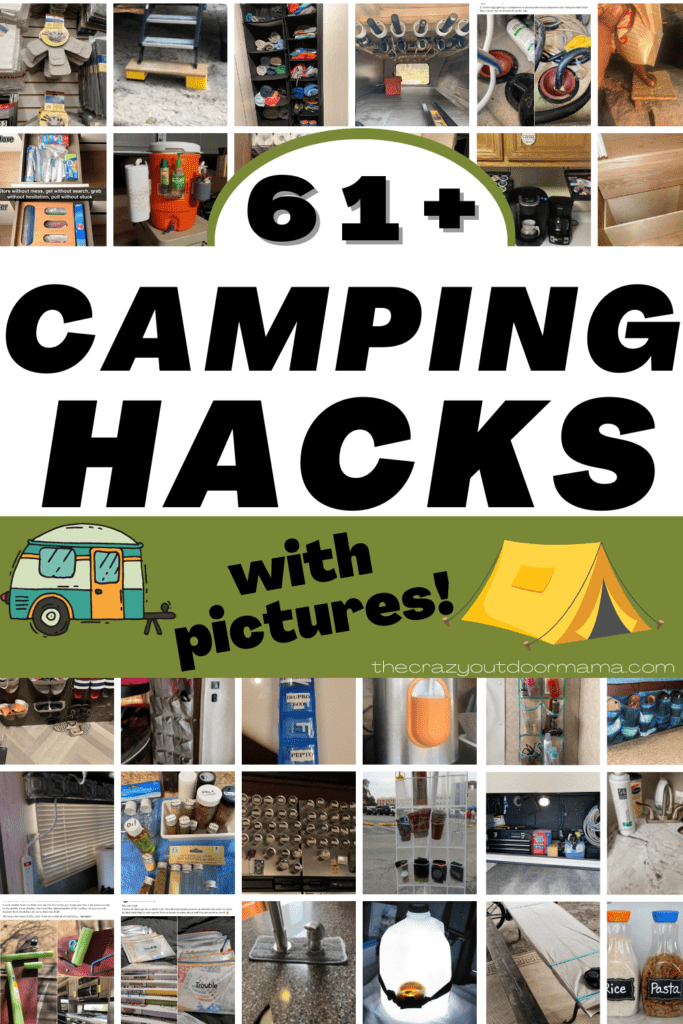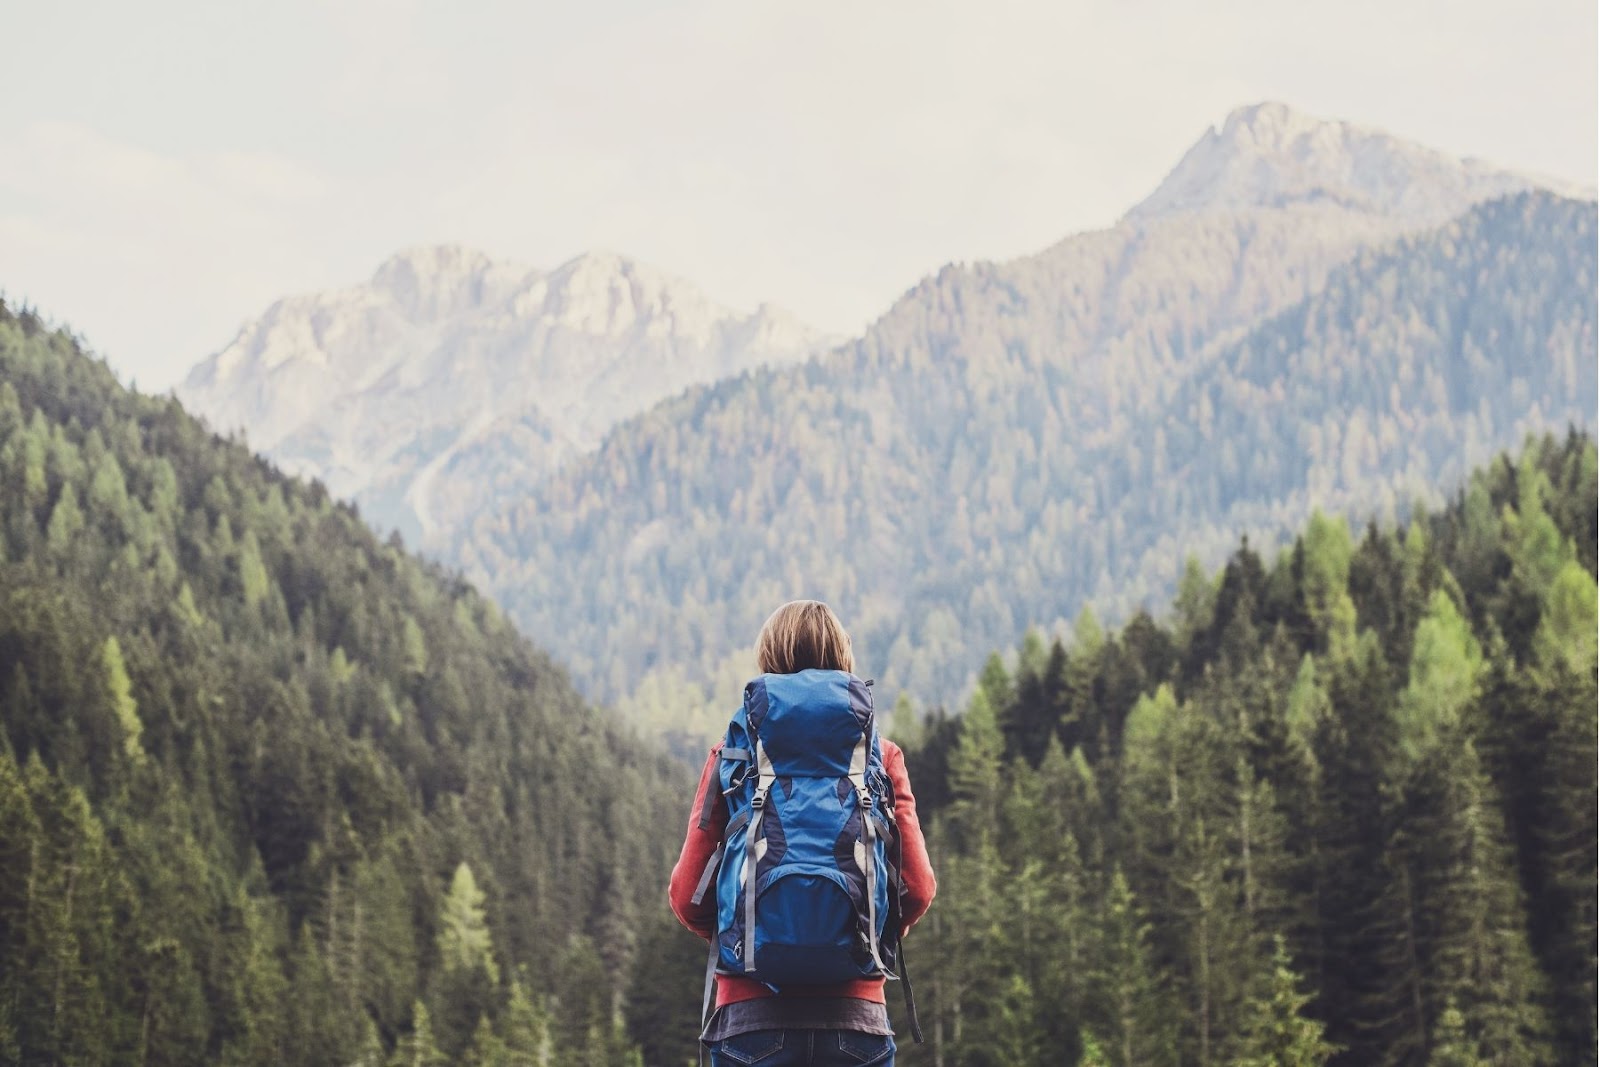
So, you’ve got RV camping down. Tent camping at a campground is easy-peasy. Now it’s time to expand your horizons, hit the trails, and conquer your first backpacking trip!
It can be a little nerve-wracking the first time you venture away from the security of your over-packed minivan. But all campers and outdoor lovers should at some point in their lives go on a genuine, overnight hiking trip. Nothing quite compares to exploring the outdoors with just you and your trusty backpack.
In some aspects, backpacking is similar to RV and campground camping, but there are some big differences you should keep in mind as you’re planning your first backpacking trip. These can make the difference between actually enjoying your hike and feeling like you’re on an episode of Running Wild with Bear Grylls.
So use these tips as a guide for planning your first backpacking trip. I’ll divide the tips up into several sections. I’ll share…
- How to make sure you have fun
- Guide to the essential backpacking gear you’ll need
- What to cook
- Backpacking checklist printable
Let’s get started!
Table of Contents
Tips for Planning Your First Backpacking Trip (To make sure you have fun!)
1. Keep it short
Even if you’re in shape and think you can handle some 20-mile days with lots of elevation gain, keep it short. The last thing you want to be doing is traipsing through the woods at night with feet full of blisters trying to make it back to your car.
So for your first trip or two, it’s best to plan on a maximum of 7-9 miles a day.
And don’t forget about elevation gain. If you’ll be going up and down hills and mountains, it’s best to keep it even shorter.
This gives you the time to take a rest when needed, stop and enjoy lunch at a beautiful vista, and not be stressed about making your daily mile quota. 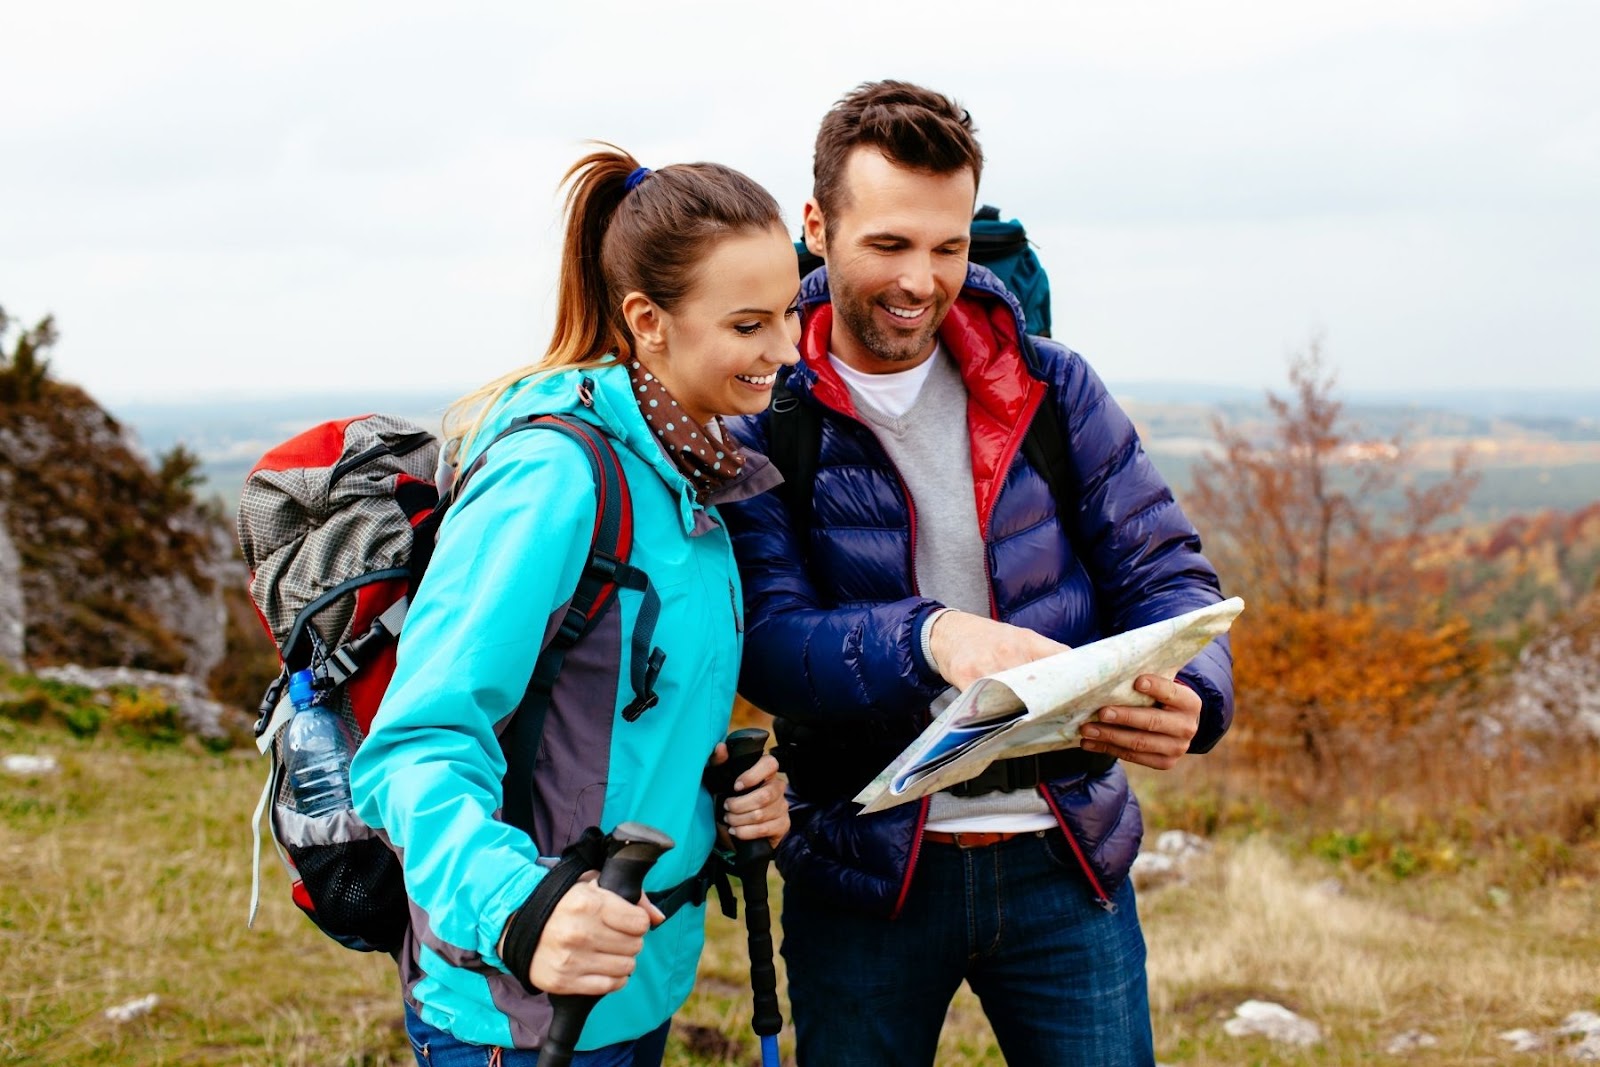
Keeping it short also means not making your first backpacking trip a multi-night hike. Unless you’re going with experienced hikers who know what they’re doing, it’s best to stick with just an overnight trip at first. There’ll be plenty of time later for conquering the rest of the Continental Divide Trail.
Check out my article with some inspiration for the Best Places to Go On Your First Overnight Hiking Trip.
2. Keep it simple
Don’t go overboard on your first trip. Stick to simple gear, simple meals, and simple trails.
Sticking with a modest amount of gear will cut down on how much you’re carrying. Sticking with simple meals will make cooking dinner a lot less frustrating after a long day on the trails. And non-technical trails will be a lot less stressful and more enjoyable.
3. Don’t go alone
Having a buddy along is about more than just not being alone in the woods at night. You have someone to talk to, someone to share the journey with, and someone to help you set up the tent.
And if your friend has been backpacking before, that’s even better.
4. Make notes
No matter how well you prepare and how full you stuff your backpack, there’ll always be a point on your first trip where you think, “I could really use a [insert object you didn’t bring] right now.”
I’ve made it really easy for you with my super awesome backpacking checklist. In addition to the basic gear checklist, it’s got space to keep notes about what you forgot. Head to my resource library, print it out, and add it to your pack.
What Should I Pack on My First Backpacking Trip?
Backpacking Gear Guide
And don’t forget to check out my article Beginner’s Guide to Packing a Backpack for Hiking. Learn how to actually pack a backpack so you won’t fall over! 😋
Backpack
Choosing your backpack should be one of your top priorities. You need one that can hold all your gear and still be comfortable to carry. Here are a few things to consider.
Capacity: If you’re just planning on taking shorter 1-3 night hikes, then go for a backpack with around 50 liters or more of storage space. You’ll be able to pack all the essentials, and most will have loops on the outside where you can strap on extra gear if needed.
Frame: Most new hikers will choose an internal frame pack. These actually have a flat metal frame inside the backpack that gives it rigidity. Sometimes you can even adjust the metal frames to fit the contours of your back.
Front or Top-Loading: Many backpacks just offer a top-loading opening for the main compartment. This is ok, just make sure you pack the things you don’t need as often at the bottom of the pack.
Some nicer packs have a front-loading panel. This makes packing and unpacking a little more like a standard suitcase. Plus, it gives you quicker and easier access to all your gear.
Pockets: It’s nice to have a variety of different smaller pockets in addition to the large main compartment. They’re good for storing items you might need to reach for in a hurry, like snacks or a water bottle.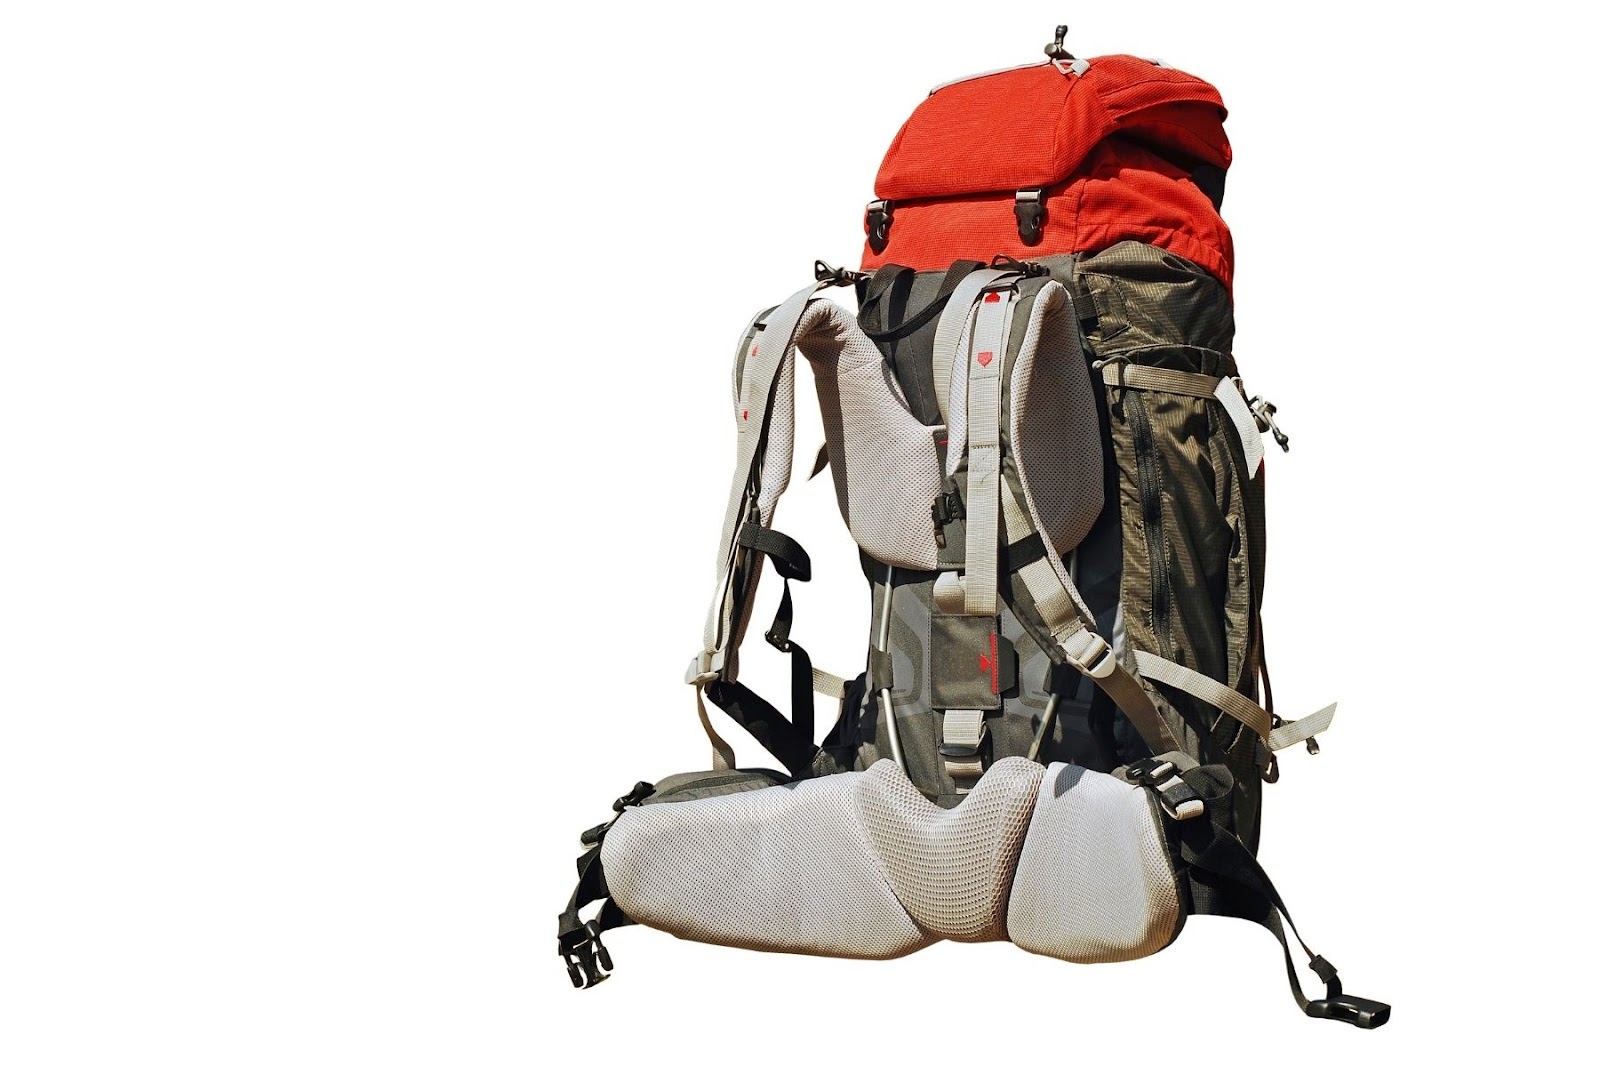
Fit: Most backpacks come standard in either men’s or women’s sizes. Better quality backpacks even let you adjust the hip belt and shoulder straps up and down to fine-tune the fit to your torso.
There are tons of different backpack manufacturers out there. If you already like to camp and want to make backpacking a regular thing, it’s worth investing in a good backpack.
Some of the top brands are:
- The North Face
- Kelty
- Lowe Alpine
- Gregory
- REI
Here are some nice options for short backpacking trips
Backpacking Tent
Your next priority should be your tent. Don’t think that you can use the normal tent that you load up in the back of your SUV for campground camping. Campground tents are usually too bulky and heavy to take backpacking. 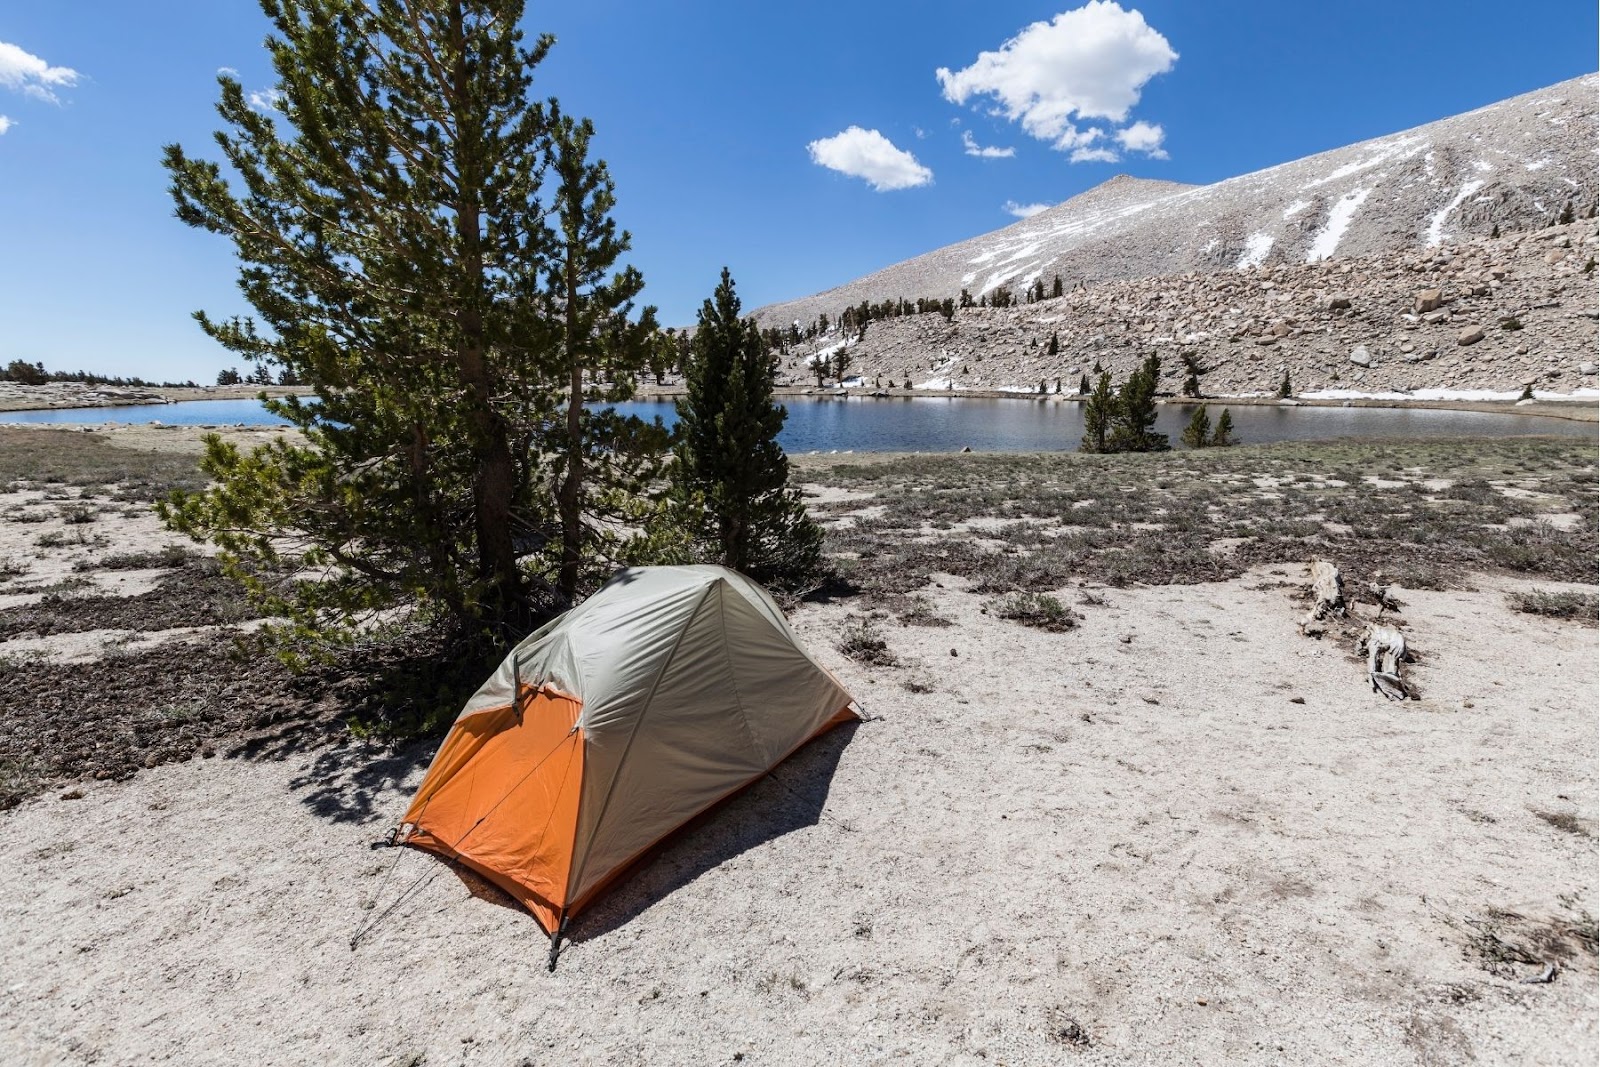
Size: It’s important to find the right balance between small and light, while still being comfortable enough that you don’t feel overly claustrophobic.
You won’t be able to stand up in a backpacking tent, but it’s nice if you can easily sit up without bumping your head on the ceiling.
You also want to think about where you’ll keep your gear during the night. If the tent is so small that you can barely squeeze in, where will you leave your backpack?
Most tents have an external rain fly and in some cases, the rainfly extends beyond the actual tent to create a covered vestibule. This is a really nice feature and gives you a place to leave your boots and pack where they’re still protected.
Season: Tents are classified as 3 or 4-season. Unless you’re an adventurous type who thinks it’s a good idea to do their first backpacking trip in the dead of winter, you’ll be just fine with a three-season tent.
A three-season tent will help trap some heat on colder nights but still provide plenty of ventilation options for camping in the summer.
A lot of the same outdoor brands mentioned above also make quality backpacking tents. Get a backpacking tent from one of those companies and you know it’ll be lightweight, easy to set up, and durable.
Here are a few nice options for backpacking tents:
The North Face Stormbreak 1-Person Tent
Coleman Hooligan (Available in 2, 3, and 4-person sizes)
Backpacking Kitchen
Remember one of our first beginner backpacking tips… keep it simple. Your camp kitchen can get real complicated, real fast.
Sure you could bring your 7-piece cooking set, main course and dessert silverware, plus your set of wine glasses. Just remember… the more you bring, the more you have to manage when you’re out in the woods without a table. And the more you’re going to have to wash after your meal.
So, keep it simple.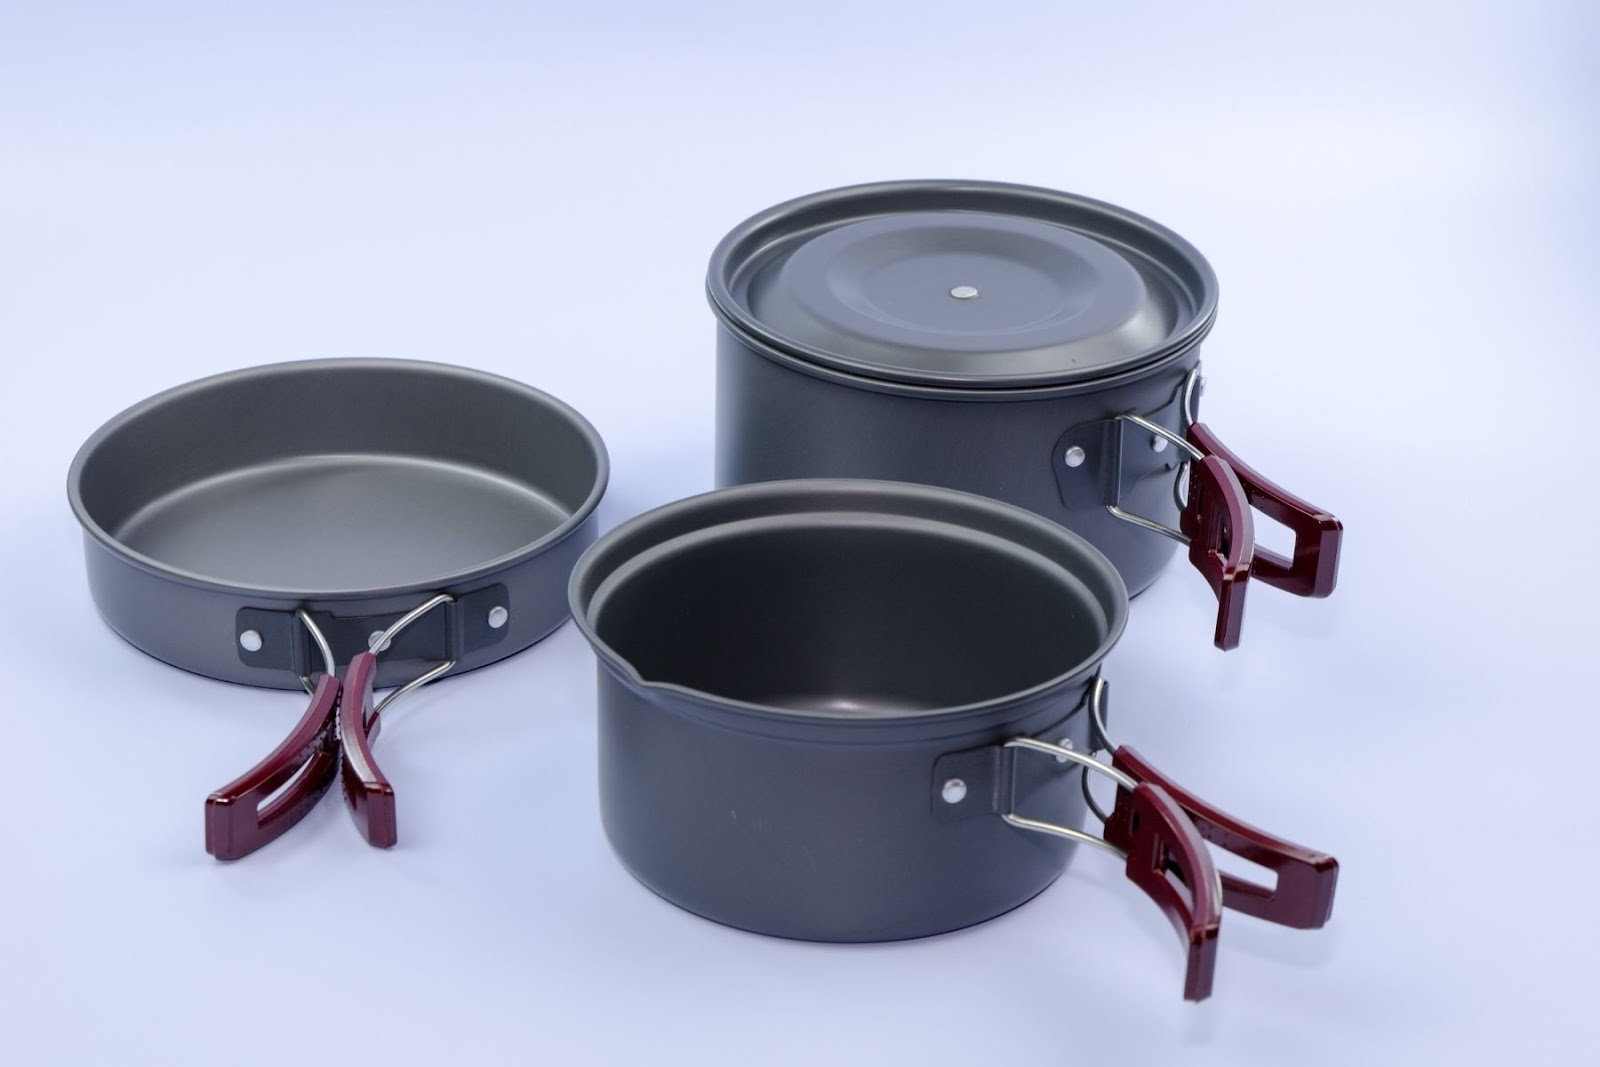
When it comes to cookware, it’s best to bring a multi-use pot that you can use for a variety of meals.
For your first trip, you can bring one from home, but if you’re planning on spending more time in the woods, it’s worth it to get a small cook and kitchen set like these. They’ll be lighter and more compact than anything you can bring from home.
Although you feel all outdoorsy when cooking over the fire, plan on taking a small camp stove as well. Having a small stove is nice for cooking your meal or heating up water for tea without having to depend on your fire. (Believe me… there’s nothing worse than trying to start a fire while you’re hungry.)
Here’s a good option for a lightweight backpacking stove.
MSR PocketRocket 2 Mini Stove Kit
Sleeping Bag
When choosing a sleeping bag, be sure to check the temperature rating so you get the right bag for the weather you want to hike in.
It’s also important to get a sleeping bag designed for backpacking. These will have better quality insulation that will keep you warm without adding a lot of bulk. 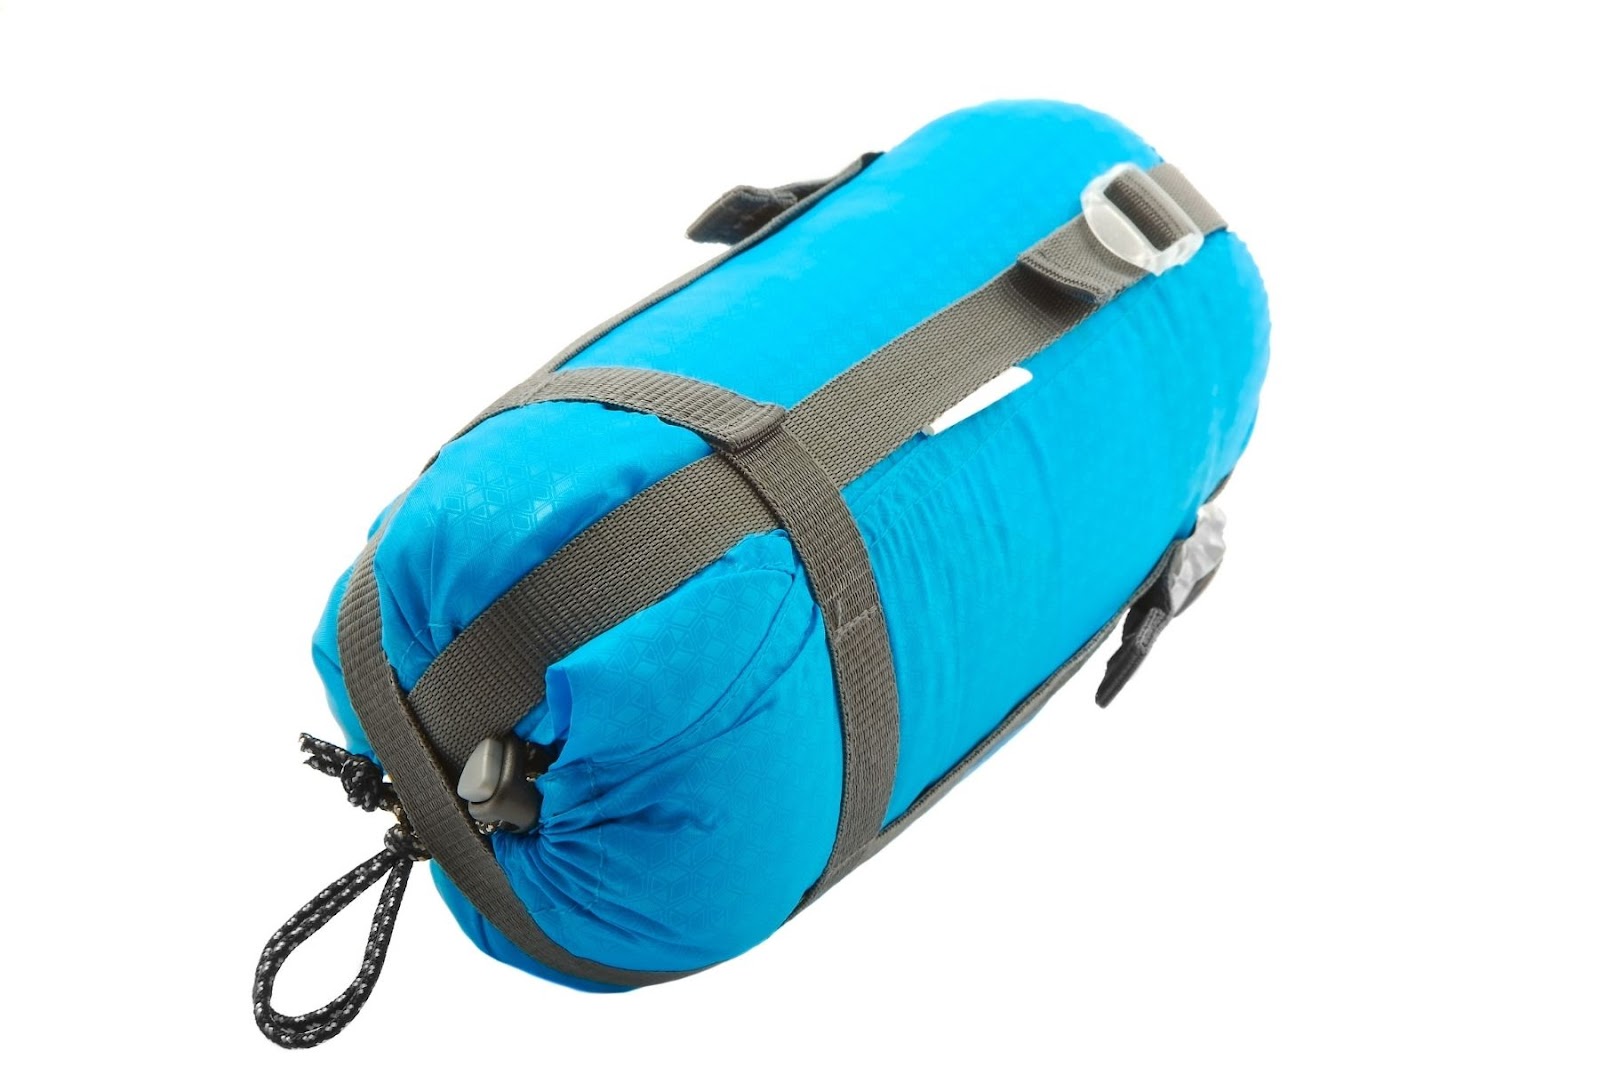
Here are two solid options for backpacking sleeping bags.
Kelty Cosmic 40 Degree Sleeping Bag – Great for fair-weather campers
Kelty Cosmic 20 Degree Sleeping Bag – A good option if you plan on hiking in colder weather
Sleeping Pad
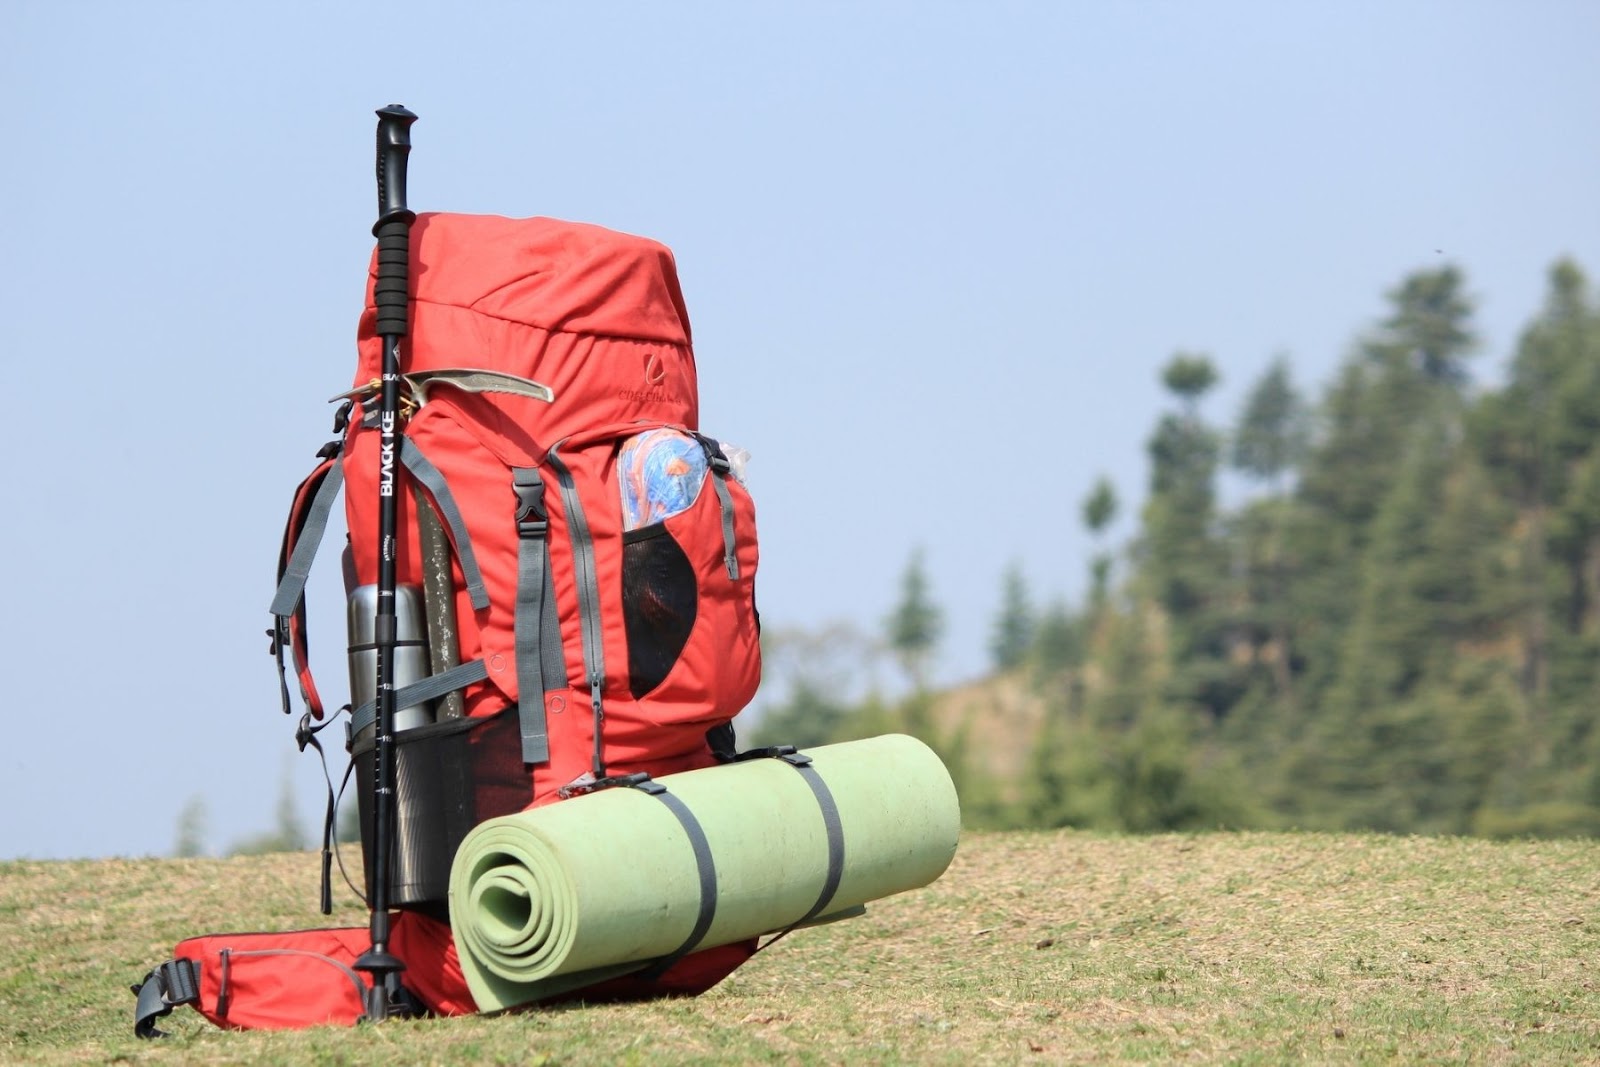
Sure, you could rough it and sleep on the hard ground, but a simple sleeping pad is worth taking along. It’ll only add a pound or less to your pack and larger ones can easily be strapped to the outside just like in the picture.
Here are two good options for sleeping pads.
Sea to Summit Self-Inflating Pad
Sleepingo Camping Sleeping Pad
AceCamp Portable Foam Sleeping Pad
First Aid Kit
We’ve all had scrapes and falls on our backpacking trips, which is why it’s so important to be prepared with a basic first aid kit. It doesn’t have to be anything fancy, but should definitely include a variety of band-aids and bandages, alcohol wipes, and some simple creams for burns and bug bites. A pair of tweezers is also nice for removing splinters or even ticks.
Light
Another basic necessity you’ll have at night is a flashlight. However, a flashlight can be cumbersome to use while trying to clean up your camp, cook a meal, or answer nature’s call. That why I really suggest you get a headlamp. A good headlamp makes it sooooo much easier to do things at night.
Well, this is quite the list. Add it all up and it can get a little pricey. If you’re not sure if you’re going to like backpacking and don’t want to make a big investment, see if you can use some things you already have.
Or even better, ask around and see if you can borrow some of your friends’ gear, at least for your first trip. (You’d be surprised at what people have in their basement collecting dust.)
Then, once you’ve had an amazing time on your first trip and already want to start planning your next one, you can invest in some quality backpacking gear.
So we’ve covered some of the basic gear you should bring on your first overnight hiking trip. But what about backpacking food?
Tip #6 What Should I Cook On My First Backpacking Trip?
Food: Just like we said before…keep it simple. Think, one-pot meals that are easy to prepare and cook. 
You also want to bring food with a high calorie to weight ratio. Things like trail mix, nut butters, and protein bars should always have a place in your pack.
And of course, since you’re far away from refrigeration, you need to make sure whatever you bring is non-perishable.
The simplest option is to bring some dehydrated meals. Although they’re generally associated with the unhealthy and poor-tasting army meals from decades ago, these have come a long way and you can actually get some tasty options. The best part is that they’re lightweight and all you need to do is add boiling water to cook them. Some of the best are from Backpacker’s Pantry.
In addition to the dehydrated meals made for backpacking, here’s a list of some other ingredients that are perfect for hiking.
- Sealed meats (Tuna, salmon, and chicken that comes in the foil packets)
- Pre-cooked beans in sealed foil packets (Cans are heavy)
- Preserved meats like pepperoni and salami
- Instant oatmeal packets (These make for a really easy breakfast)
- Pre-mixed spice packets
- Instant coffee (I’m not talking about the old stuff your grandfather used to drink. I mean the good stuff. Using instant makes the morning routine a whole lot easier.)
- Ramen noodles
- Cereal
- Powdered milk (Can be used for making cream sauces or just for a bowl of cereal)
- Nut butter packets
- Jerky
- Hard Cheese
- Granola Bars
- Nuts
- Dried fruit
- Pasta, especially smaller pasta like macaroni and orzo since it cooks up faster
Need some backpacking recipe inspiration?
Don’t miss my article with 6 Simple Backpacking Recipe Ideas +Ideas for How to Create Your Own
And here are two more great articles other yummy recipes you can try.
*Don’t forget to head to my resource library and get your free backpacking printable with space for meal planning and food lists.
SECRET TIP! – If you’re just going on a short overnight trip close to home, you can take food that needs refrigerated even if you’re not carrying a cooler.
Seal it in a ziploc bag, freeze it solid the night before, then wrap it in foil and stick it in the center of your pack (away from your body heat and not in the sun). By the time you get to your campsite at dinner time, it will have thawed out and now be ready to cook. This works really well for things like marinated chicken breast or sausages that you want to cook over the fire.
Tip #7 How Much Water Should I Bring Backpacking?
Let’s not forget water. On longer trips, it’s impossible to carry enough water with you.
That’s another reason why I suggest beginner backpackers start out with just a short overnight trip. If you’re not doing a lot of really strenuous hiking, you can usually carry enough water in your pack and not have to worry about filtration.
How much water should you bring? Although a lot depends on how hot it is and how strenuous the hike is, you can figure at least ½ a quart of water per hour of moderate hiking.
So if you think you’ll be hiking a total of 6 hours on an overnight trip, you’ll need to carry at least 3 quarts of water, just to cover the time you’ll be on the move. Add another quart or two for dinner and breakfast and you’re good to go.
Water can be bulky to carry, which is why a lot of backpackers use either a bladder that’s specially designed for their backpack and with a tube to drink from, or a simple collapsible water bottle like this one.
Platypus Platy 2-Liter Ultralight Collapsible Water Bottle
Once you decide to take longer trips, you’ll need to decide on a way to collect and filter your water. This guide below should help.
The Complete Guide: Water Purification While Backpacking
BONUS Tips to Help Make Your First Overnight Hiking Trip a Success
Weather: Don’t try to go backpacking in the rain or snow for your first trip. Plan it when it’s warm and dry.
Leave no trace: Respect the outdoors and try to leave them exactly as you found them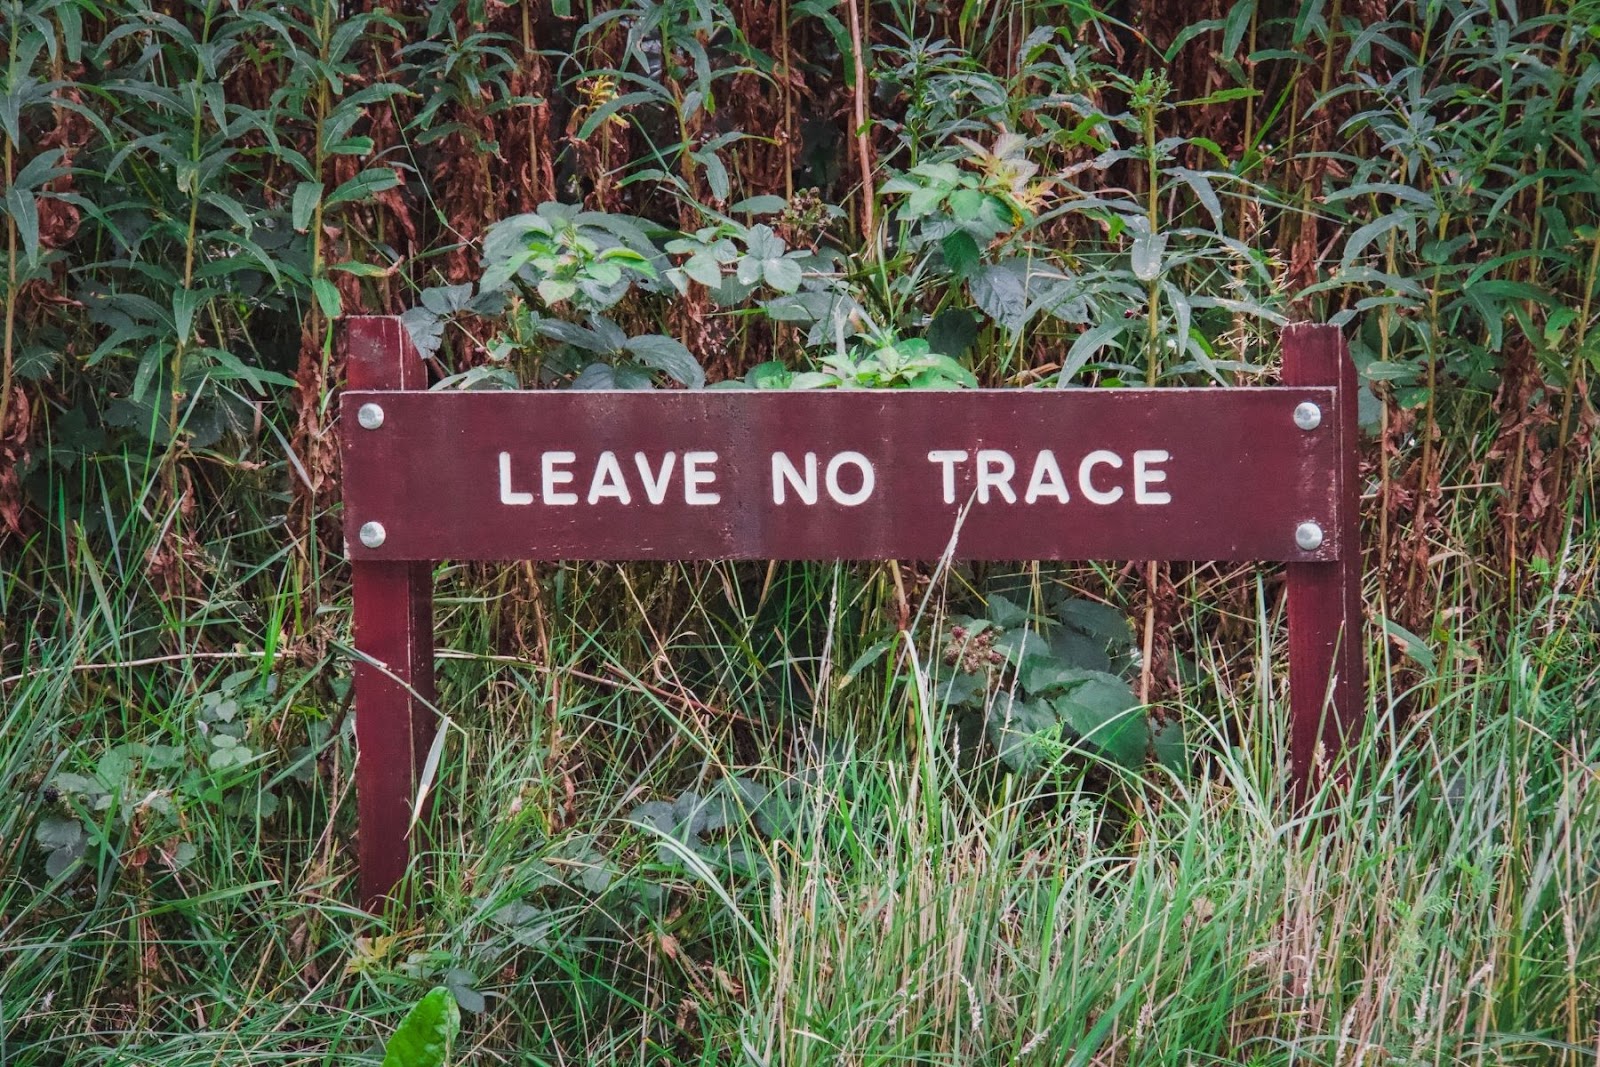
Learn more about Leave No Trace.
Be careful with strong scents: Strong scents can attract animals, so use the old hanging a bag over a branch technique to keep these things where animals can’t get to them. Here’s a handy video that explains how to do that.
Let someone know you’re backpacking: Let a friend or family member know where you’ll be and when you should be getting back. Once you finish your hike, be sure to check in so they know you’re ok.
You will come home dirty and stinky: If you don’t then you’re doing something wrong.
What about when nature calls? #1 is pretty straightforward. For #2, check local park regulations. In most cases, dig a hole and bury it. This is all part of the great outdoor adventure.
Navigation: For your first trip, plan to follow a well-marked trail. However, it never hurts to have offline maps downloaded on your phone just in case. And bring along a small power bank so you know you’ll always have juice.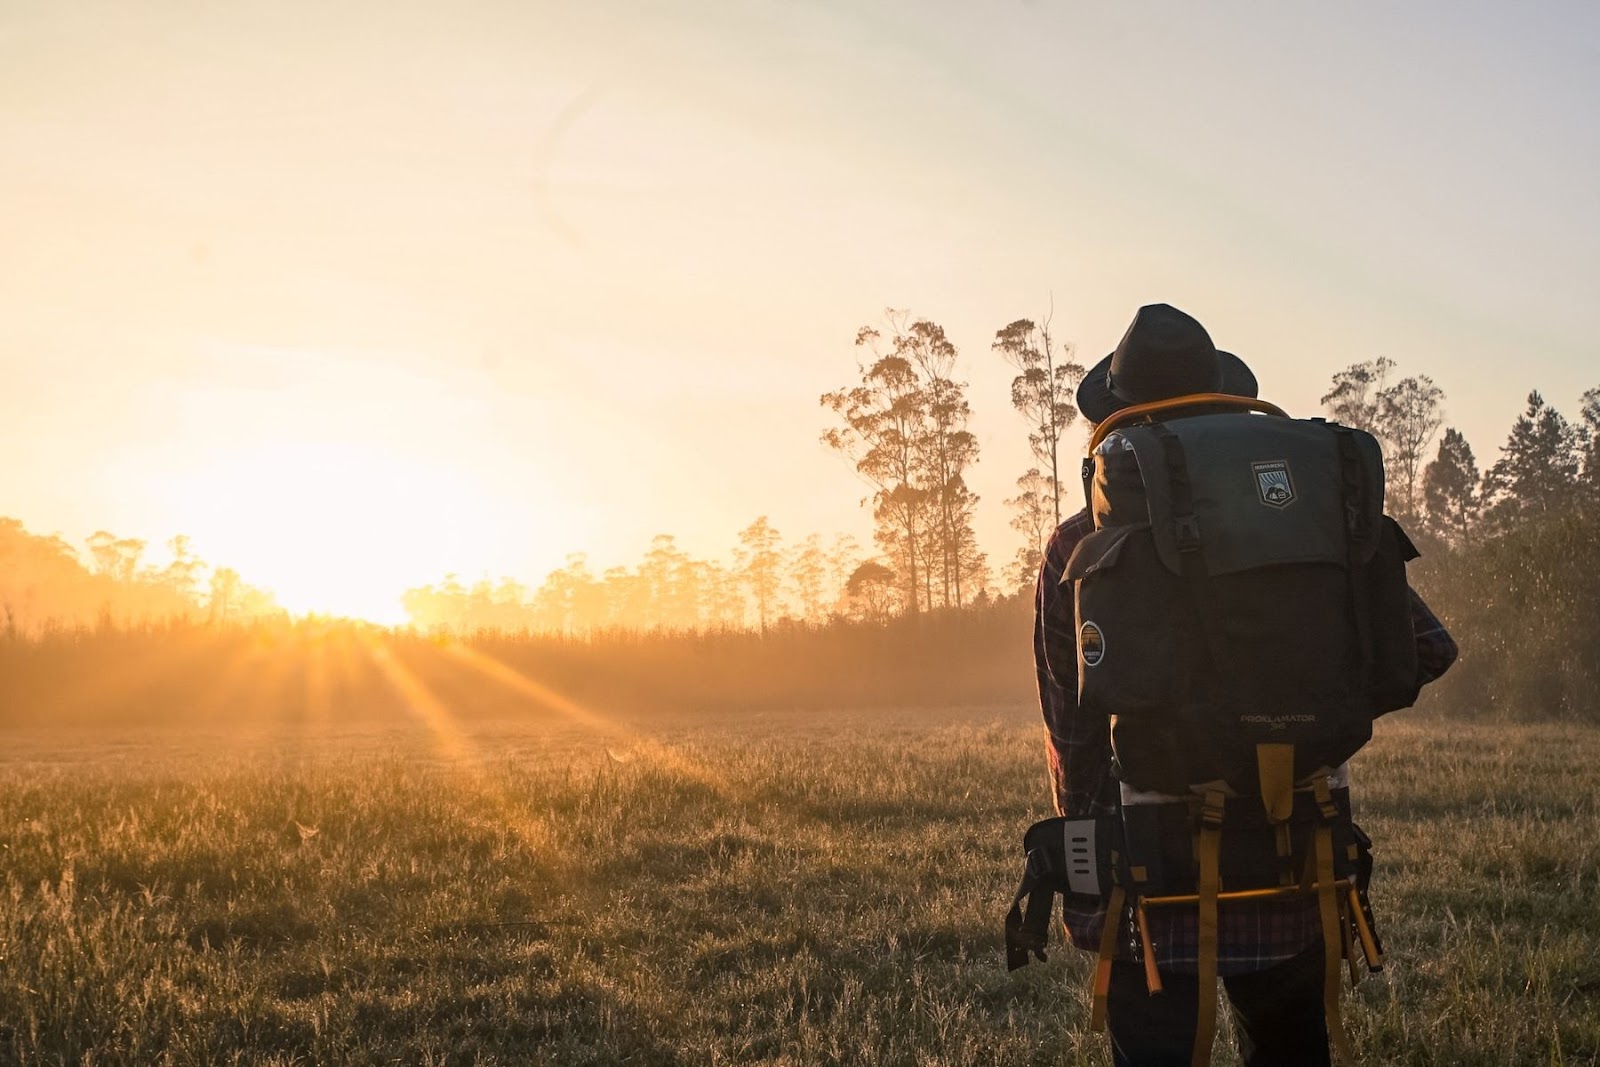
Ready for your first backpacking trip?
Can you hear it?…. The trails are calling. You’ve got all the info you need for your first overnight backpacking trip. Don’t forget…
- Head to my free resource library and get your backpacking printable
- Keep it short
- Keep it simple
- Have fun
I’d love to hear how your first backpacking trip went. Shoot me a message on Facebook or Instagram and we can swap crazy camping stories!
And don’t miss my other backpacking articles with practical tips for making your overnight hiking trips a success!
6 SIMPLE BACKPACKING RECIPE IDEAS + HOW TO CREATE YOUR OWN!
YOUR ULTIMATE BACKPACKING KITCHEN GUIDE – GEAR, FOOD + FREE CHECKLIST
HOW TO PURIFY WATER WHILE BACKPACKING | THE COMPLETE GUIDE
BACKPACKER SURVIVAL SKILLS | 11 BASIC OUTDOOR SKILLS YOU NEED FOR YOUR FIRST HIKE
BEGINNER’S GUIDE TO PACKING A BACKPACK FOR HIKING | EXPERT TIPS TO HELP YOU PACK LIKE A PRO
FIRST-TIME BACKPACKER? HERE ARE THE BEST PLACES FOR YOUR FIRST OVERNIGHT HIKING TRIP