In wine there is wisdom.
In beer there is freedom.
And in water… there is bacteria.
Sadly, while camping and backpacking we can’t survive just on wine and beer. That’s why we need to figure out how to filter and purify water while backpacking.
Sure you can try to carry all the water you need, but water gets really heavy, really fast. A gallon of water weighs a little over eight pounds and you’ll need almost a gallon of water a day while backpacking. That means if you’re going on a hiking trip longer than one night, you’ll have to find a way to purify water.
So what are your options? What types of filters, purifiers, chemical tabs, etc. do you need to make sure you’ll always be able to purify water while camping?
First, we’ll go over the basics of water purification while in the wilderness. Then we’ll look at the most common methods you can use to always get filtered water while hiking.
Water Purification While Camping & Backpacking – The Basics

Water Purification vs. Water Filtration
These two words are similar and are often used interchangeably when talking about water filters and purified water. But actually, there is a slight difference.
Water filtration – Filters physically remove bad things from the water – nasty stuff like sediment, bacteria, protozoa, heavy metals, and some chemicals. As a water filter gets filled up with more and more of these things, it eventually needs to be replaced or cleaned.
Water purification – Water purifiers offer another level of protection. They’ll either filter out smaller things (like viruses) that might make it through a normal microfilter, or they’ll use some kind of purifying agent to kill viruses and anything else that’s left in the water. You can do this with chlorine, iodine, or even UV light.
So without making this a reenactment of your 8th-grade chemistry class, let’s answer the question you’re probably wondering…
Which Do I Need for My Backpacking Trip – A Purifier or a Filter?
It depends. If you’re going to be camping in a remote area without a lot of human traffic, then a water filter designed to remove sediments, protozoa, and bacteria should be enough.
Don’t get these backpacking water filters confused with single-stage activated carbon filters that just remove bad tastes from tap water. Don’t think you can whip out your Brita pitcher to filter some sketchy pond water.
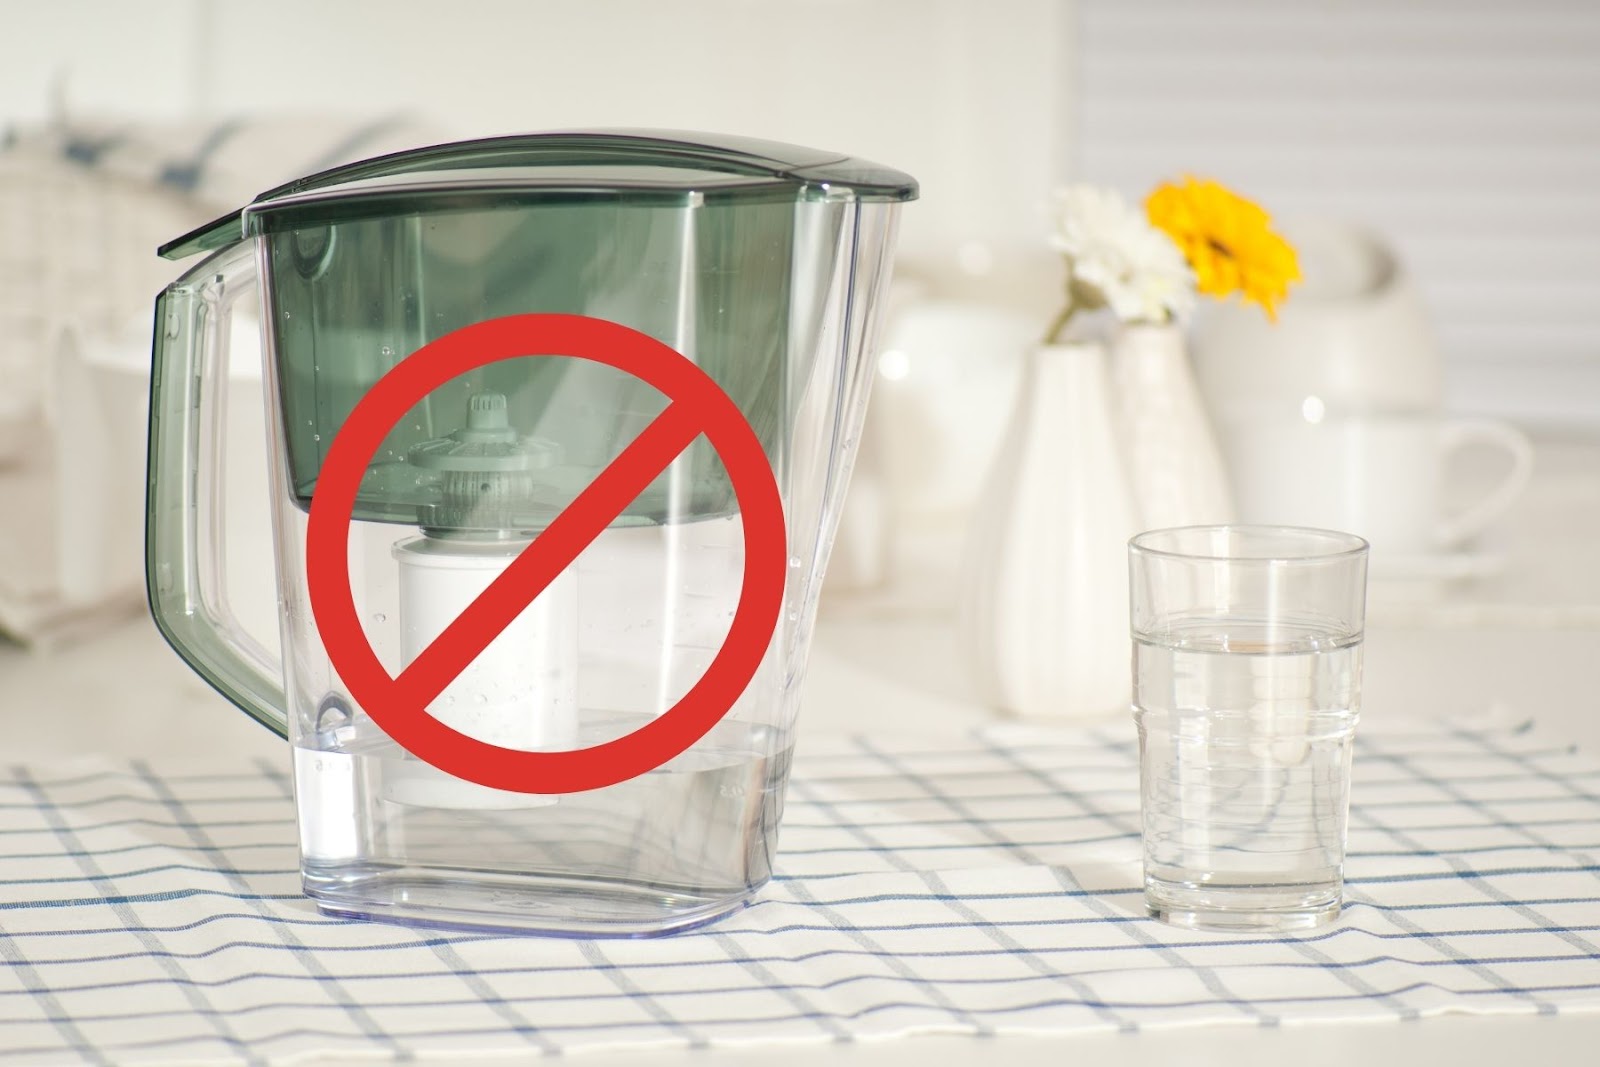
You NEED to make sure that your water filter is guaranteed to remove more than just the bad taste. Here’s a good article that helps you decipher the different testing requirements and standards for water filters.
Now if you’re going to be hiking close to home – which is a smart choice for your first backpacking trip – that means you’re probably closer to human traffic (homes, farms, industries). In this case, it’s a good idea to get the extra protection of a water purifier. As you’ll see below, you could do this simply by dropping a water purification tablet into your already filtered water.
So let’s look at a few of the common methods you can use for purifying water while camping and backpacking.
Top Ways to Filter & Purify Water While Camping
Keep in mind that sometimes you may want to combine two or three of these water purification methods, especially if the only water you have is murky and from a questionable source.
Pre Filter – To get the worst of it
If the only water you have access to is a little murky or has a lot of debris, it’s best to pre-filter the water in some way. This will help prolong the life of your more expensive water filter by removing most of the large debris and sediments.
Fortunately, it’s pretty simple and you don’t need any specialized equipment.
Pre-filter your murky water with…
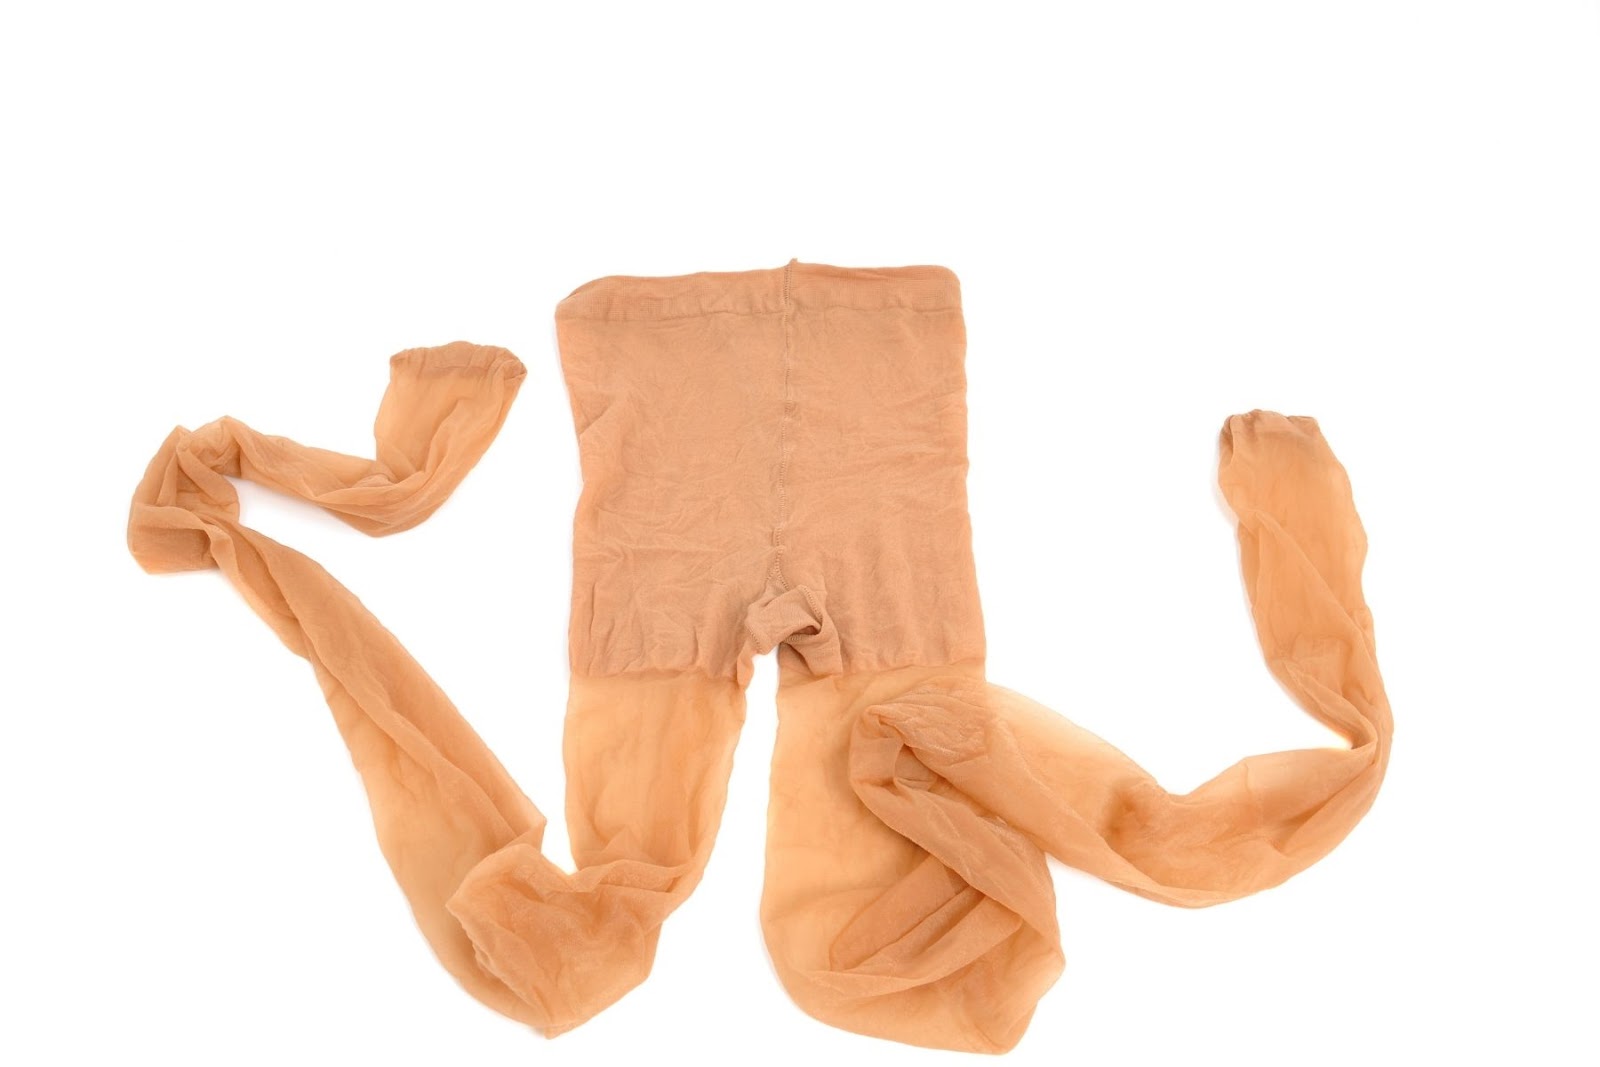
- Pantyhose (It just shows that you should never go anywhere without an extra pair of pantyhose) 🤣
- Coffee filters
- Sock (Use a clean sock or else it kind of defeats the purpose of trying to get cleaner water. Plus, not all filters are rated to remove dirty sock taste from your water 😋
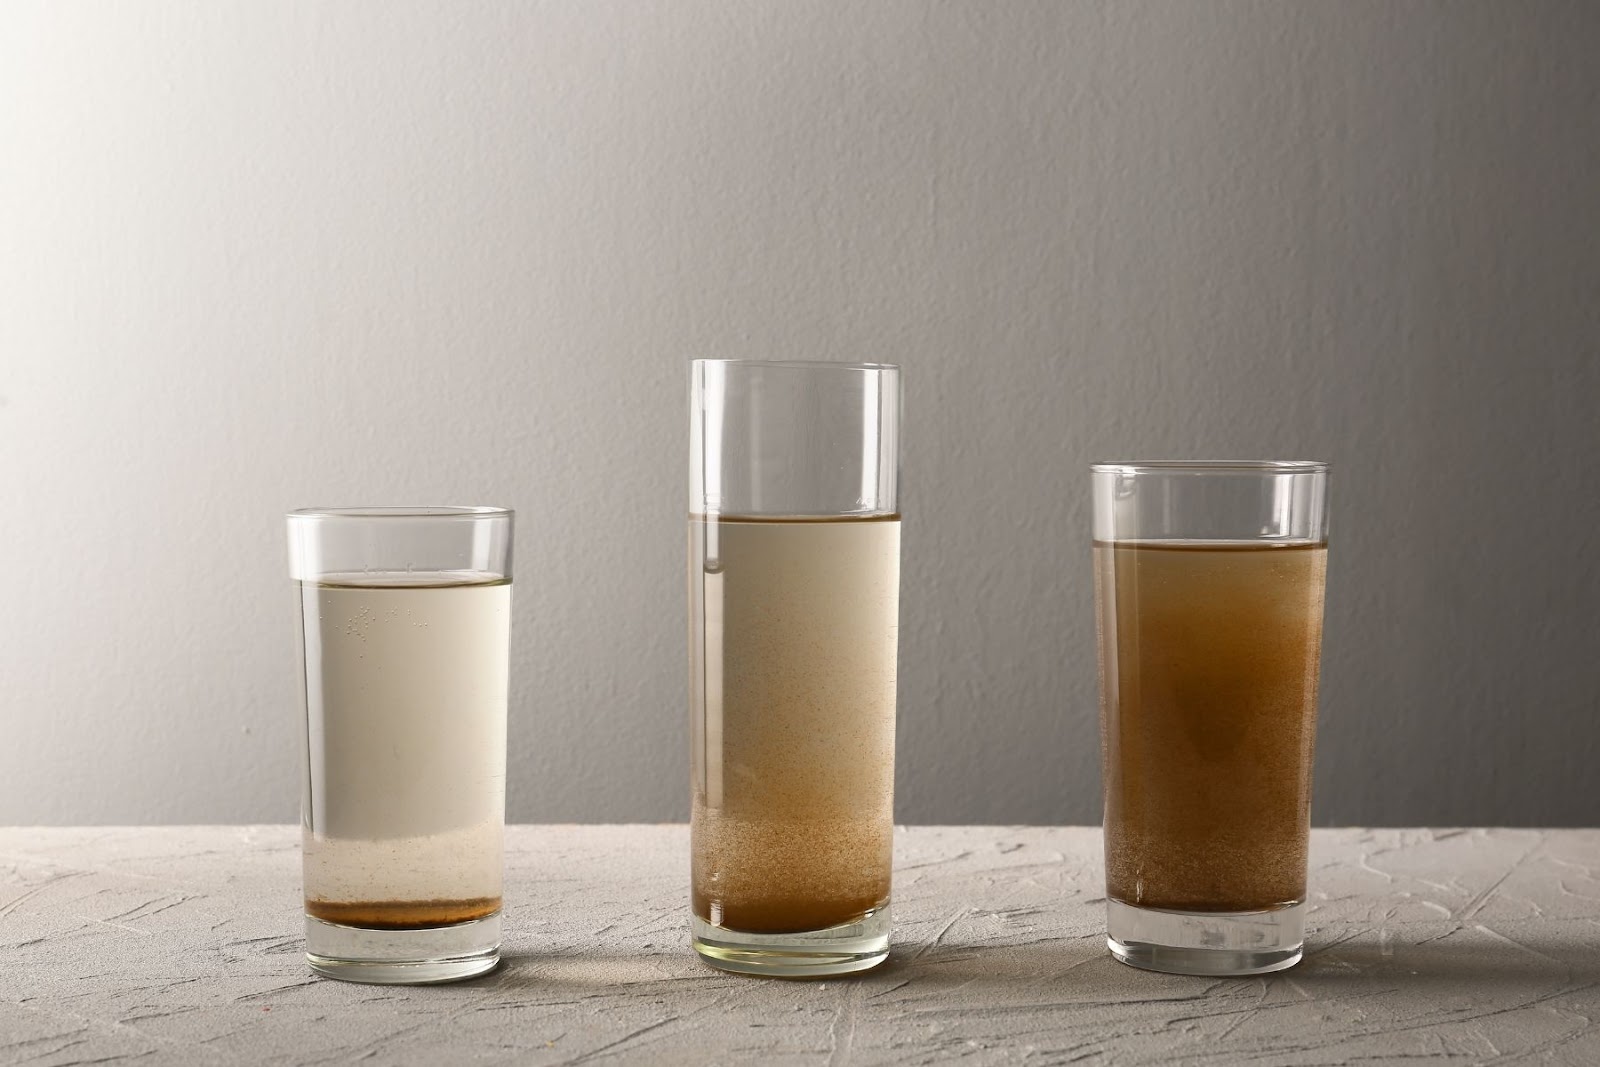
After pre-filtering murky water, it won’t be crystal clear but it should look a little better. Then you can move on to one or more of the following water purification methods.
Boil Your Water
If water filters and purifiers were cars, the boiling water method would be like the old farm truck – it’s been around forever, not the easiest to use, but it gets the job done. Oh, and it also uses a lot of fuel.
Boiling water is one of the most reliable ways to purify water while hiking. Just bring it to a rolling boil for a minute and BAM! You’ve got purified water with no bacteria, no protozoa, and no viruses.

The downside is it doesn’t remove things like chemicals, heavy metals, or bad tastes. But if you’re hiking in a remote area and can get water from clear streams or lakes, you don’t have to worry about these as much.
Boiling your water also uses up a lot of fuel, so make sure to bring along extra fuel canisters if you’re relying on boiled water as your main source of purified water.
Don’t forget: If you’re at higher altitudes, you need to boil your water longer to effectively kill everything in it. Basically, if you’re above 6,500 feet you should boil it for at least 3 minutes. There’s some fancy scientific explanation of why this is necessary, but all you need to remember is, higher elevations = longer boiling.
If you’ve got plenty of access to dry kindling, you can take along a wood-burning backpacking stove like the Solo Stove Lite. That way you can boil as much water as you want without worrying about carrying extra fuel canisters!
Check out my Solo Stove Lite review to see how long it takes to boil water.
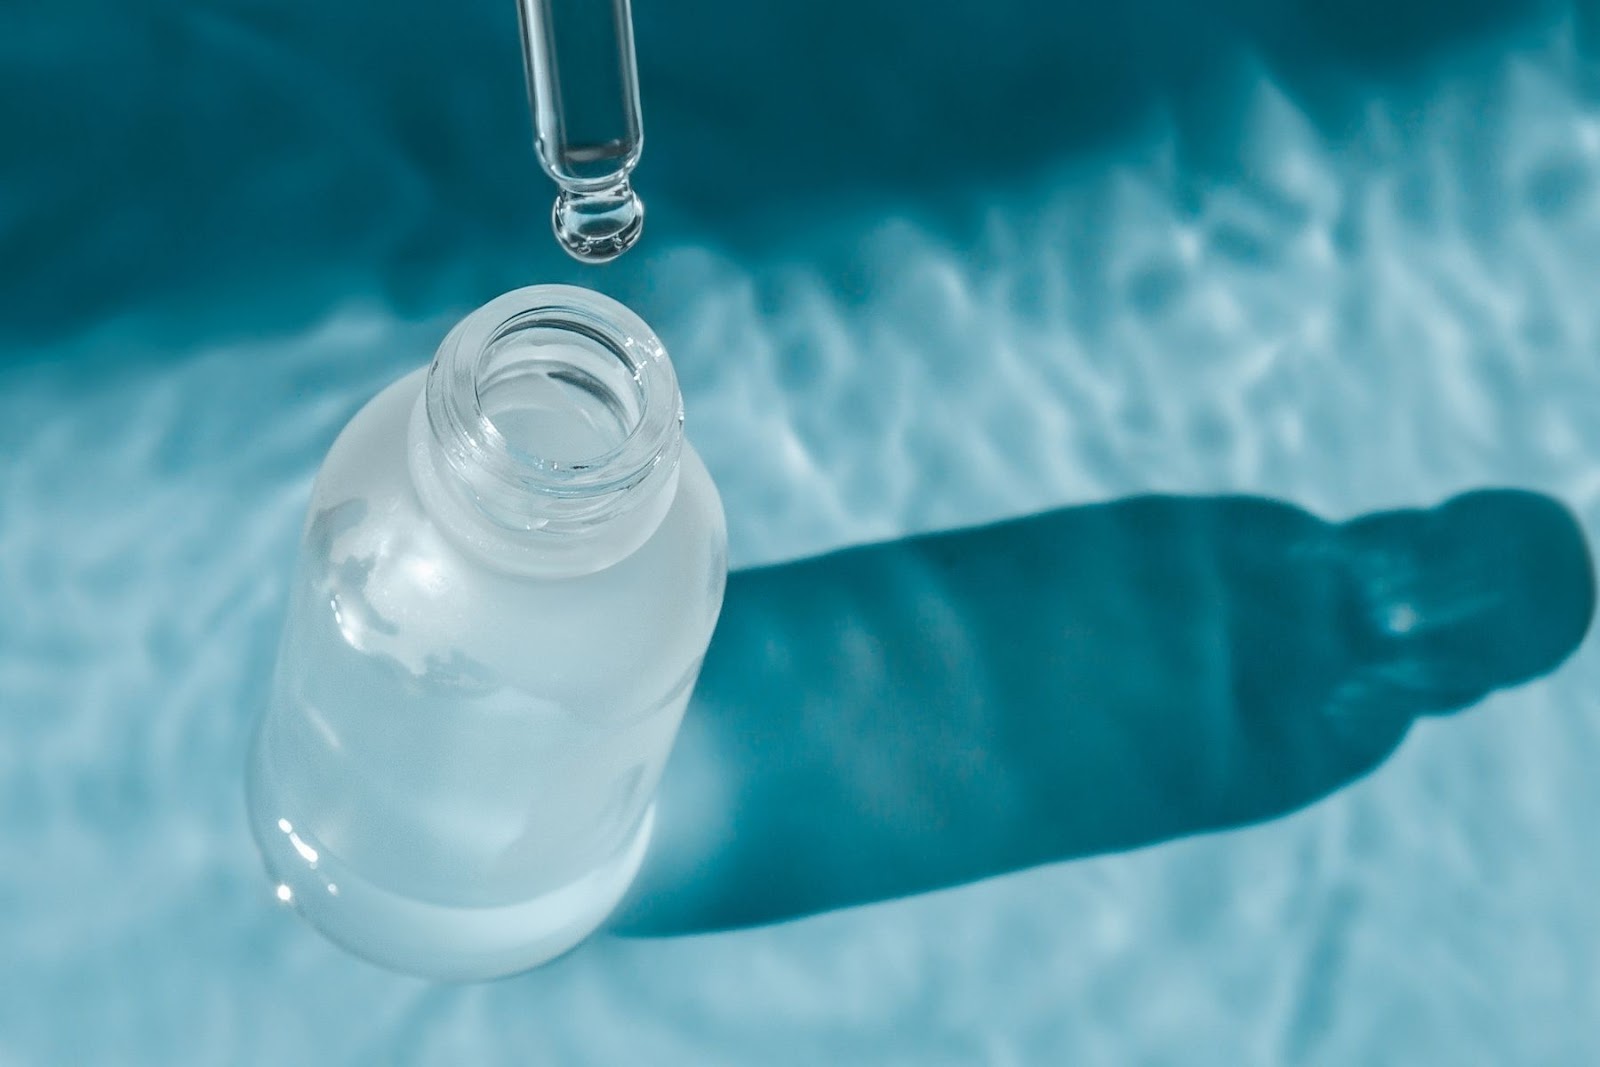
Chemical Purification
Liquid chemicals and water purification tablets are the favorite of most lightweight backpackers on a budget. A small jar of iodine tablets or purifying liquid weighs a lot less than a filter and can purify several weeks’ worth of water.
Also, if you’re getting water from a really questionable source, it’s worth it to use some chemical purification in addition to a normal microfilter.
Household Bleach: For backpackers on a budget who want peace of mind, just a few drops of regular, unscented household bleach will effectively purify water. You have to let it sit for about half an hour and it’ll have a bit of a chlorine taste, but it is effective.
Here’s a page with a detailed explanation of how much bleach is required to purify different amounts of water.
Premade Water Purification Tablets or Liquids
Iodine tablets or other premade chemical treatments are the easiest to use since they’re premeasured and easy to dose based on how much water you need to purify. Plus they’re usually made to taste better than simply using a few drops of bleach.
Here are some good chemical treatment choices.
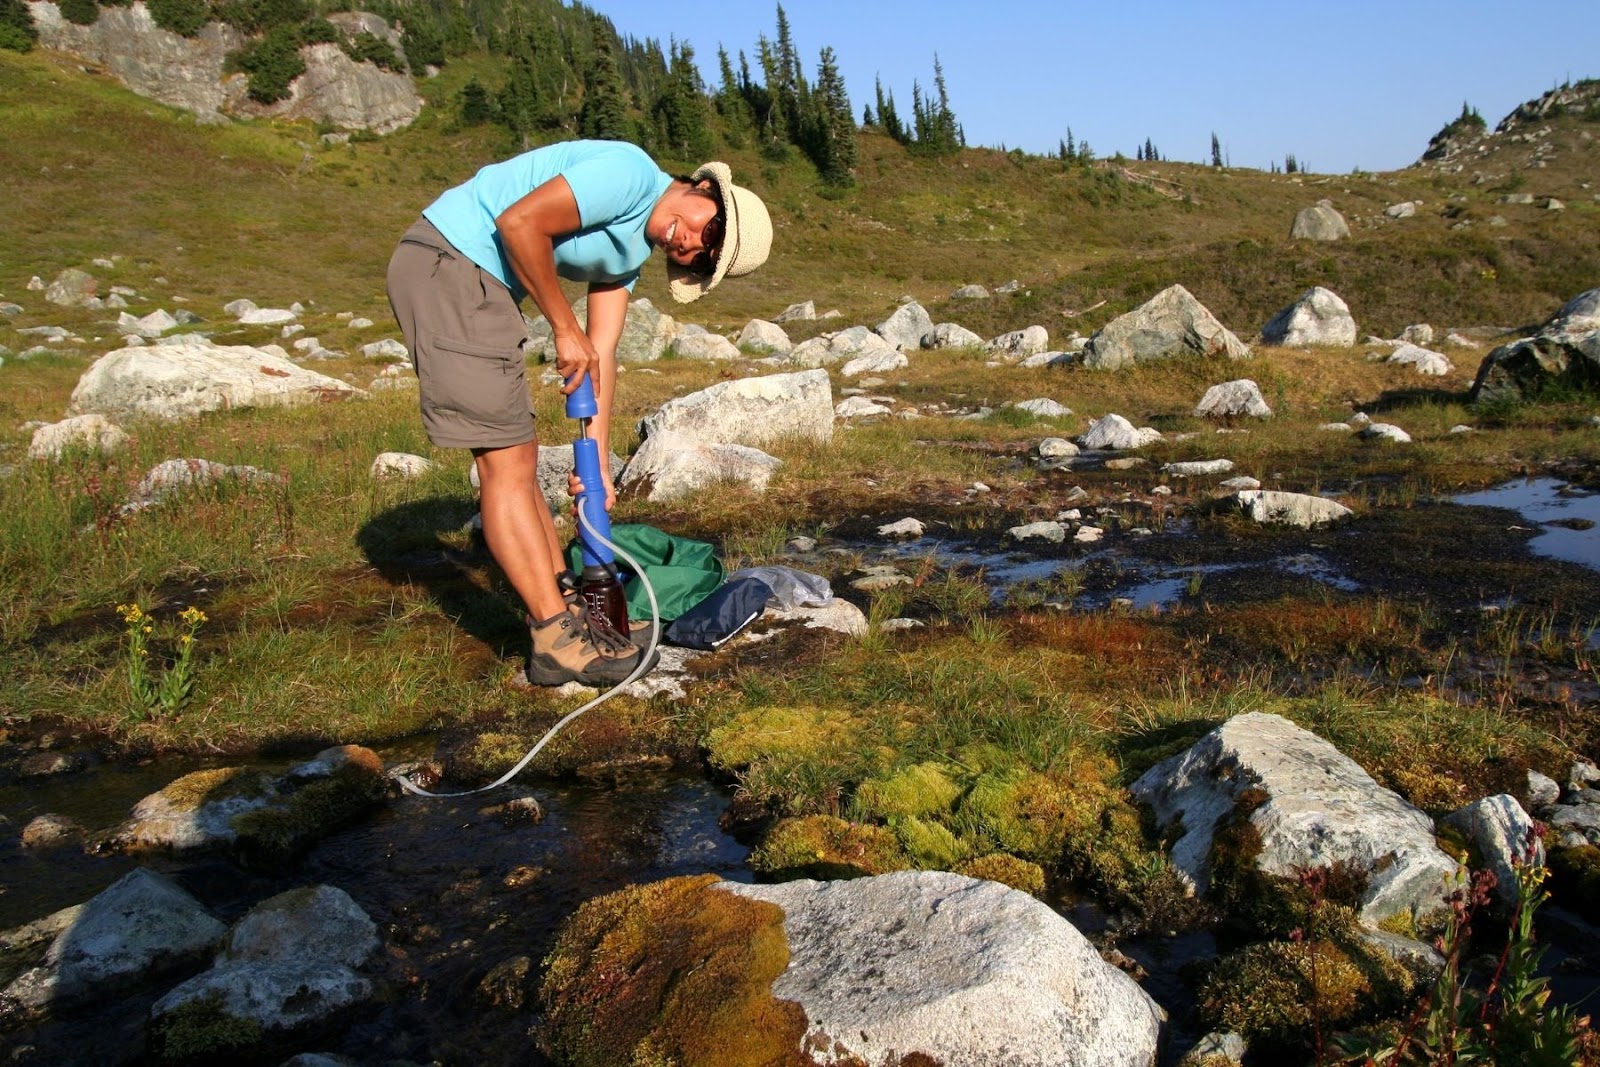
Pump Filters and Purifiers
Pump-style filters have long been the choice of serious adventurers who need to filter water while camping in the wild. They’re easy to use and let you quickly filter a day’s worth of water.
Just dip the one hose in your water source, place the other end in your water container, and pump away. The hose makes it really convenient to get water from a variety of sources, like a stream or even a hole in the ground.
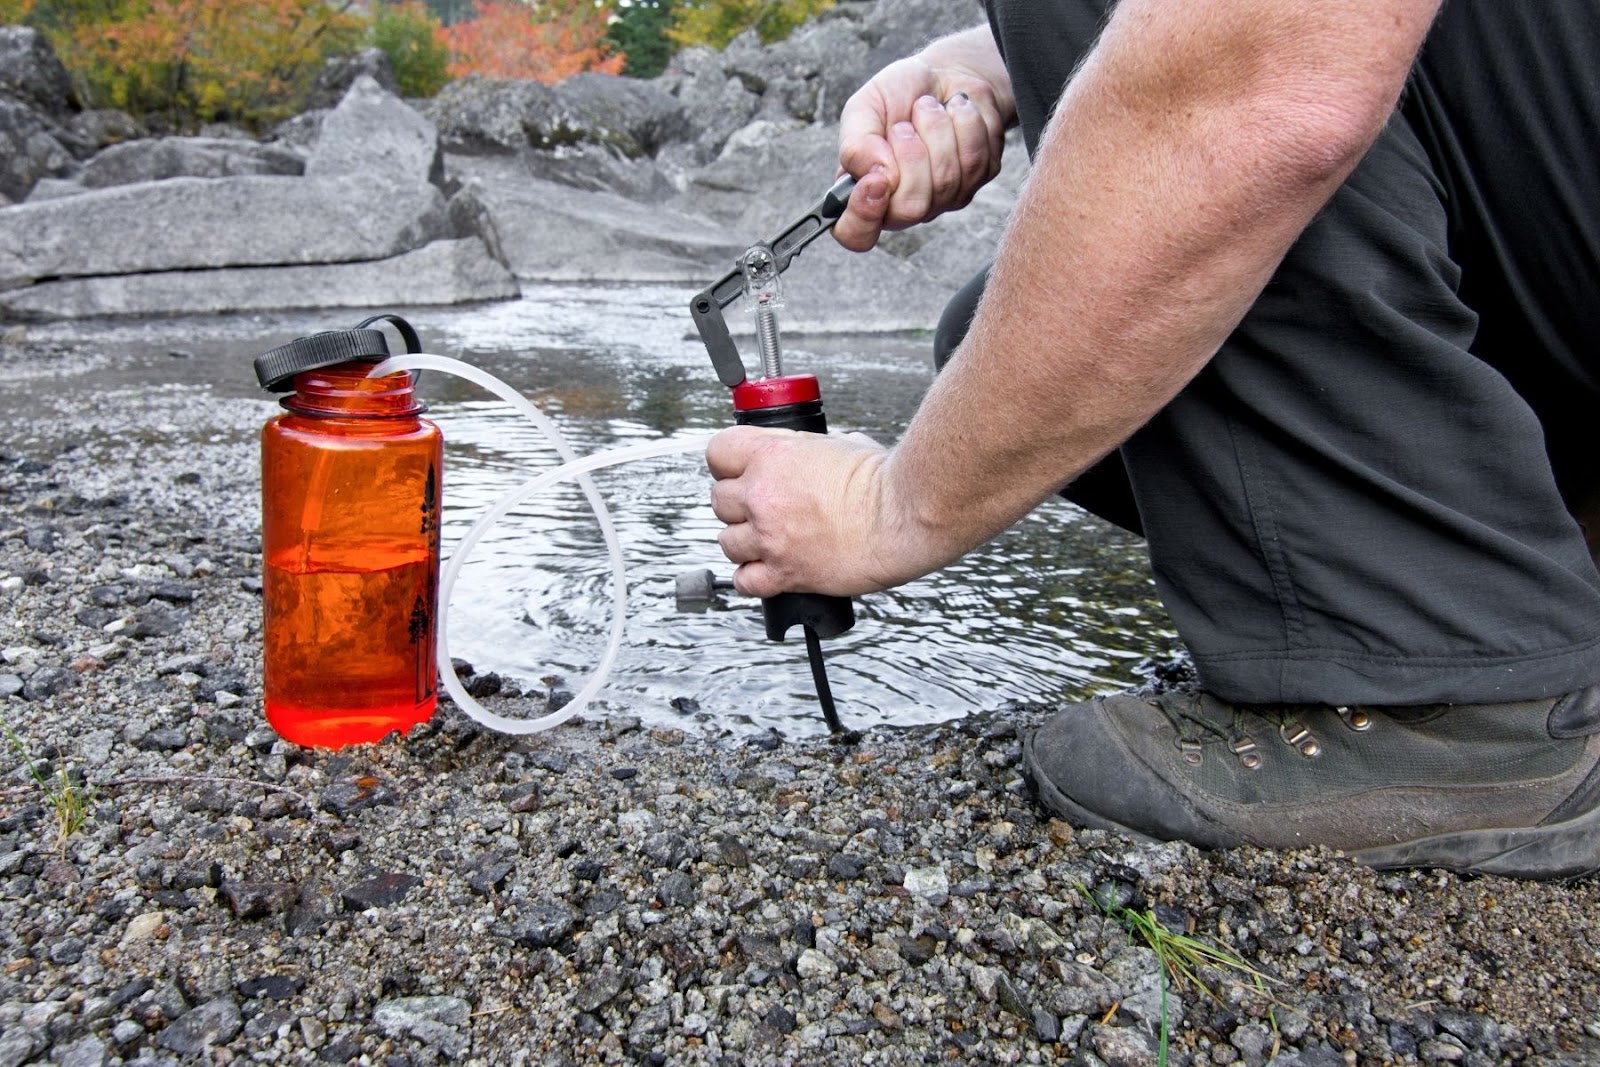
Below are two examples of quality water filters for backpacking that’ll be able to handle water from most sources you’ll find while hiking in the backcountry. They’re small, relatively inexpensive, and only weigh a pound or two. Plus, they let you filter about a quart of water per minute (depending on how fast you pump).
Katadyn Hiker Microfilter Water Filter
For the ultimate in backcountry purified water check out this MSR Guardian Military Grade Water Purifier. Yep, that’s right, PURIFIER. It can treat up to 10,000 liters of water and has a super-advanced water filter that even physically removes viruses, so there’s no need to use any extra chemical purification methods.
Bottle and Straw Filters
When you first see a filter straw you probably think, “WOW! What could be easier? I just put it in a stream and sip perfectly clean water!”
But the first time you try and drink water out of a stream while lying face down on river rocks you realize it’s a little harder than you imagined. That’s why a lot of the water filter straws come with attachments that let you add a water bottle to one end for easier drinking.

You can also get water bottles with a filter built right into them. But one thing you should keep in mind is that it takes quite a bit of effort to suck water through a filter bottle or straw. You’ll probably have sore face muscles after a day of sucking water through one of these.
However, they are a convenient solution for shorter backpacking trips where you don’t want to carry an extra pump filter. And some are designed to make it easier to drink water through the filter.
Here are some nice options for water filter bottles you can take on your next overnight camping trip.
Katadyn BeFree Water Filter Bottle – The collapsible bottle is nice. You can squeeze it to push the water through the filter and out the mouthpiece.
LifeStraw Go Water Filter Bottles
LifeStraw Flex Multi-Function Water Filter – This has a straw filter you can use to drink straight from the stream, or you can add it to the included water bottle. It even has threads that let you screw it on the top of most standard water bottles.
What about a water purifier bottle?
Check out the innovative design of the GRAYL Ultralight Water Purifier. You fill the bottle with water, push the filter down like a french press, and voila! You’ve filtered everything from heavy metals to bacteria and viruses. It’s truly one of the easiest ways to purify water while backpacking.
Gravity Water Filters and Purifiers
If you’re camping with a large group of people and you want to filter a lot of water without worrying about getting muscly arms from so much pumping, try a gravity filter.
Just fill the reservoir with water, hang it from a tree limb, and let gravity do the work. A gravity-fed water filter might be a little slower than a pump water filter, but it’ll treat your water while you’re doing other things like setting up your campsite.
Here’s an excellent choice for a gravity-fed water filter.
Katadyn Gravity BeFree 3.0L Water Filter
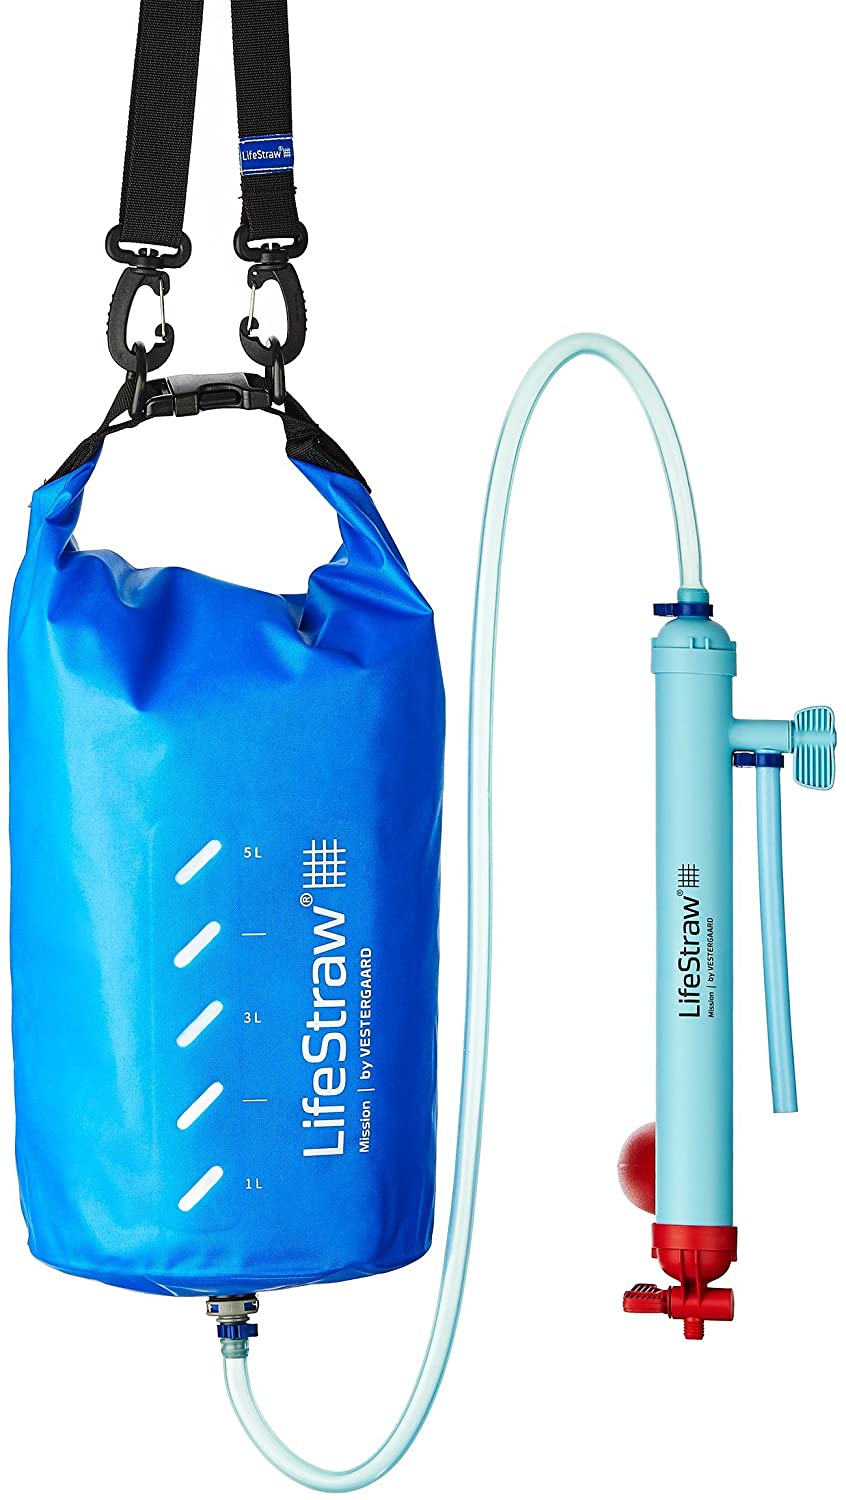
And for some extra peace of mind, try this family-sized gravity-fed water purifier. The large version can purify over three gallons at once so you’ll have enough for the whole family and to share with any thirsty critters who decide to visit your camp.
LifeStraw Mission Water Purification System
A Few Final Tips for Purifying Water While Backpacking
Make sure you keep your purified water bottles clean. All that pumping you did to purify your water doesn’t do much good if you put it in a dirty water bottle. Wash your bottles daily and rinse them with purified water.
Keep your hands clean. Same reasons as above. All the work you did to purify your water can be in vain if you simply forgot to wash your hands after answering nature’s call.

Follow the directions on your filter or purifier. Not all water filters work the same. Some need to be replaced more often. Some need to be rinsed every so many gallons. So make sure you read and follow the directions so you know you’re treating your water correctly.
Be mindful of where your toilet areas are. It seems obvious, but don’t forget to keep your toilet areas well away (and downstream) from any place you’re getting water.
Be careful in freezing temperatures. Some water purifying chemicals take longer to work in cold water. (Once again, read the instructions.) And a water filter that’s left to freeze overnight can crack and break leaving you up the creek without a paddle (or filter). Just stick the filter in the bottom of your sleeping bag overnight if it’s going to get well below freezing.
What should I do if my filter breaks? If you’re on an extended backpacking trip and something happens that leaves you without any kind of filter or chemical treatment, use the “old farm truck”. Pre-filter the water through some fabric if needed and then boil it for at least a minute.
Try to choose water from a clean source. Although you’ll be filtering it, it’s better to be safe than sorry. So try to avoid…
- Gathering water from streams or rivers right after it has rained. The rain washes surface contaminants into the river which can increase the amount of bacteria in the water and make the water look like chocolate milk.
- Water with animal traffic and droppings nearby
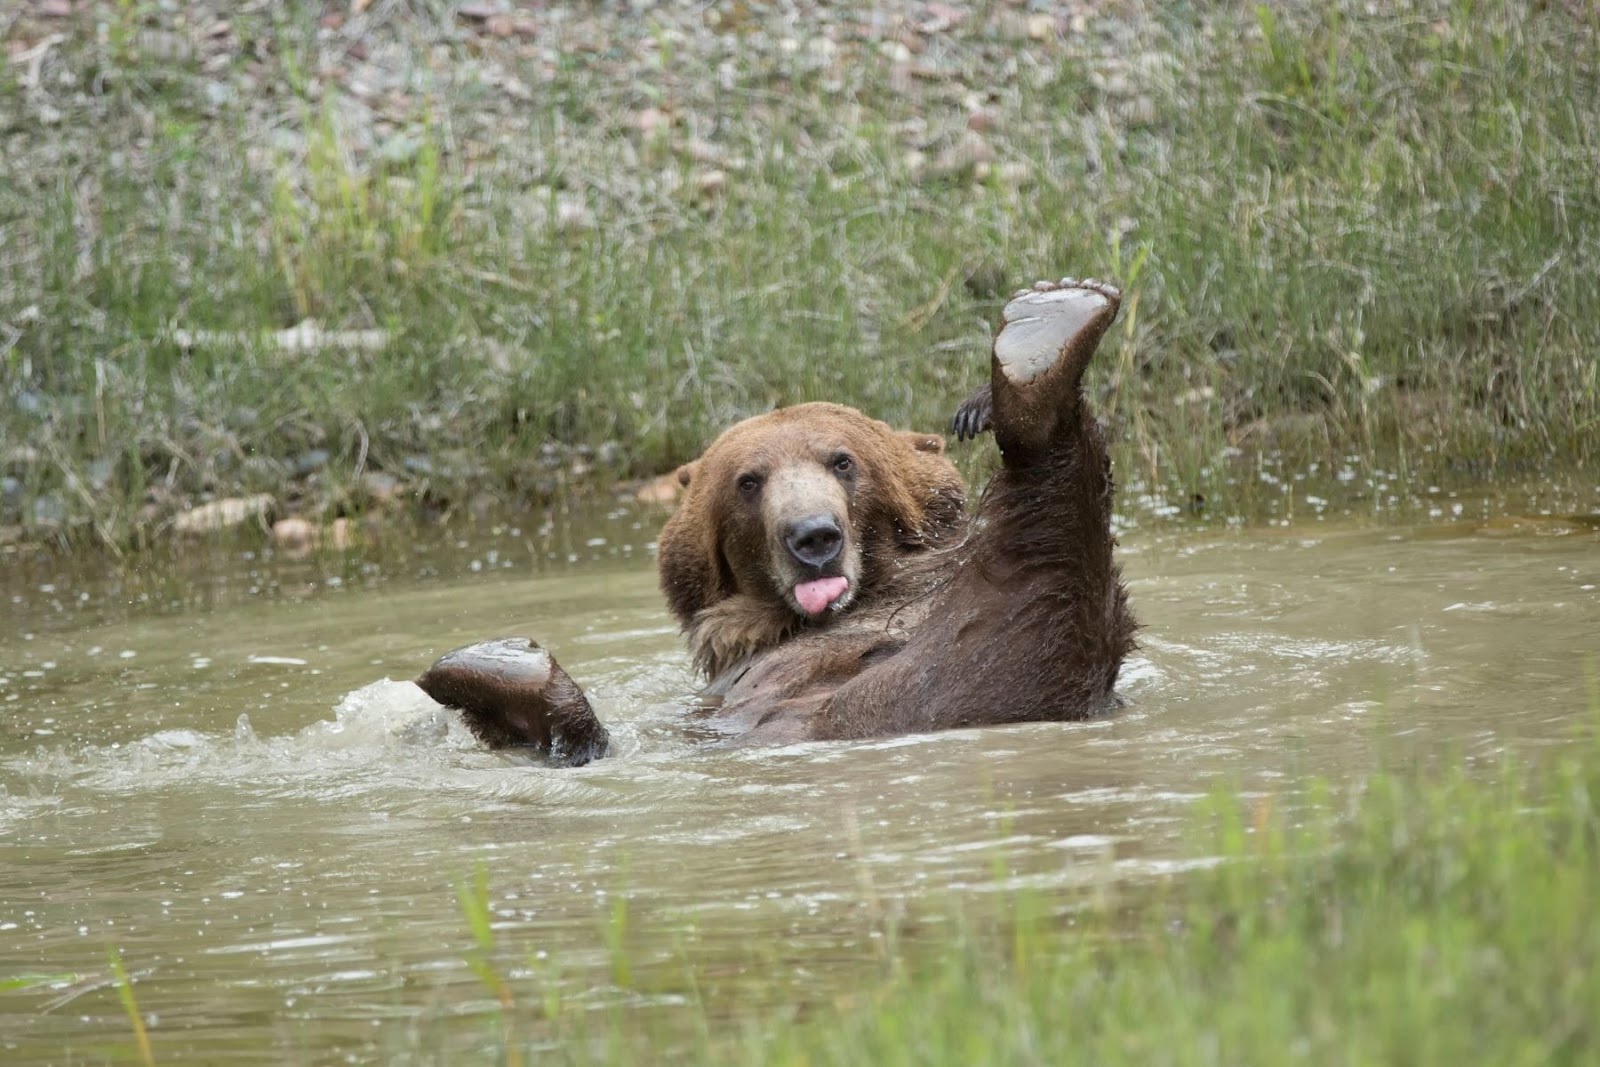
Not a good place to get water.
- Water with a lot of foam or scum.
- Water directly downstream from farms or populated areas
If you have to get water from one of these sources, it’s best to take all the necessary precautions and use both your water filter and a chemical purification method.
Now That You Know How to Purify Water While Backpacking, You’re Ready for Your First Backpacking Trip!
Even if you’ve already got an overnight hiking trip or two under your belt, be sure to check out my guide with 7 Tips for Conquering Your First Backpacking Trip and my other super practical backpacking articles (links below).
You can even get a free printable to help you plan your first backpacking trip!
And don’t forget to send me a message on Instagram and Facebook to share some stories from your first backpacking trip!
- BACKPACKER SURVIVAL SKILLS | 11 BASIC OUTDOOR SKILLS YOU NEED FOR YOUR FIRST HIKE
- BEGINNER’S GUIDE TO PACKING A BACKPACK FOR HIKING | EXPERT TIPS TO HELP YOU PACK LIKE A PRO
- FIRST-TIME BACKPACKER? HERE ARE THE BEST PLACES FOR YOUR FIRST OVERNIGHT HIKING TRIP
- 7 TIPS FOR CONQUERING YOUR FIRST BACKPACKING TRIP
- 6 SIMPLE BACKPACKING RECIPE IDEAS + HOW TO CREATE YOUR OWN!
- YOUR ULTIMATE BACKPACKING KITCHEN GUIDE – GEAR, FOOD + FREE CHECKLIST