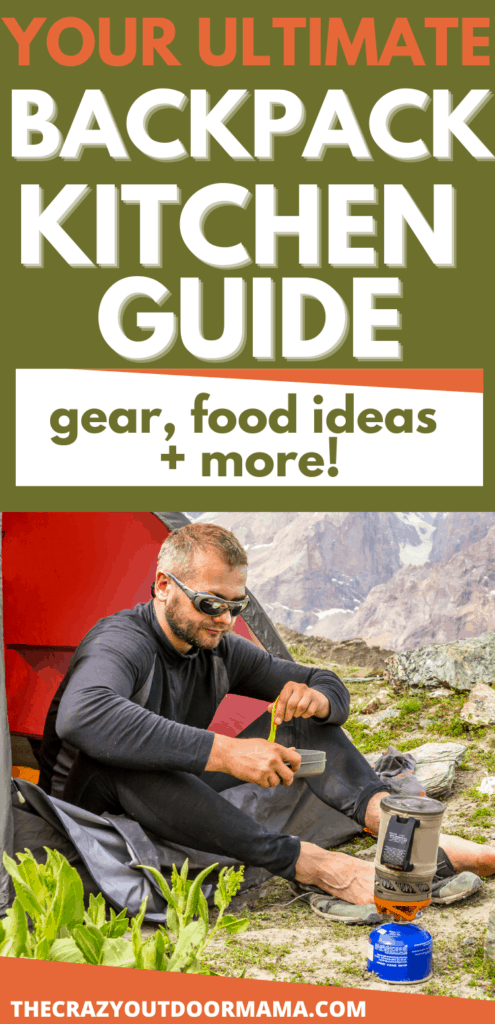
Friends don’t let friends go hiking with just trail mix.
Sure, you could survive an overnight hiking trip with an assortment of peanuts, raisins, and tiny pieces of chocolate. But let’s take your backpacking kitchen to the next level with this camp kitchen guide.
After reading my guide (and downloading the FREE backpacking trip checklist) you’ll be able to go from “roughing it” with nuts and granola bars to actually enjoying some warm, tasty meals after a hard day on the trail – without having to carry an extra backpack just for your camp kitchen gear.
Before we check out some essential backpacking cooking gear and food guides, let’s just look at a few basic tips that’ll get you started off on the foot (or boot).
And don’t miss my backpacking guide with practical tips for conquering your first backpacking trips.
Table of Contents
Backpacking Kitchen Basics
Keep it light
Because you’re dealing with high heat, a lot of your camp cookware, utensils, and stoves will be made of metal, which can get real heavy, real fast.
That’s why it’s important to choose wisely.
As you’re looking for kitchen gear, check how much it weighs and add it up. A piece of gear that weighs a few extra ounces might not seem like a big deal, but multiply that by 10 pieces of gear and now you’ve just added a few unnecessary pounds to your pack (which you’ll be regretting halfway up your first hill).
An easy way to save on weight is by getting multi-use items – a pot that doubles as your plate, a coffee mug you can boil water in, or my favorite, a foon (fork and spoon… sporks are so last decade)🤪.
Keep it simple
In an effort to keep things light, you’ll inevitably have to keep things simple.
Before you pack any part of your backpacking kitchen, think… Do I really need this? Is it worth adding the extra weight?
Keep it simple with both your backpacking cooking kit and the food you plan to pack.
Pack backpacking food that’s calorie-dense, easy to cook, and easy to clean up. Sadly, you’ll have to save your seven-layer lasagna recipe for RV camping.
If you’re adventurous, try the simplest backpacking kitchen setup – fire and a stick.
If you’re REALLY adventurous, try the ole’ Spam on a stick trick. Skewer your Spam (or Spam flavored tofu if that’s your thing) and heat it over the fire. Eat it like a popsicle until you hit a cold spot. Put it back over the fire to keep heating it. Burn your stick when you’re done.

But since most of us want a bit more, um… “refinement” than Spam on a stick, don’t miss the gear and food guides below.
Don’t forget about water
Don’t get so enamored with all of your backpacking kitchen gear and camp recipes that you forget about your water.
You need water to drink and also some to clean up your cook set, so make sure you bring enough water containers or will have access to a water source and a way to purify it.
*To make sure you always have enough clean H2O, don’t miss my article, How to Purify Water While Backpacking – The Complete Guide.
Ok, so now let’s head on to the FUN STUFF – backpacking kitchen gear!
Basic Guide to Backpacking Kitchen Gear
Let’s check out some of the backpacking cooking gear essentials you’ll need, whether it’s your first backpacking trip or your 50th.
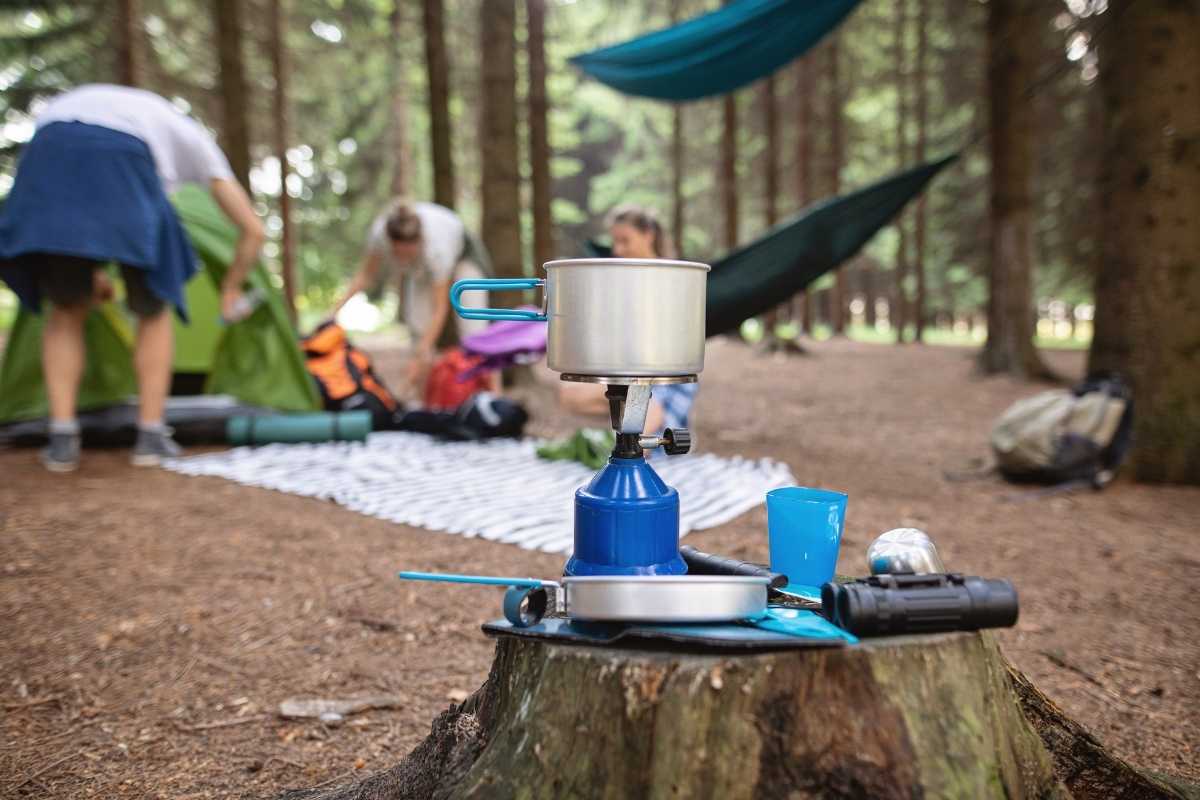
Heat – Stoves, fuel, and other ways to make fire
The centerpiece of your backpacking kitchen is a way to make fire. Sure, campfire cooking is fun, but for convenience, speed, and safety most of us will want to use something else to make hot food. So here are some of the best backpacking stove options.
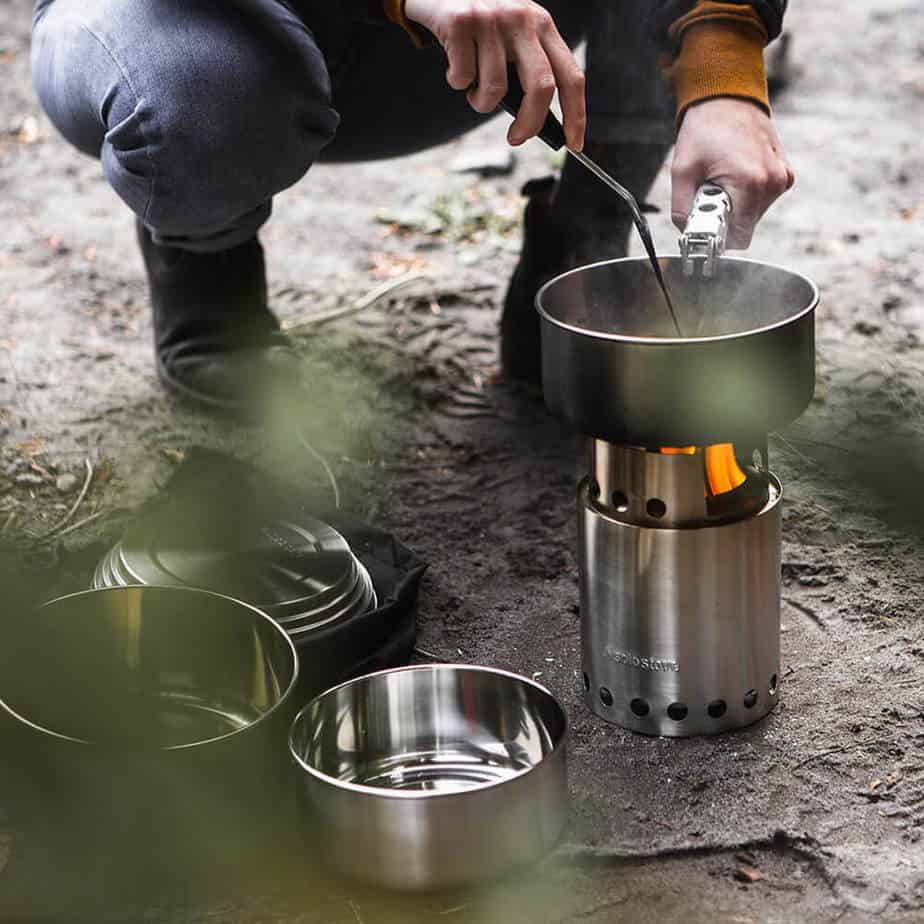
Wood-Burning Stoves
These are one of the simplest types of backpacking stoves. They’re small, lightweight, and in the woods, there’s fuel everywhere.
You can use a variety of things for fuel from small sticks to pine cones. The stoves are designed to keep a small fire burning hot with the heat directed at the bottom of your pot.
But while these stoves are convenient to carry and budget-friendly, you don’t get the instant heat like you do with a gas stove.
My favorite is the Solo Stove Lite (see the video below for an overview of it!) for a couple of reasons
- No need to carry fuel canisters or tabs
- More eco friendly than gas canisters
- Durable construction shouldn’t give you any problems for years of regular use
- Perfect for leave no trace travel since it doesn’t damage the ground it’s sitting on
- Relatively fast cooking
- Lightweight
- Take it on planes
Click here to see the full review we did on the Solo Stove Lite
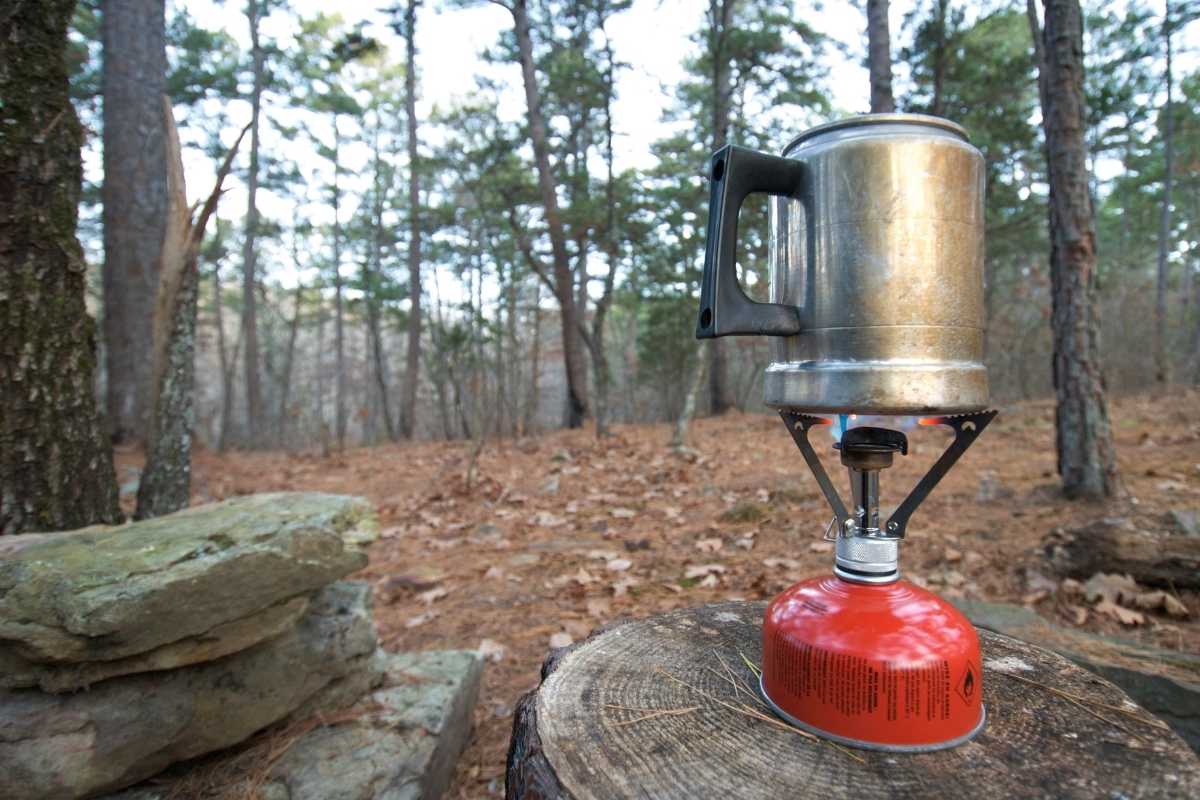
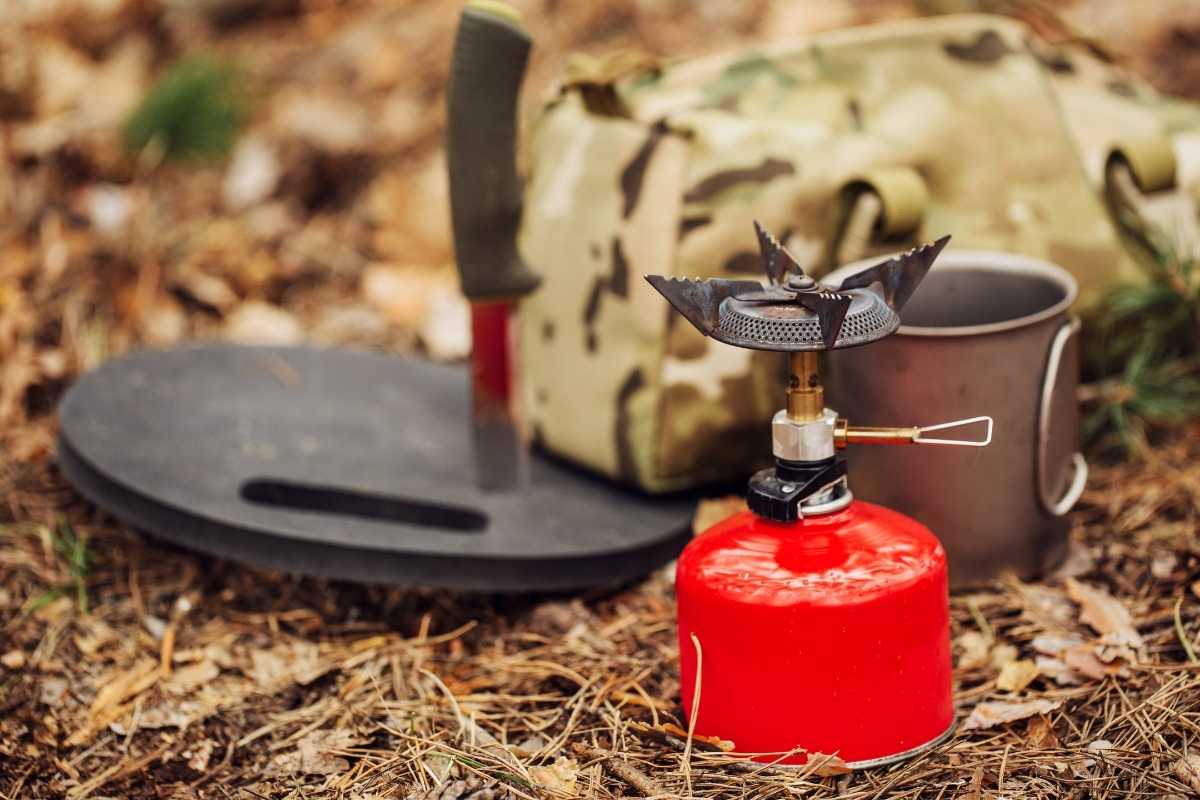
Canister Stoves
These have a burner that usually screws onto the top of a fuel canister that’s filled with pressurized gas. They’re simple and easy to use since you don’t have to mess with either starting a fire or refilling your own fuel canisters.
When purchasing, be sure to check the price and availability of extra fuel canisters. Some of the burner heads will only work with specific types or brands of canisters, many of which can’t be shipped through the mail.
A nice option is a simple canister stove like this one, the MSR PocketRocket Ultralight. They’re relatively cheap, super lightweight (just 2.6 ounces), and even fold up so they take up virtually no room in your pack.
The disadvantage is that many don’t have their own igniters and don’t always work the best in windy conditions without a windscreen.
If you can spring for something a bit more expensive ($100 or more), it’s worth it to get a backpacking stove like the MSR Windburner or the Jetboil Flash.
In addition to the burner, they come with a special pot and windscreen that lets you quickly boil water, even in really windy conditions. The Jetboil Flash will even boil water in just 100 seconds!
Liquid Fuel Stoves
If you value versatility and don’t want to be tied down to buying a specific type of fuel canister, go with a liquid fuel stove. Most will allow you to burn a variety of fuel types like white gas, kerosene, diesel, unleaded gasoline, and jet fuel (for those of us who have regular access to jet fuel).
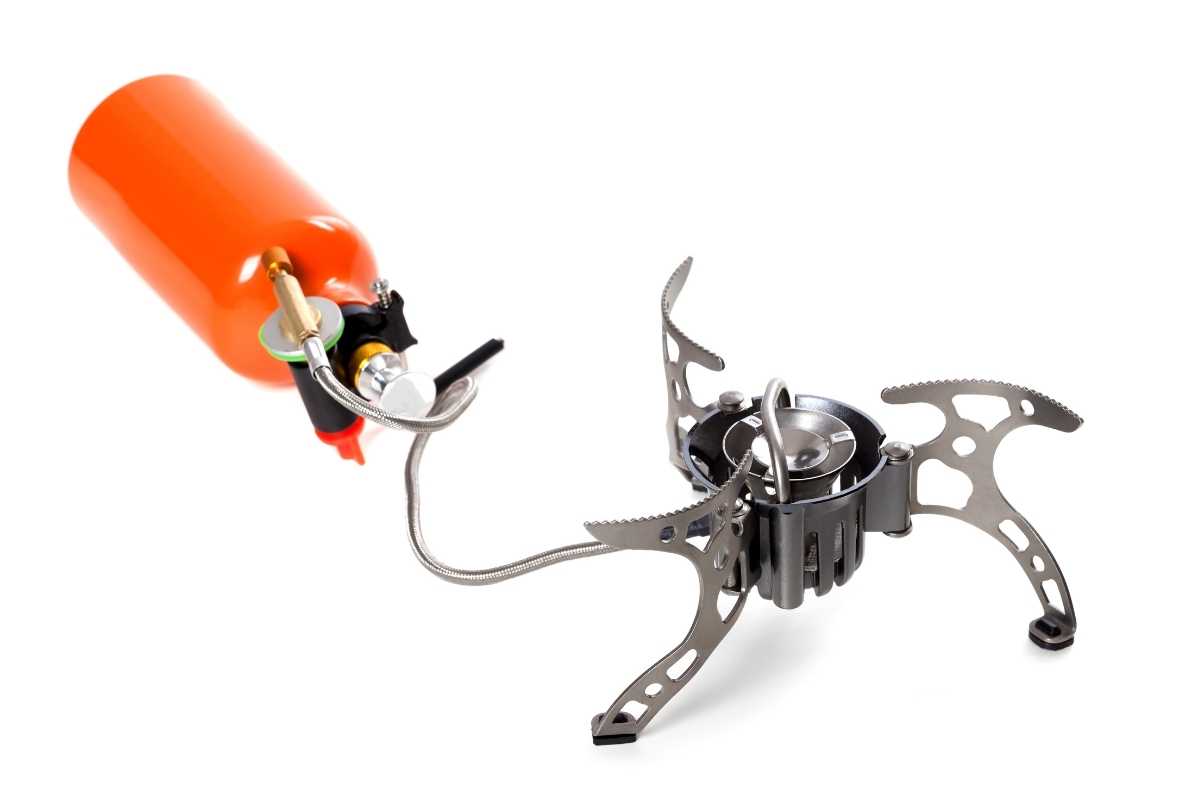
These stoves do require a little more setup to be able to run. In addition to refilling the fuel bottle by hand, you have to connect all the pieces, pump the fuel bottle and sometimes prime the stove.
And just like the fuel system in your car, these types of stoves do require some regular maintenance, like cleaning the fuel hose or changing some of the O-rings, but it’s simple to do.
Here is a good option for liquid fuel backpacking stoves you can add to your backpacking kitchen.
MSR Dragonfly Backpacking Stove
And here’s a helpful video that explains more about what’s involved in using refillable fuel bottles.
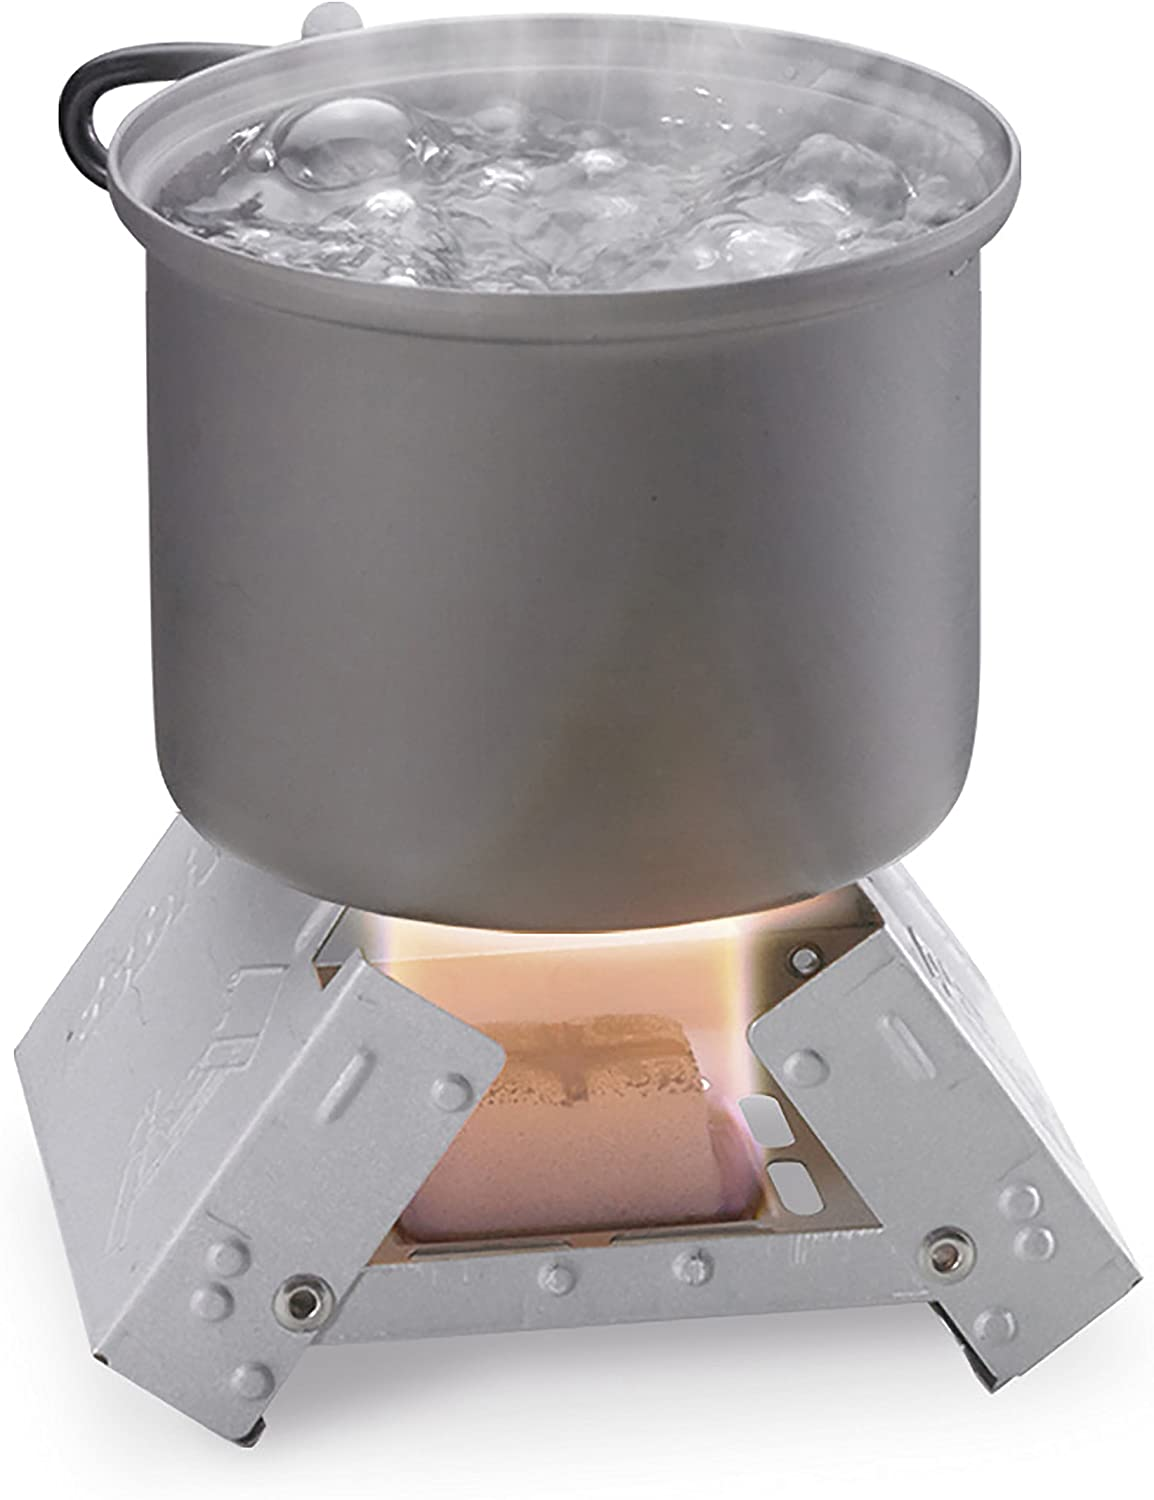
Other Fuels
Denatured alcohol (or Sterno as some know it) is an old favorite. It’s easy to come by in the US, inexpensive, and easy to use. One of the disadvantages is that it doesn’t burn as hot as the canister or liquid fuel stoves. Instead of boiling water in 2 minutes, it’ll take more like 10-15.
Here’s a handy little folding stove that works nicely with cans of Sterno.
Solid fuel tablets have a lot of the same advantages and disadvantages as denatured alcohol stoves, but they’re a lot easier to handle. These are a favorite of hikers who really want to save on weight since both the tablets and accompanying stoves are small and compact.
Check out these handy hiking stoves that work with solid tablets.
Esbit 3-Piece Camping Cook Set
Esbit Ultralight Folding Pocket Stove
So which hiking stove should I get?
If you want…
- Fast and light (I want my boiled water and I want it NOW!) – Get a canister stove.
- To feel close to nature. – Get a wood-burning stove like the Solo Stove Lite or Solo Stove Titan.
- The ultimate in versatility – Get a liquid fuel stove
- Lightweight and inexpensive (I don’t mind waiting a few extra minutes for my coffee) – Denatured alcohol or fuel tablets
- Cheap, light, and simple – Spam on a stick
When using your stove, don’t forget…
- Always check your stove and any connections before use (especially the liquid fuel stoves).
- Cook on a level surface.
- Even if your stove has its own igniter, always bring matches or another lighter just in case.
- DO NOT use your stove inside your tent or other closed areas without ventilation.
- Use a windscreen if your stove doesn’t come with one for faster heating.
Now that we’ve got your stove squared away, let’s continue on in our guide to camp cookware.
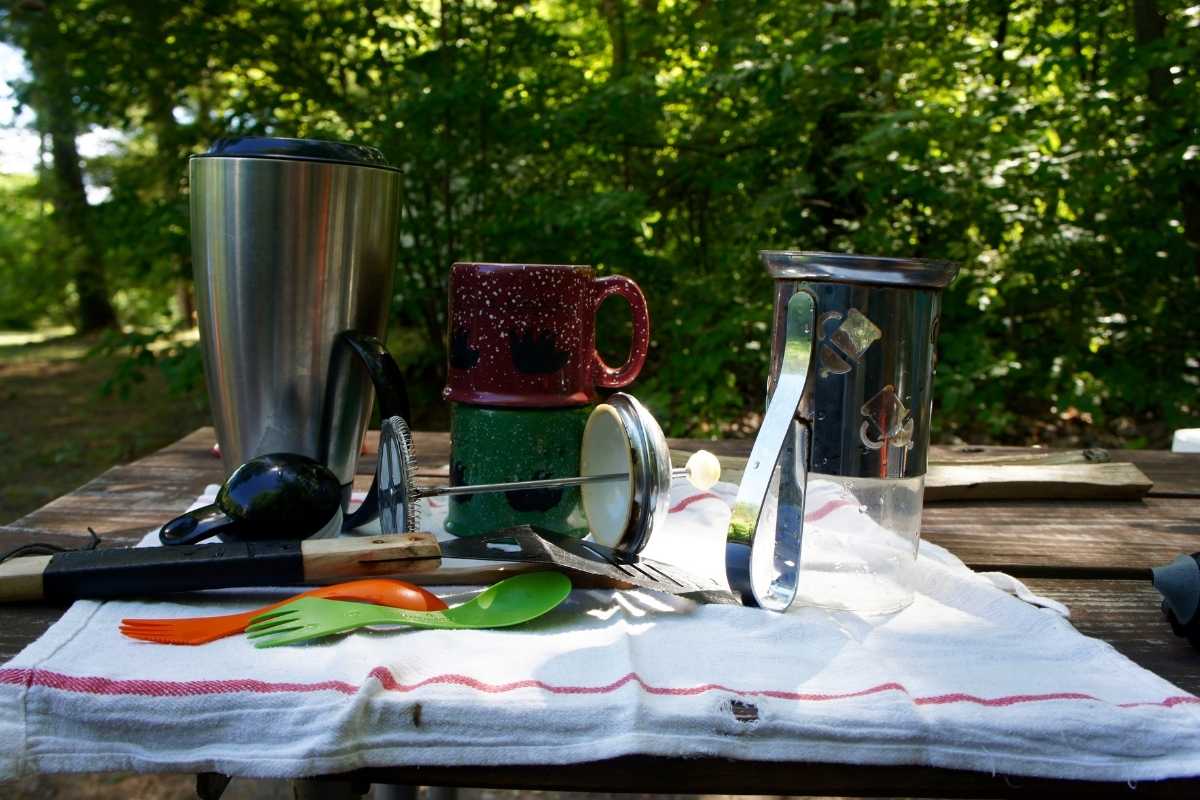
Backpacking Cook set
There are tons of different options out there for backpacking cook sets. Let’s look at a few things that can help you choose the right one for you.
Camp Cookware Materials
Backpacking cookware and utensils come in a few basic materials, each with its advantages and disadvantages.
Aluminum
- Lightweight
- Affordable
- There’s some debate about how safe it is long-term especially when cooking with a lot of acidic foods
Stainless Steel
- Durable
- Scratch-resistant
- Not the lightest option
Titanium
- Lightweight
- Heats up quickly
- A little expensive
- Doesn’t conduct heat evenly so you’re more likely to burn your food if you overheat it
Non-Stick Coatings (on different metals)
- Easier to clean up
- Not as durable in the rough outdoor environment
Sticks (Remember… for your Spam)
- Lightweight, find one at your campsite
- Doesn’t conduct heat
- Easy clean-up, just burn it
Plastic
- Lightweight
- Good for utensils
- Not great for pots
Silicone
- Versatile and durable
- Better heat resistance than plastic
- Use to made ultra compact, collapsible backpacking pots and cups
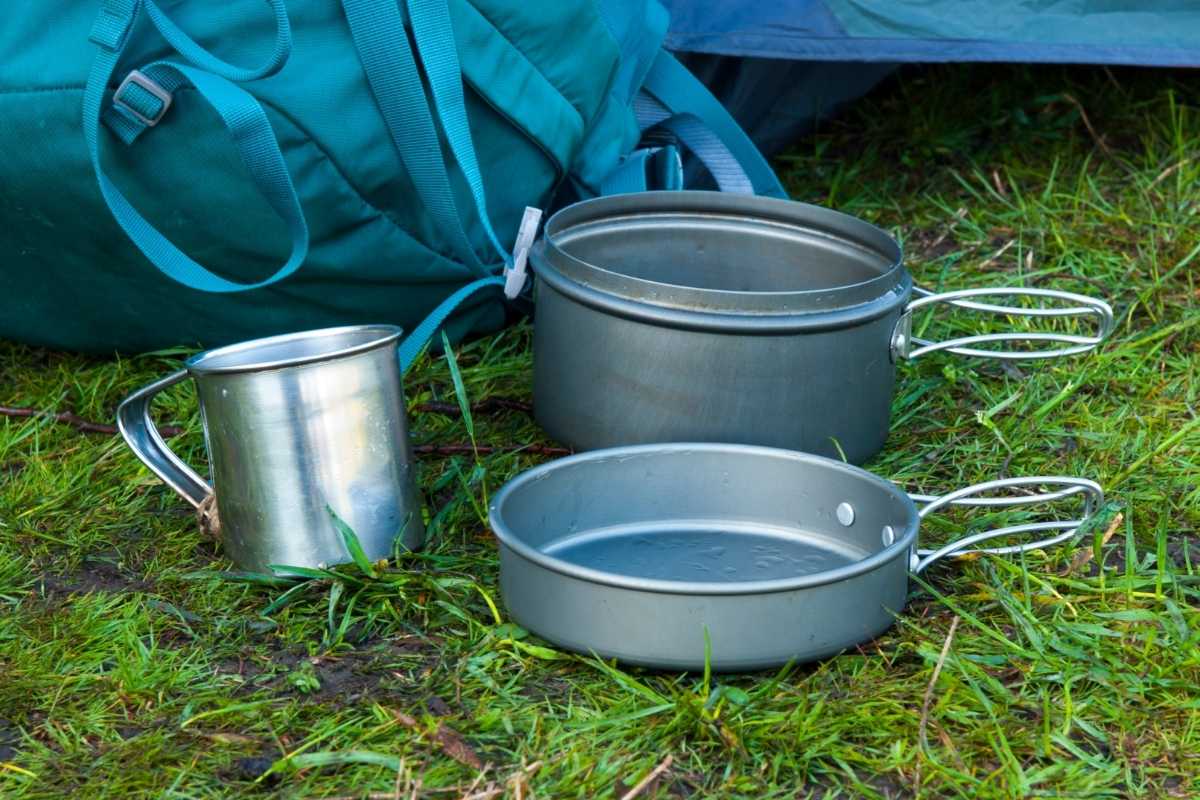
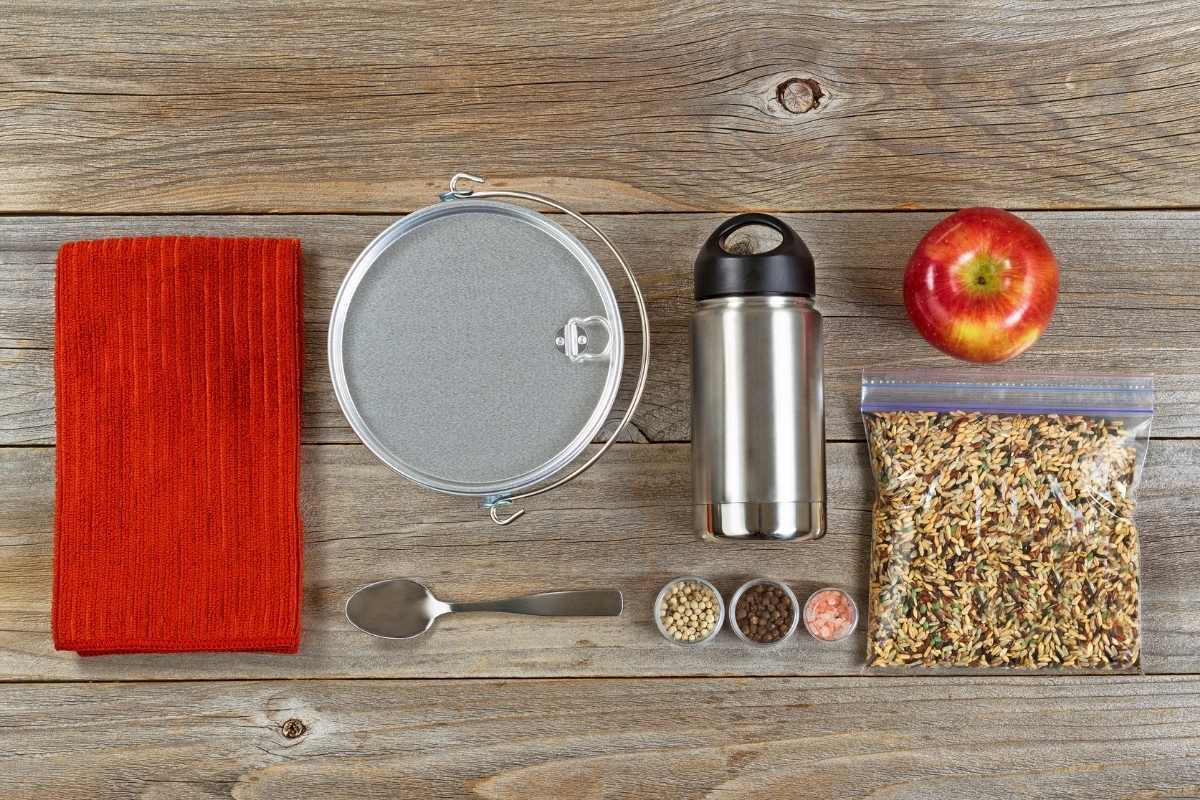
Cookware pieces for your backpacking kitchen
When it’s time to choose the pieces for your cook set, remember what I said at the beginning of the article… keep it simple. So start building your backpacking cook set around…
….a tall metal cup with a handle – it’s rough, it’s rugged, it’s versatile.
It’s amazing what you can do with a cup/pot like this. Use it for boiling water, making soup, oatmeal, tea, and more. But at the same time, it’s not soooo big that you can’t use it as a drink mug.
Some ultralight solo backpackers will only travel with a tall metal cup and a long-handled spoon. (The long-handled spoon makes it a lot easier to get to the bottom of the cup.)
Here are some good options that are a great place to start.
Stanley Adventure The Nesting Two Cup Cookset
TOAKS Titanium Long Handle Spoon
What if you want a little more versatility (like more pot size options?)
You can either buy individual pieces or go for a set with pieces that nest in each other.
Individual pieces
- Get the exact pieces you want
- May take up more space in your pack since they don’t all fit together
Backpacking Cooksets
- Take up less space
- May come with extra pieces you won’t always use
As you’re considering what cookware you’ll need for your backpacking kitchen, ask yourself?
-Do I want to eat out of the same pot I cooked my meal in?
-Am I cooking just for myself or for others?
-What type of food will I be cooking?
-Will I be hiking in areas with plenty of access to water that’ll make it easy to clean up a bunch of dishes?
Here are some good options for backpacking cookware. Whatever your needs are, you can find something here that’ll work for you.
This 3 Pot Set from Solo Stove is my top pick for those looking for more than one pot. All the pots nest in each other, the lid doubles as a plate (YES!) and there’s a stuff sack so that food mess won’t get in your pack!
Here are some more options from Amazon (solo and couples)
GSI Outdoors – Halulite Microdualist, Cookset for Two
Backpacking Utensils
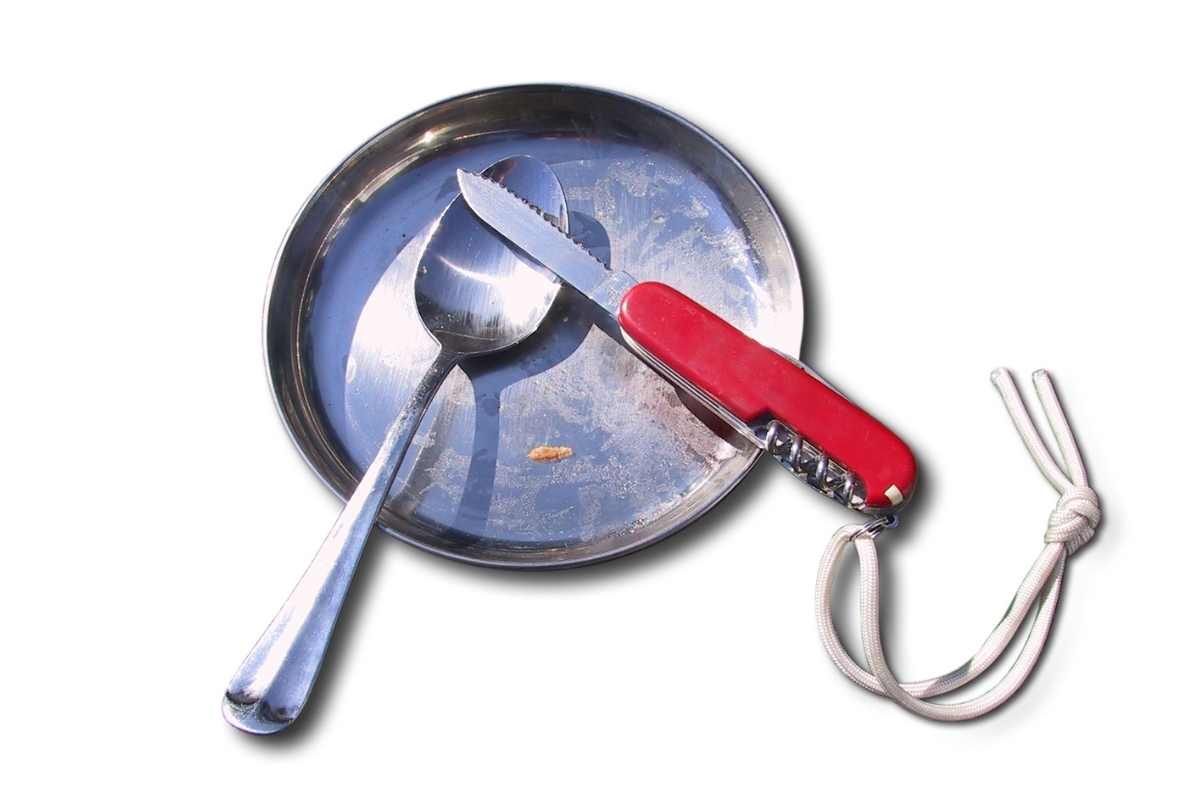
Just like with everything else in this backpacking kitchen guide, keep it simple. Look for multi-use utensils that are lightweight and easy to pack.
Enter the beloved spork, the trendy foon, and my favorite… the spiferkoonuterizer (a spatula, knife, fork, spoon, nutcracker, and meat tenderizer – my own invention. Yeah, I know… pretty awesome right?) 🤣
Here are some great options for kitchen utensils for hiking.
MSR 4-Piece Folding Spork Set – If you’re short on space
TOAKS Titanium Long Handle Spork – For the minimalist
TOAKS Titanium 3-Pieces Cutlery Set – If you can’t live without a normal fork, knife, and spoon
GSI Outdoors, Destination Kitchen Set of 24 – For the gourmet chef in the woods
Now that you’re imagining yourself around a campfire with your new backpacking kitchen gear, you’re probably starting to get a little hungry. Don’t worry, it’s only going to get worse because now we’re going to move on to all the yummy food you can enjoy around the campfire.
*Psst… want some help planning your first overnight hiking trip? Don’t forget to head to my resource library and get your FREE BACKPACKING CHECKLIST with space for meal planning and food lists.
What food should I pack in my backpacking kitchen?
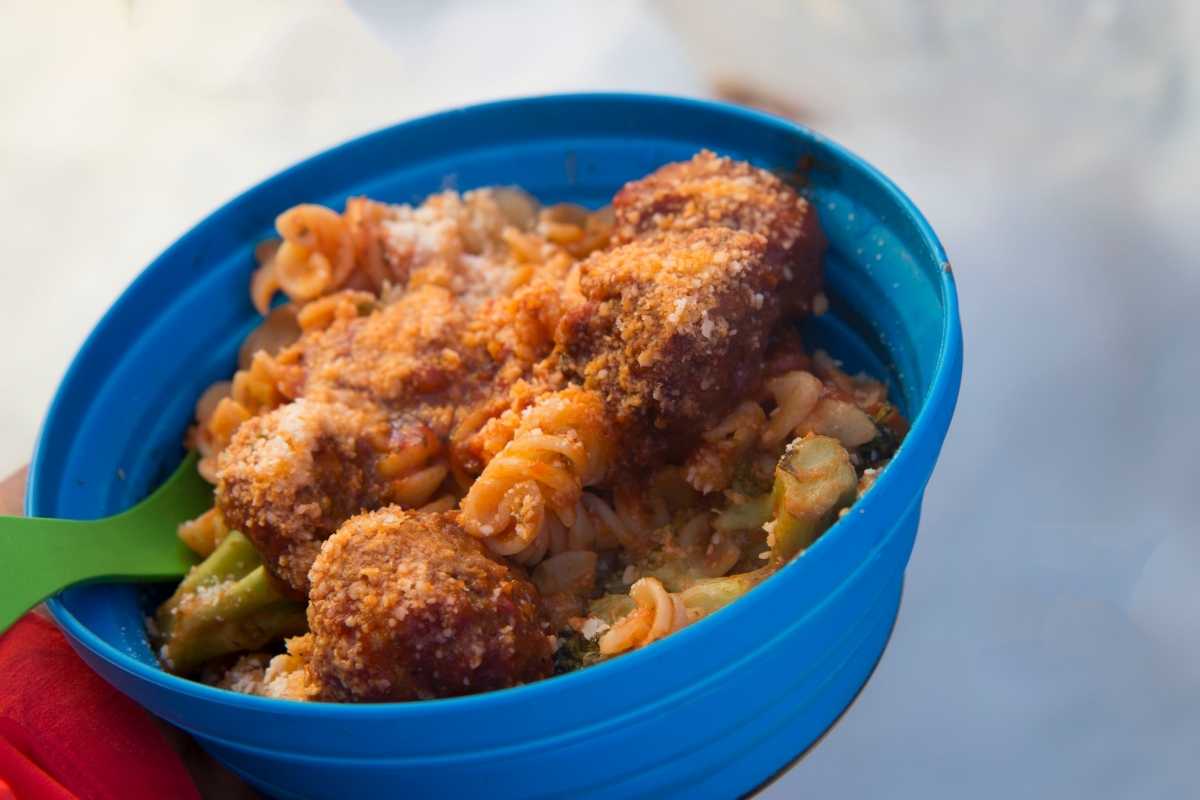
Just like we said before…keep it simple. Leave the five-course meals for the fancy restaurants. When you’re backpacking you want to plan one-pot meals that are easy to prepare and cook.
Dehydrated/Freeze-Dried Food
One of the simplest options is to use dehydrated or freeze-dried meals. They’re suuuuper easy to use since all you need to do is add boiling water.
When you hear “dehydrated meals” you might think of something you’d get in a drab green pouch marked “army surplus”. Don’t be afraid, dehydrated meals have come a long way.
You still might have to try a few until you find ones that you really like, but it’s worth giving them a try. You really can’t beat how easy they are to pack and use.
Here are a few of the top ones to try.
- Mountain House Beef Stroganoff
- Mountain House Breakfast Skillet
- Backpacker’s Pantry Three Sisters Stew
- Backpacker’s Pantry Lasagna
Another fun option is to make your own dehydrated meals! Yup, if you have a dehydrator, you can make more than just jerky. Check out this fun article from REI on how to dehydrate almost anything from fruit to cooked meals.
Then, with just a little hot water you can have a warm, home-cooked meal on the trail.
Make your own “normal” meals
If you’d prefer to stay away from dehydrated or freeze-dried meals, it’s still easy to make your own food while on a hiking trip.
Here are some common ingredients you can use when putting together meals for your backpacking kitchen.
- Prepacked meats (Like the tuna, salmon, and chicken that comes in the foil packets)
- Pre-cooked beans and grains in sealed foil packets (Usually these are ones you would just heat up in the microwave, but when camping you can just snip a vent in the top and put the pouch in some boiling water.
- Preserved meats like pepperoni and salami
- Instant oatmeal packets
- Pre-mixed spice packets for easy seasoning
- Instant coffee (Try Starbucks instant coffee packets, yum!)
- Ramen noodles
- Granola
- Powdered milk (Calorie-dense, easy to pack, and has a lot of different uses.)
- Nut butter
- Jerky
- Hard cheese (Doesn’t need refrigeration)
- Granola Bars
- Nuts
- Dried fruit
- Minute rice
- Pasta
Need some backpacking recipe inspiration? Here are some ideas for simple recipes using just a few ingredients and one pot (and your free printable!)
The recipes are below this free printable, but CLICK HERE TO DOWNLOAD this easy reference for yourself! (yours won’t have the image in the background so it’s easier printing!)
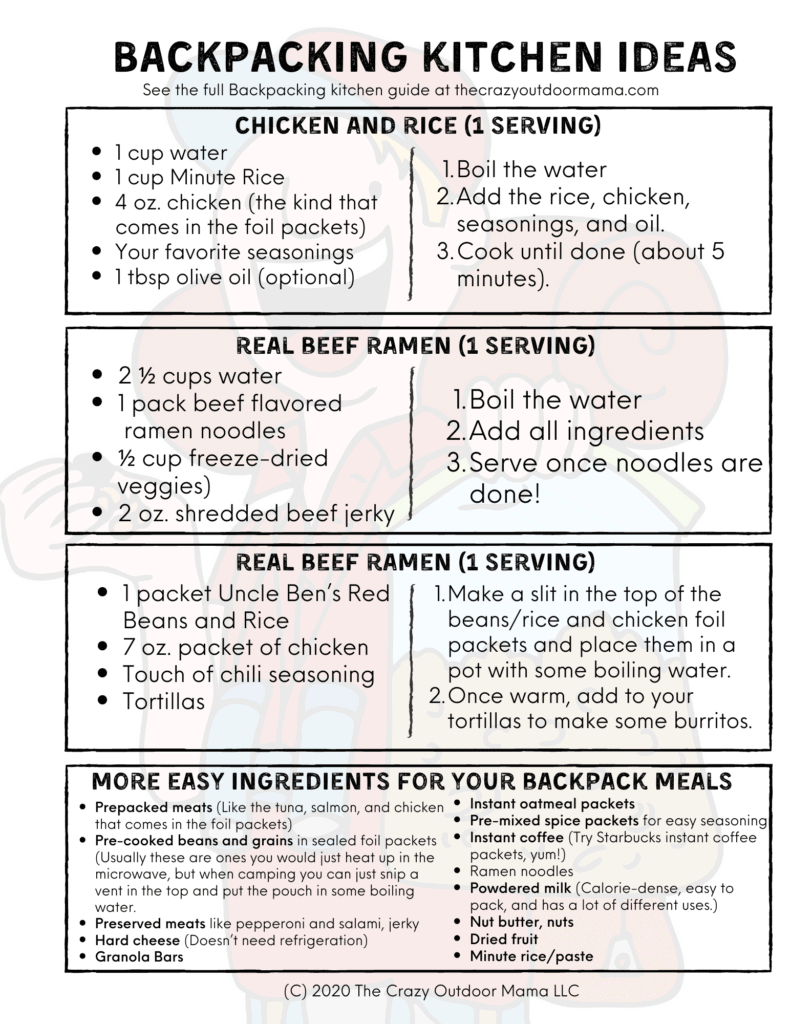
Chicken and Rice
Ingredients (1 serving):
- 1 cup water
- 1 cup Minute Rice
- 4 oz. chicken (the kind that comes in the foil packets)
- Your favorite seasonings
- 1 tbsp olive oil (optional)
*Boil the water. Then add the rice, chicken, seasonings, and oil. Cook until done (about 5 minutes).
Real Beef Ramen
Ingredients (1 serving):
- 2 ½ cups water
- 1 pack beef flavored ramen noodles (you can substitute other noodles and your own seasonings if you want)
- ½ cup freeze-dried veggies (Get ‘em on Amazon)
- 2 oz. shredded beef jerky
*Boil the water. Add the ingredients. It’s ramen, it’s not super complicated! =)
Backpacking Burritos
Ingredients (2 servings):
- 1 packet Uncle Ben’s Red Beans and Rice
- 7 oz. packet of chicken
- Touch of chili seasoning
- Tortillas
*Just put a slit in the top of the beans/rice and chicken foil packets and place them in a pot with some boiling water. Once warm, add to your tortillas to make some burritos.
Spam on a Stick – You know I couldn’t leave this one out 😉
Ingredients (1 serving):
- 1 can Spam Classic
- 1 stick
- 1 fire
Don’t miss this post for a few more Simple Backpacking Recipe Ideas.
So there you’ve got the backpacking kitchen basics – essential cooking gear and backpacking food. But you still might have a few questions rolling around in your head, like…
How am I going to get my coffee fix?
There’s only one option… mix your coffee grounds with hot water and then strain them out with your teeth.
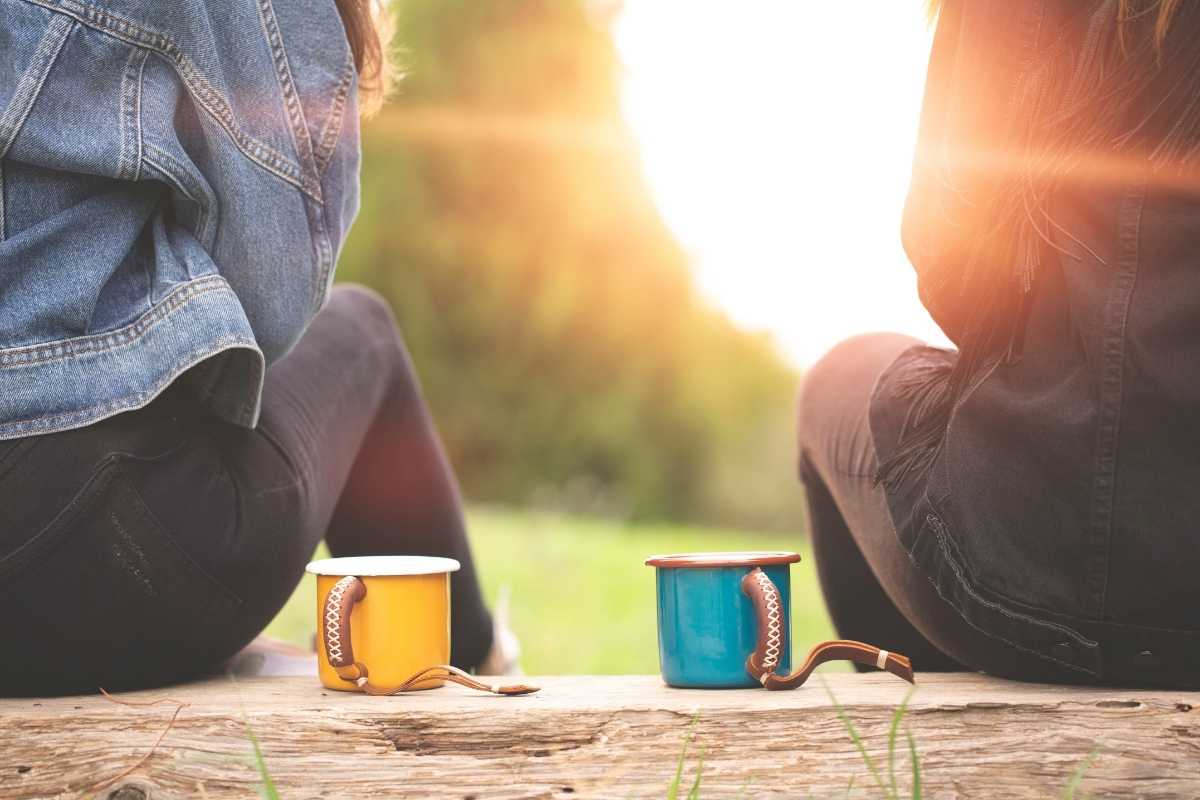
I’m not sure if I’d ever go camping if that were the only option! Fortunately, there are tons of ways you can make coffee while on the trail. These range from simple drip filters you prop on top of a coffee mug to a stainless steel french press and even an espresso machine!
Here are some of the best options to add to your backpacking kitchen for making coffee on the trail.
GSI Outdoors Ultralight Java Drip – Simple, lightweight, easy to use
Stanley Adventure All-in-One, Boil + Brewer French Press – A nice multi-purpose pot that doubles as a french press. What’s really nice is that you don’t need any extra pots for heating up water.
Starbucks VIA Instant Coffee Packets – It doesn’t get much easier than instant coffee and this stuff is good enough you won’t miss your regular brewed coffee.
MSR Mugmate Coffee/Tea Filter – A multipurpose filter that fits in most mugs
Jetboil French Press Coffee Maker – If you already have a Jetboil stove kit, this filter plunger turns it into a french press.
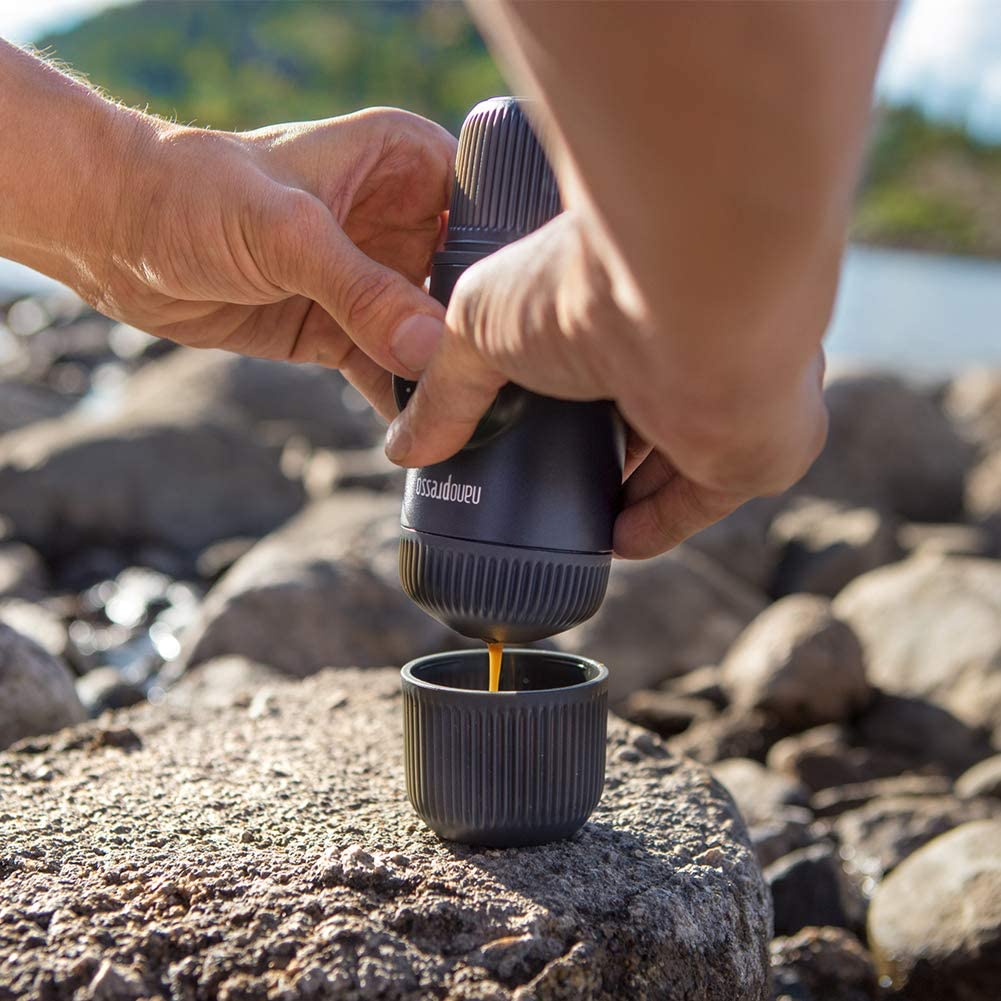
Wacaco Nanopresso Portable Espresso Maker – Nothing gets you going on the trail like a shot of espresso. Now you can enjoy real espresso, anywhere!
What if bears like what I’m cooking?
If you’re hiking in bear country you need to protect both yourself and the bears.
If you’re hiking in these areas, at the end of the night anything that smells like food should be put in either a bear canister (like the BearVault) or a bear bag (like the Selkirk Bear Bag) and then placed at least 100 feet away from your camp.
But a BearVault won’t work very well if you don’t use common sense. Don’t dispose of any food scraps close to your camp and make sure to do your dish cleanup as far away from your camp as you would like to keep the bears.

But how do I keep food cold in my camp kitchen?
Just buy yourself a mini backpacking refrigerator that plugs into your phone.
For the rest of us… you can only keep food cold when you’re hiking in cold weather. The rest of the time you have to rely on food items that don’t need refrigeration.
But, if you’re just going on a short trip close to home, here’s an INSIDER TIP of how you can pack refrigerated food for your first night’s meal.
Freeze the food solid. Wrap it in foil and place it in the center of your pack. By the time you get to camp in the evening, it will have started to thaw and will be ready to cook. Then you can enjoy a marinated steak or your favorite sausages over the campfire.
What about camp kitchen cleanup?
Sadly, even in the freedom of the woods, somebody has to do the dishes.
Use biodegradable soap
Any kind of soap can upset nature’s delicately balanced ecosystem, but the best option is biodegradable soap like Sierra Dawn Campsuds. Even when going the biodegradable route, it’s still best to dispose of soapy water properly.
Use a collapsible sink
If you’re a big group with a lot of dishes, try using a collapsible sink. They’re easy to pack but make cleaning up your backpacking kitchen a whole lot easier.
Bring along a small microfiber towel
A small microfiber towel makes kitchen cleanup a whole lot easier. Plus they’re versatile and can double as a hot mitt for grabbing hot pots off the stove or fire.
Use This Guide to Your Backpacking Kitchen On Your Next Hike
You did it! You made it to the end of the backpacking kitchen guide and are now ready to go enjoy more than just trail mix on your next backpacking trip.
So whether your next camp meal is gourmet couscous or Spam on a stick, I’d love to hear about it! Don’t forget to check me out on Facebook, Pinterest, or Instagram and tell me about how you used this backpacking kitchen guide.
*And remember to head to my resource library and get your FREE BACKPACKING CHECKLIST with space for meal planning and food lists.
Here are some other posts that can help you plan your next backpacking trip.
- HOW TO PURIFY WATER WHILE BACKPACKING | THE COMPLETE GUIDE
- 7 TIPS FOR CONQUERING YOUR FIRST BACKPACKING TRIP
- FIRST-TIME BACKPACKER? HERE ARE THE BEST PLACES FOR YOUR FIRST OVERNIGHT HIKING TRIP
- BACKPACKER SURVIVAL SKILLS | 11 BASIC OUTDOOR SKILLS YOU NEED FOR YOUR FIRST HIKE
- BEGINNER’S GUIDE TO PACKING A BACKPACK FOR HIKING | EXPERT TIPS TO HELP YOU PACK LIKE A PRO
- 6 SIMPLE BACKPACKING RECIPE IDEAS + HOW TO CREATE YOUR OWN!