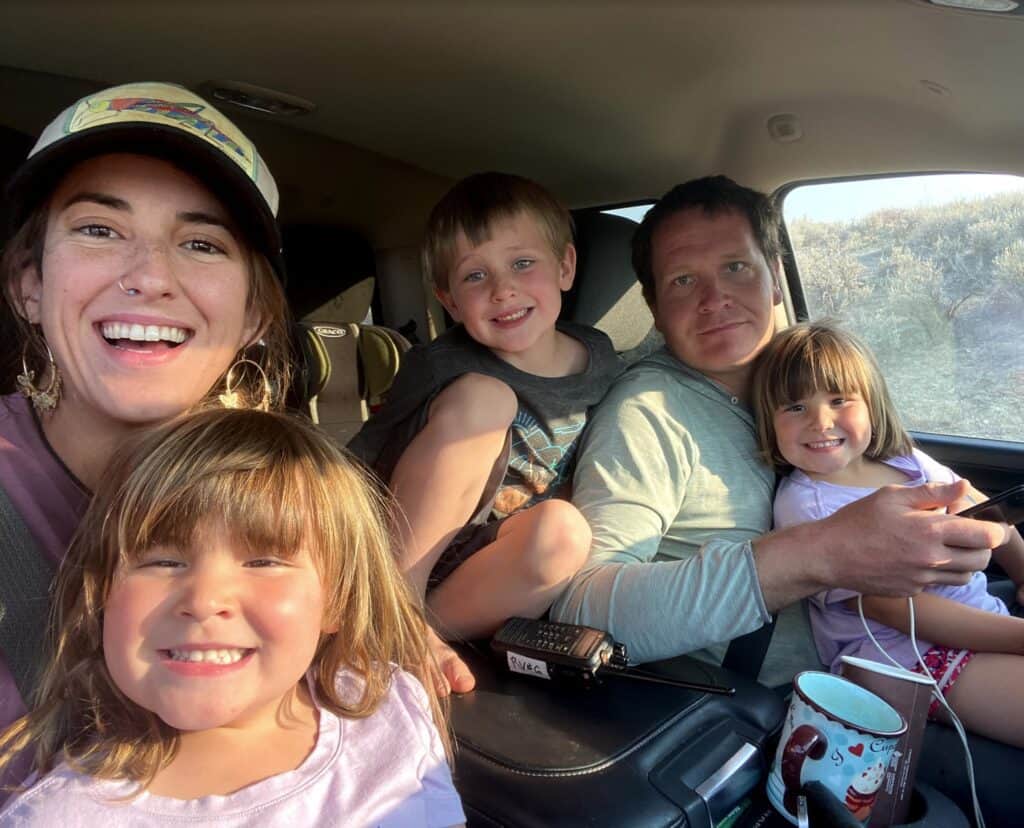
With winter full force, I am SERIOUSLY missing all of our camping adventures – the campfire, the crafts, relaxing in a camp chair with the sun hitting you…
Anyways, with that in mind, I wanted to sort of recreate a fun part of camping (especially for kids!) – the camping lantern!
Don’t forget to also check out this massive list of 53+ camping crafts if you’re excited about camping too!
Our son has his own mini one that he loves to bring everywhere after dark (and honestly, he even uses it during the day!) so I wanted to make something like that for him to play with at home!
I’m all about saving money and upcycling, so of course, this craft is made from some pretty simple stuff! If you are too, you may want to check out this cute cardboard campfire diy and glowing campfire craft – they are also made from cheap things around the house.
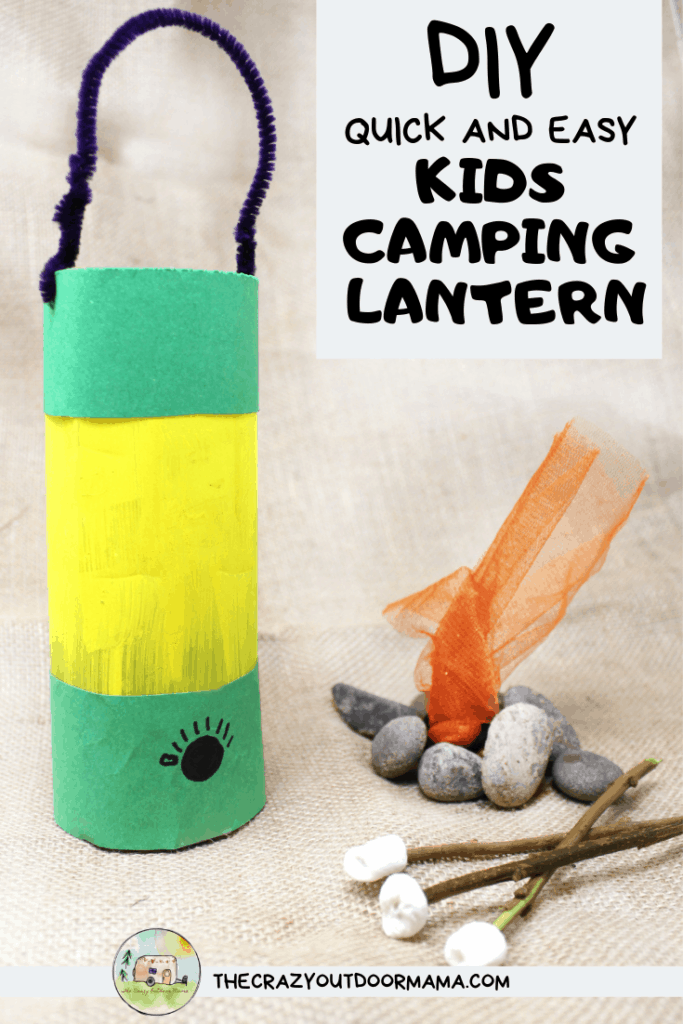
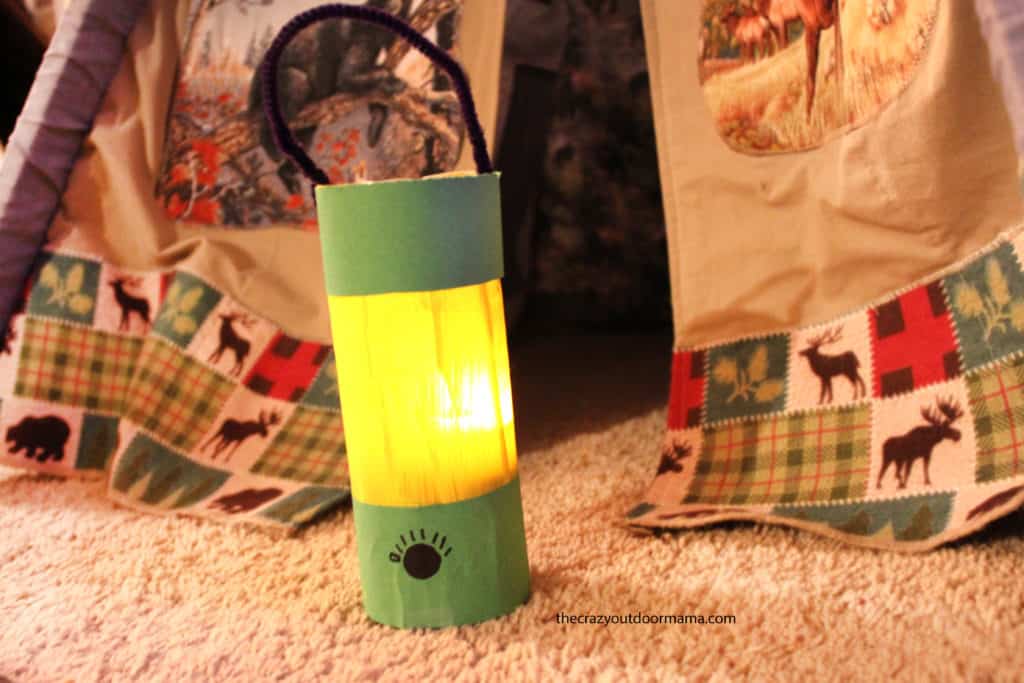
All you need is a water bottle, construction paper, paint and some tape. If you want to REALLY bring this lantern to life though, you should also get one of those electric tealights!
Here’s how you make your camping lantern!
Materials needed to make DIY Camping Lantern for Kids
- Water bottle with
label removed – I think the ones with smooth sides (none of that textured stuff that’s on cheaper ones ) works best, but honestly, kids won’t care! - Yellow Paint
- Two small strips of green construction paper
- Pipe cleaner for the handle
- Hole punch or something sharp – this is just to make a spot for the pipe cleaner to thread through for the handle
- Tape
- Scissors
- Marker for adding lantern buttons
How to make this quick and easy camp lantern craft!
These are perfect for your indoor campout – check out this tissue paper version of the upcycled camping lantern!
Time needed: 10 minutes
- If you are going to use an electric tea light, cut the top of the bottle off
This is so that you still have access to drop in the tealight without having to cut it off later and ruin everything
- Paint water bottle yellow
Don’t worry if there’s sticky residue left, the paint still looks fine!
- After
paint dries, tape on 3″ tall green strips on top and bottom of “lantern”Thankfully this part is pretty easy – the width of the construction paper is exactly the circumference of the water bottle! So all you need to do is cut two small strips of green paper (or whatever color you want the lantern to be) and tape one to the top and one to the bottom. Mine were about 3″ tall.
- Hole punch or make a slit on each side of the lantern and thread the handle through
If you wanted to, you could definitely add beads or other decor to really personalize this camping lantern! My guy is not crafty at all though, so he was fine with a pipe cleaner!
- Draw on the main “dimmer” knob and any additional buttons or decor you want on the camping lantern
I just did a simple knob with some little lines going around it!
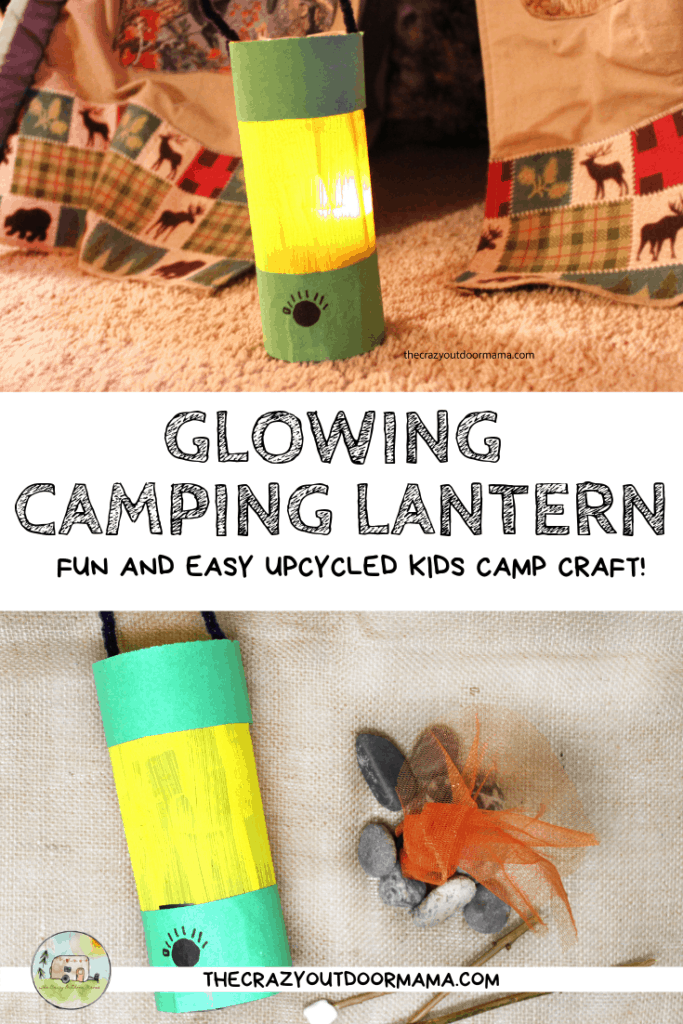
Your camping lantern is done! I hope your kids enjoy it – don’t forget to PIN THIS if you loved it!
This craft was so fun to make! I really love any camping related craft, but especially ones that are this easy and quick!
Let me know if you have any questions!
Don’t forget to check out these other camping ideas you’ll love!
- Make a cute handprint campfire to remember your child’s first camp trip (Free Printable PDF Template included!)
- Decorate your campsite with your own camp sign! It’s simple, but kids will love using what’s around them to “claim” their campsite (or for fun
pretend play at home or school!) - Pick your favorite camping crafts and host glamping themed party!
- My two favorite sensory bins – rock rescue and sensory soup (with free PDF recipe cards!) that are both PERFECT to play in nature!
- Check out these free printable campfire songs for kids + 53 other classic camping songs!
Craft activities like these are perfect for helping kids explore and enhance their creative side. I am sure kids will love them too, thanks for sharing these ideas!