Baby’s First Campfire Handprint Craft – a keepsake of the best camping tradition!
If you love camping, you’ll love this keepsake of baby’s first campfire!
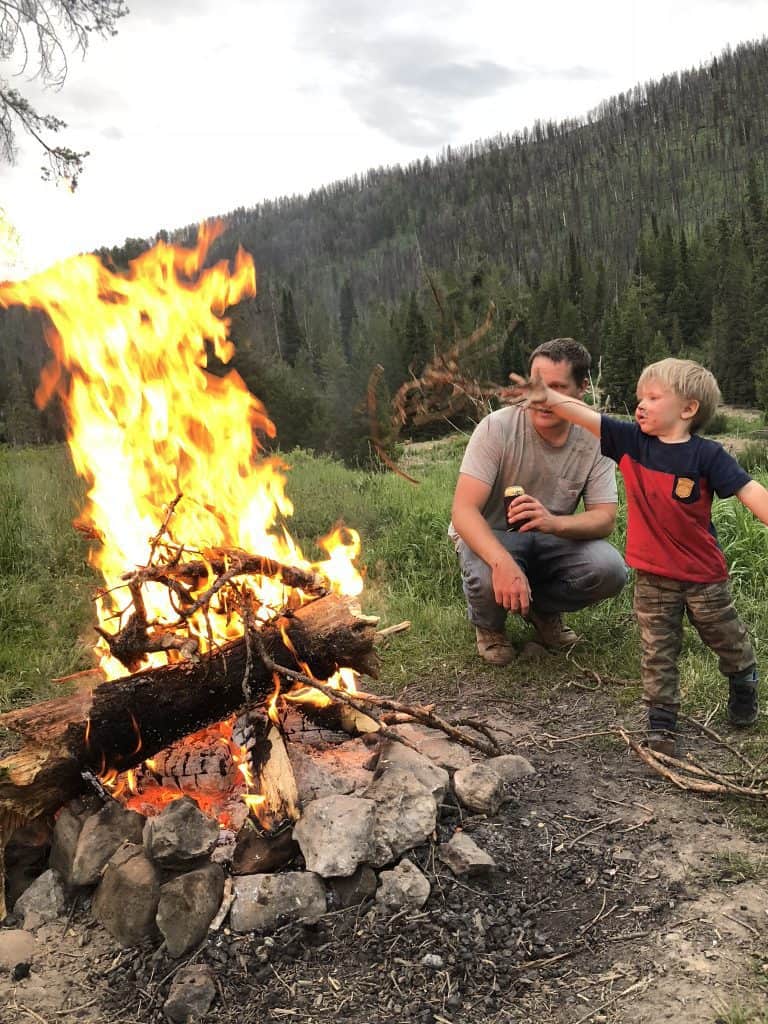
Before the kids, my husband and I loved to get out! Hiking, fishing, you name it – if it was outdoors, we were there!
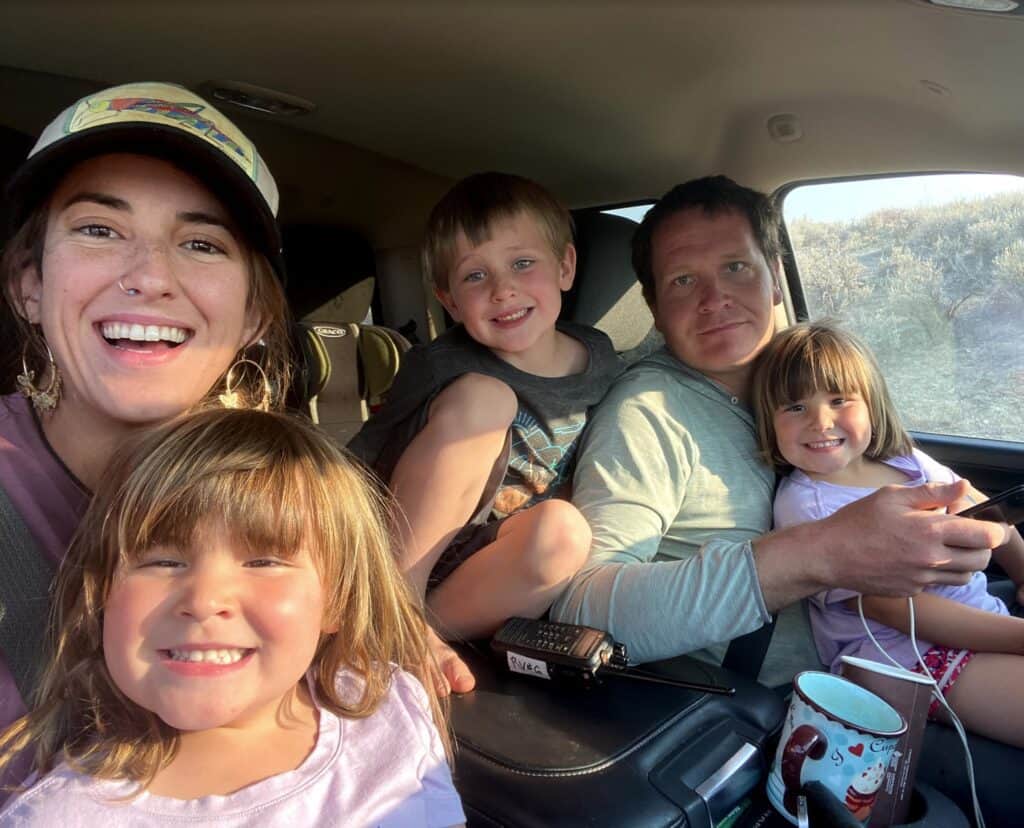
Now with three kids, camping has become our go to outdoor activity. It’s cheap, easy (we got a pull behind camper!) and all the kids are learning to love it.
So of course, it’s become a big deal for each kid’s first campfire!
This is a super simple craft that only needs some paint and decorations from your campsite!
I carry what I need in my Camp Craft Pack – it has all the craft items I might need to do just about anything. Even better, it’s super small and it can really be a great boredom buster during long camp trips with little kids! (Read about that here!)
What you will need for this campfire craft:
-
- Orange and yellow paint
-
- Glue
-
- Paper or wood – it works with both, I just like the look of the wood better!
- Markers or paint for the writing – you could also use the template I provide and print it out before hand if your writing is kind of messy like mine!
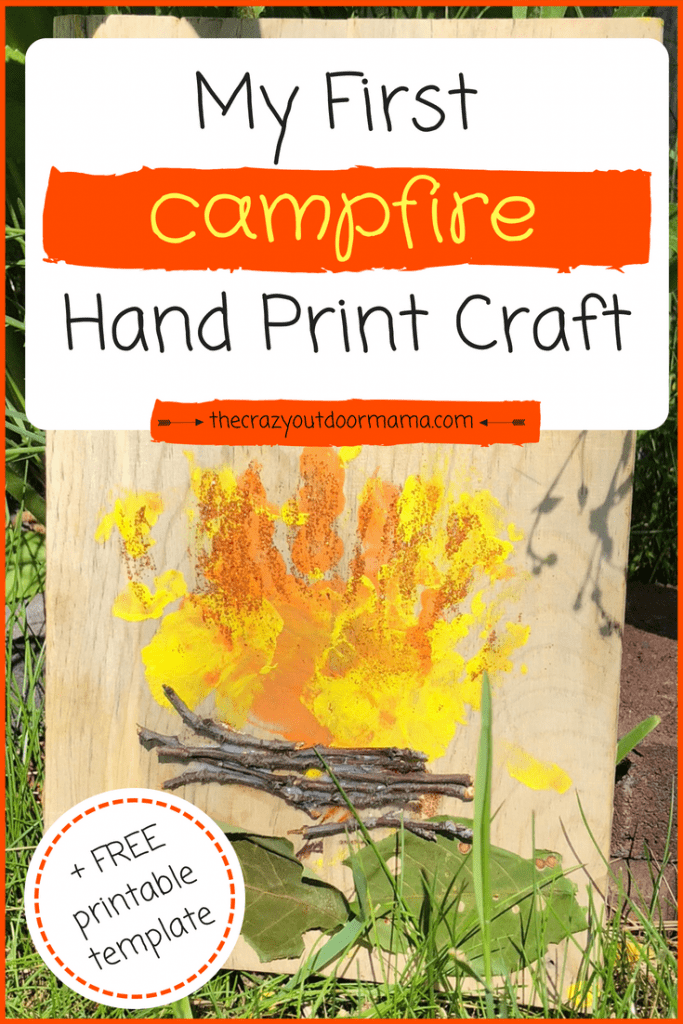
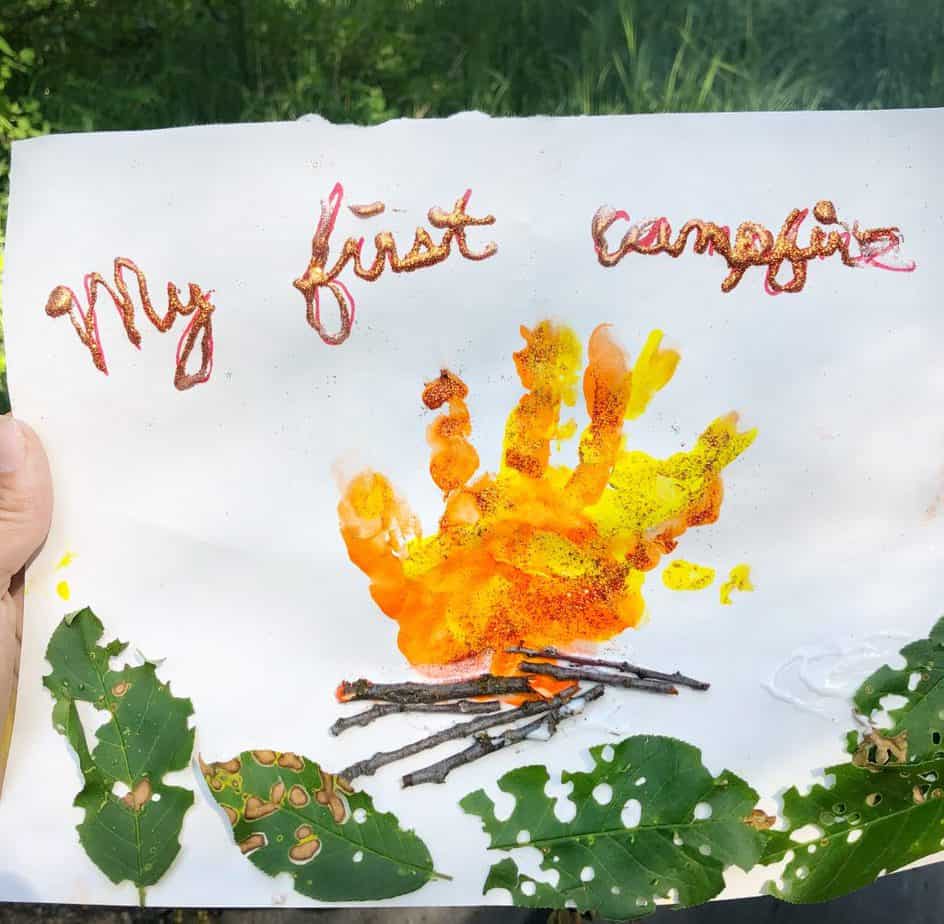
Step 1: Paint your child’s hand with the campfire colors
It’s up to you if you want to use just one, or even up to three! I happened to have yellow and orange with me, so I chose these colors.
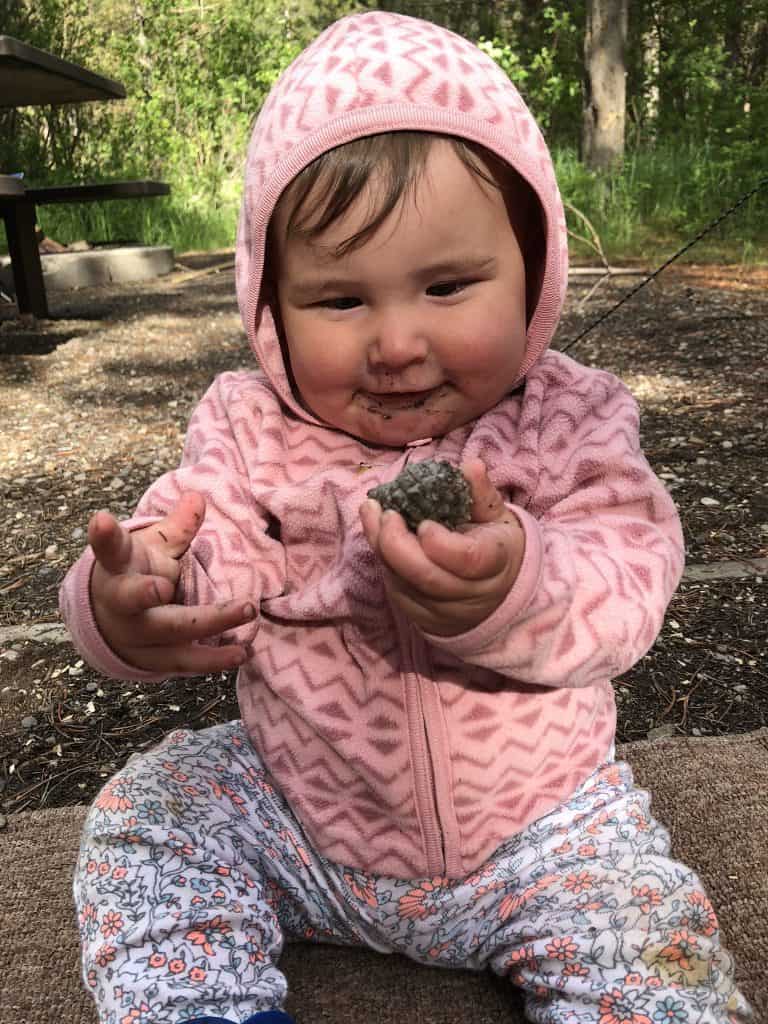
If your “baby” is a little older, this step won’t be that difficult. I did this craft with both my toddler and twin babies, and there was definitely a little more wrangling involved with the babies!
Babies love to curl their hands – I found the best way to get their hand open was place a toy right underneath it.
This will make them open to grab it – seize that opportunity, move the toy, and get that handprint!
If your child’s hand is smaller, you can do 3 or 4 handprints!
Point the fingers up to be the “flames” and the palms will be the base of the fire.
Step 2: Gather items from around camp to complete the campfire
If you want to make it super memorable, grab the sticks your baby chews on and use them as the wood for the fire!
It’s a cute way to remember that phase when babies stick anything in their mouth.
Mine especially loved rocks, which I totally could have incorporated into this design via a rock ring around the fire!
I added leaves as well for some green.
A word of advice on that – the leaves will die, obviously, so you may want to add some sort of spray finish on top of them to keep them from completely crumbling away.
Once you finish decorating your campfire, it’s on to the writing!
Step 3: Write your message above the campfire!
Whether it’s your baby’s first campfire, or maybe just a special camptrip, write it down!
Here are some examples besides what I already posted.
“National Park Vacation 2018”
“Camping with Grandpa 2018”
Be sure to use a sharpie and NOT a washable marker for this! I did, and my writing got smudged when it got wet!
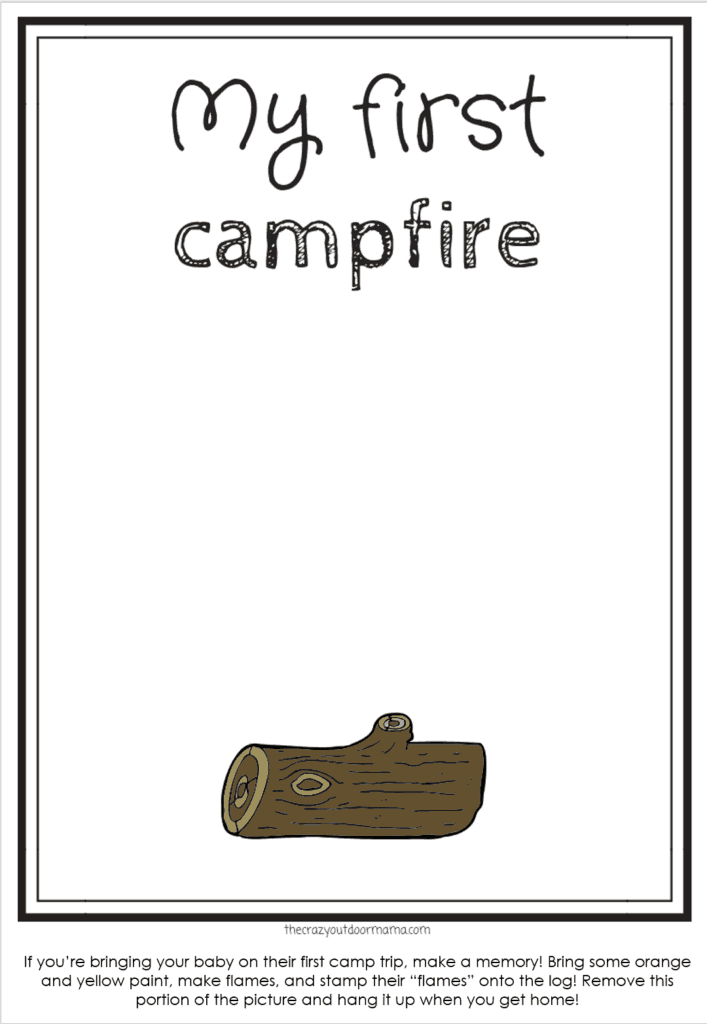
You can also use this template if your writing is messy. Mine isn’t awful, but it does always end up crooked.
P.S. If you love campfires but suck at making fire like me, check out these homemade pinecone firestarters!
Campfire Hand Print Craft Template
What other camping crafts do you like? Don’t forget to pin this for later!
I so love doing crafts while camping! Here’s some other cute campfire crafts here (with tissue paper!) and this one with pipe cleaners!
Here are some other articles you might love!
-
- This cool DIY camp sign for your campsite – hand made by your child!
-
- Play-Doh and nature can be pretty fun together!
- First time going camping with your baby and you’re overwhelmed? Don’t be! Check out my guide for camping with a baby here!
- 4H Archery Worksheets for Kids – Parts of a Compound Bow + More! - June 30, 2024
- 4H Archery Project Idea + Fun Archery Practice Ideas! - June 30, 2024
- DIY Nerf Orc Targets – Perfect for a Nerf Themed Party! - June 15, 2024
