“Overlanding is driving somewhere remote, to eat something.”
It’s hard to beat eating good food in epic places. That’s one of the perks of overlanding and why overlanders need to think about their overland kitchen setup.
You don’t have to survive on granola bars and trail mix while on an extended trip. With a simple overlanding kitchen setup, you’ll be ready to cook tasty meals with minimal hassle while off the grid.
So what should you include in your overlanding kitchen? I’ll go over exactly what you’ll need for simple, budget-friendly setups all the way up to expensive camp kitchens most of us just dream about.
Let’s get started!
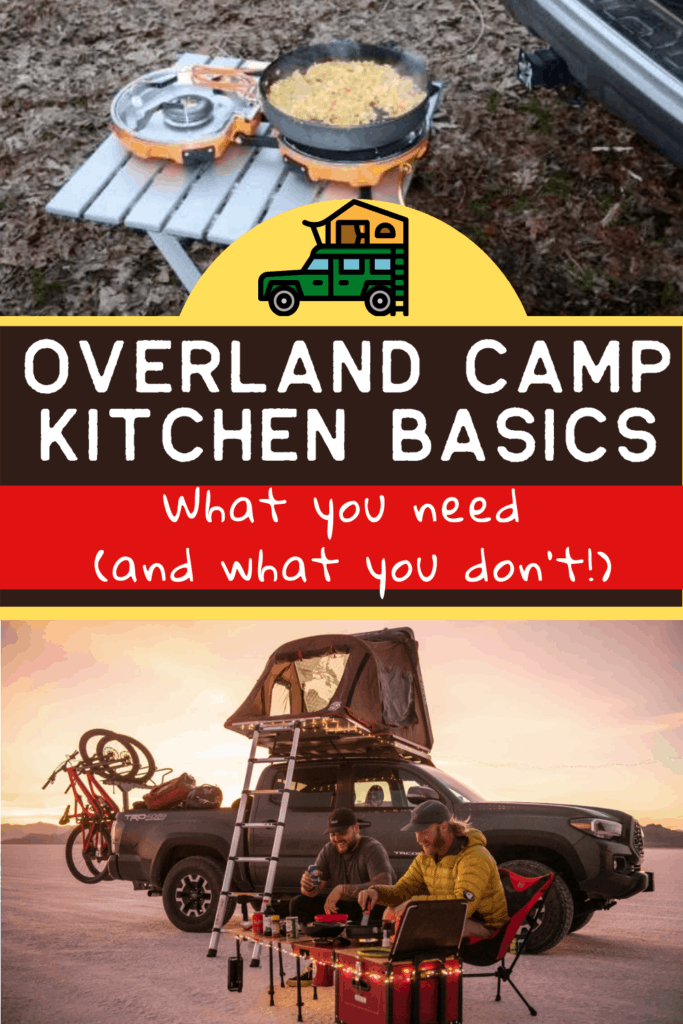
Table of Contents
5 Basic Elements of an Overlanding Kitchen
…or any kitchen for that matter.
When it comes to your overland kitchen setup, there are five basic tasks you need to prepare for:
- Food storage
- Food prep
- Cooking
- Eating
- Cleanup
Simple camp kitchens have multi-use areas for accomplishing several of these tasks in one place. On the other hand, more extravagant overlanding kitchens have more dedicated spaces for each of these.
How is an overland kitchen different from a normal camp kitchen?
Really, they are very similar. The biggest difference is the ease of setup.
When you pull into a campground for a multi-day stay, you can spend more time setting up your campsite. You know you’ll be there for several days.
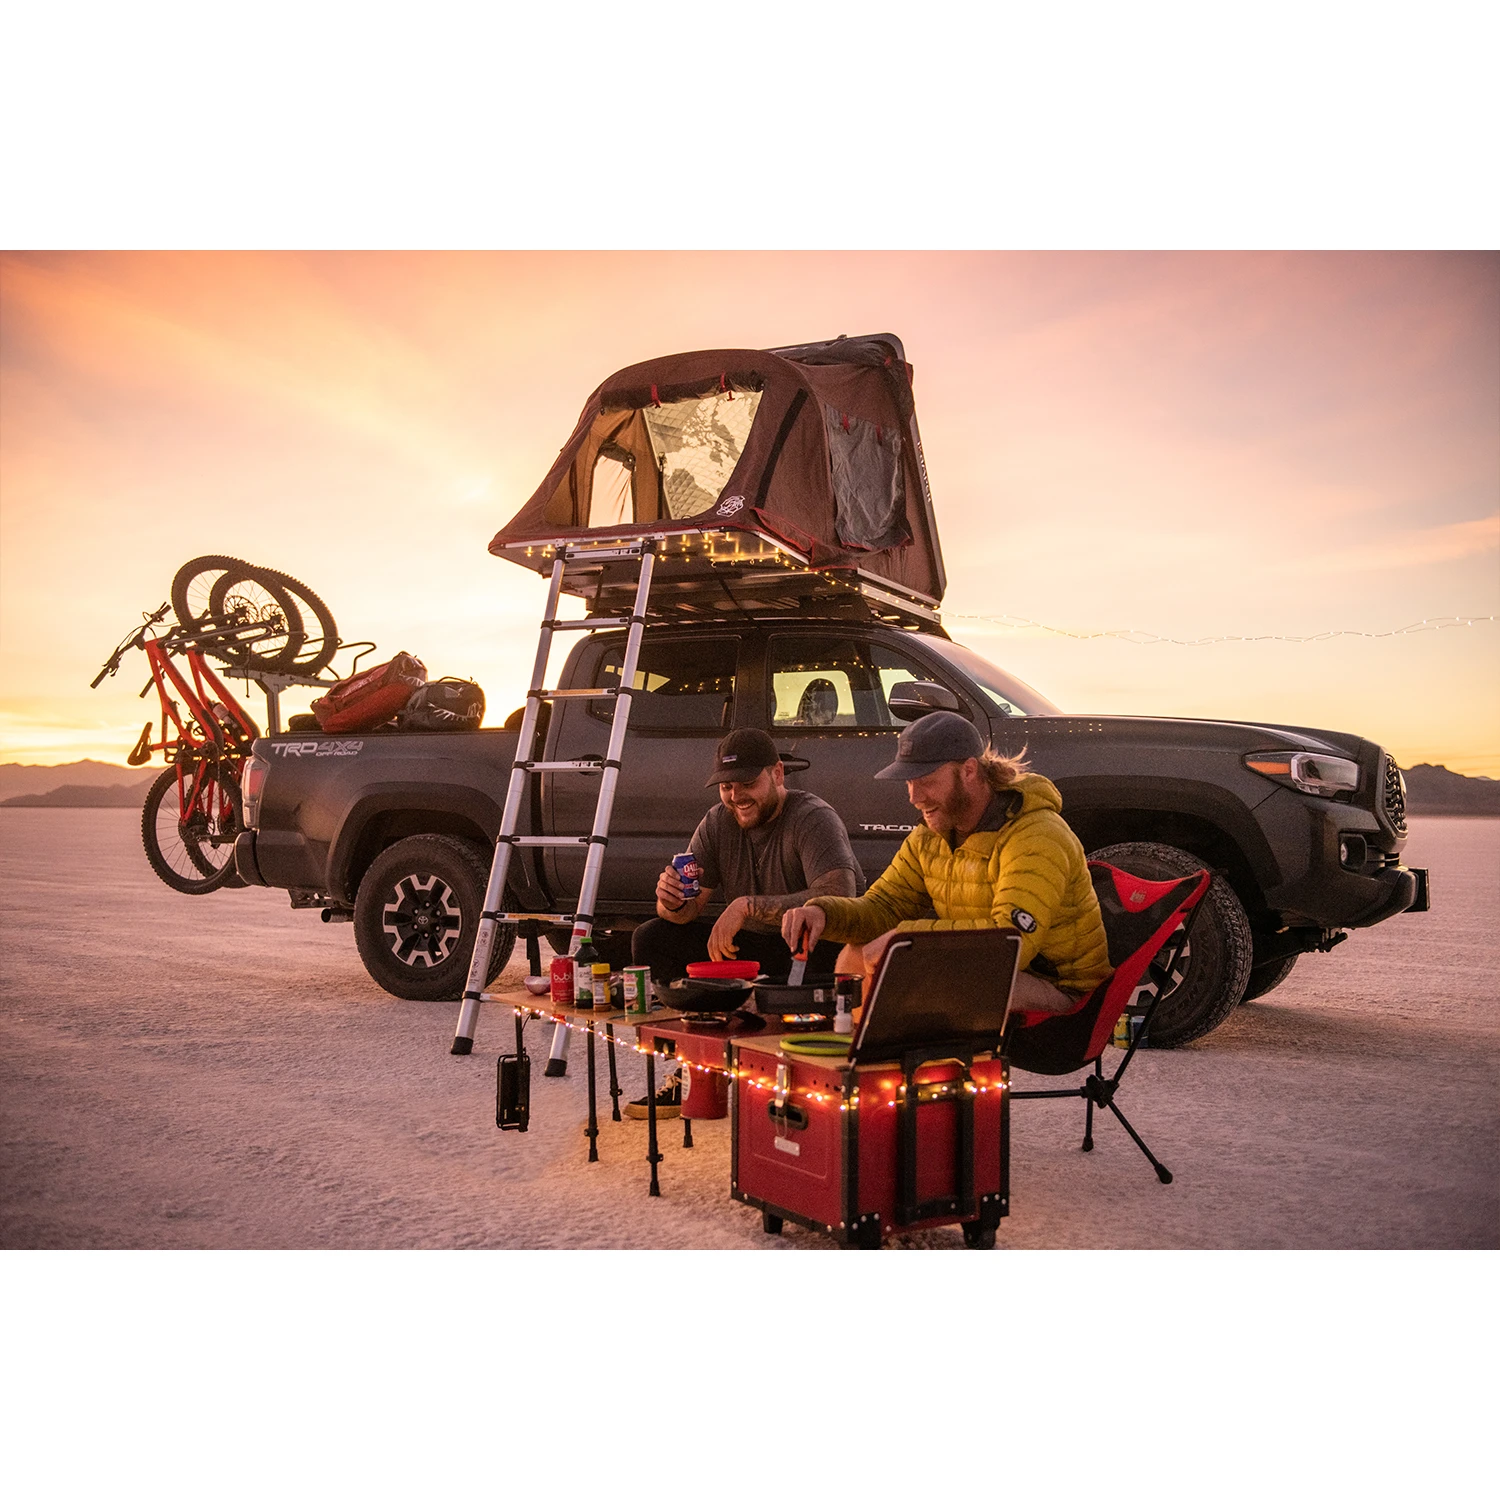
But an overlanding kitchen should be more efficient and convenient. Since you’re probably moving from one place to another every day, you don’t want to spend an hour setting up your cooking gear in order to prepare food.
So as you plan your setup, think about how to make it easy to set up and take down.
Now let’s get started with the first of the five basic elements of an overlanding kitchen – food storage.
Food storage
In any kitchen, you’ve got two basic types of food storage – refrigerated and non-refrigerated.
So first consider where you’ll pack non-perishable items. This is the easy part. You could use plastic tubs, boxes, or extra space in built-in drawer setups.
Just make sure it’s easy to get to at mealtime by packing the food items that you’ll use most often where they’re easy to get to.

What about cold food?
For shorter trips or trips where you have access to ice every few days, a quality cooler is a worthwhile investment. Yeti, RTIC, and Canyon Coolers make some pretty awesome coolers that will keep ice for several days when managed properly.
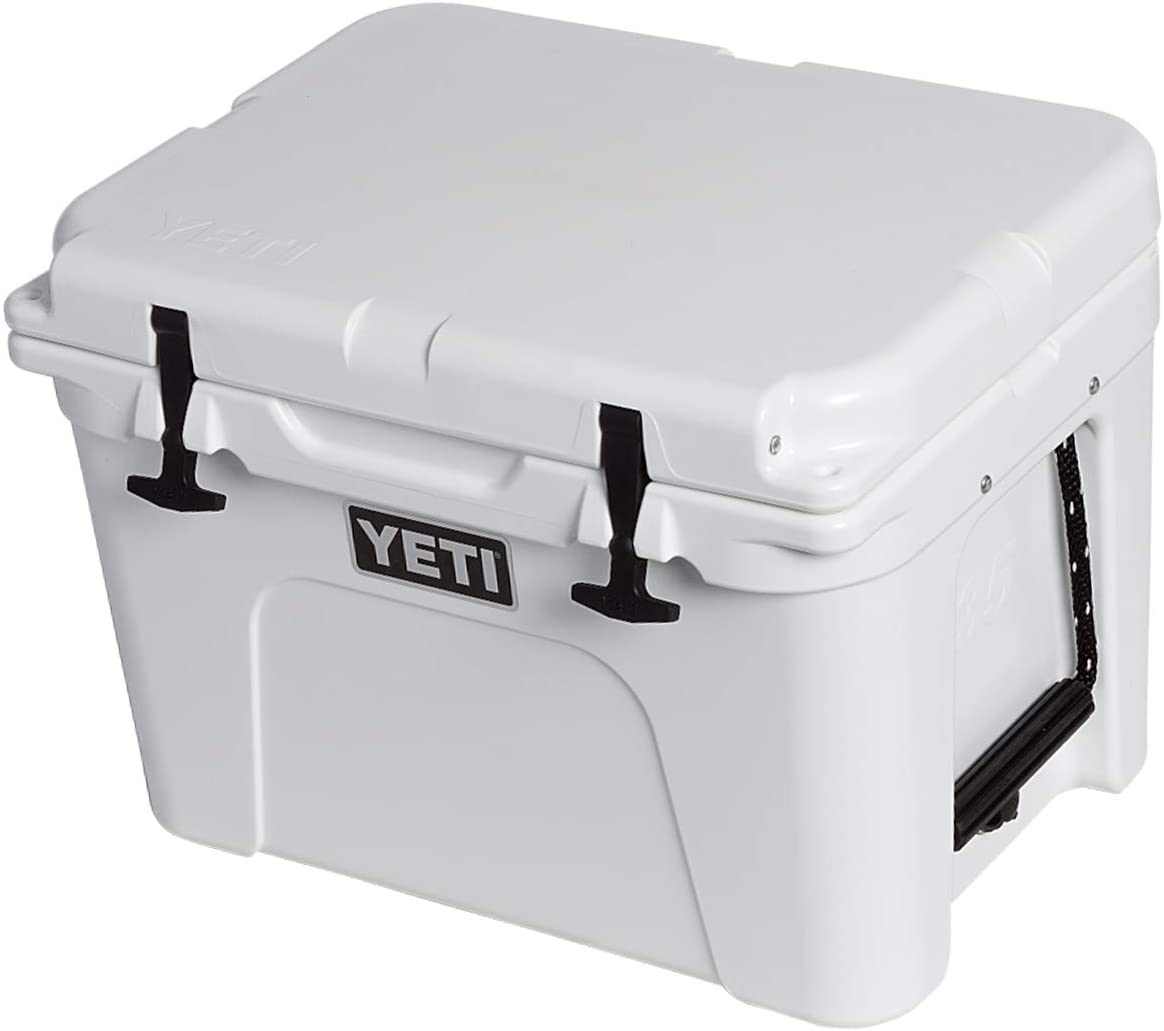
Source: Amazon
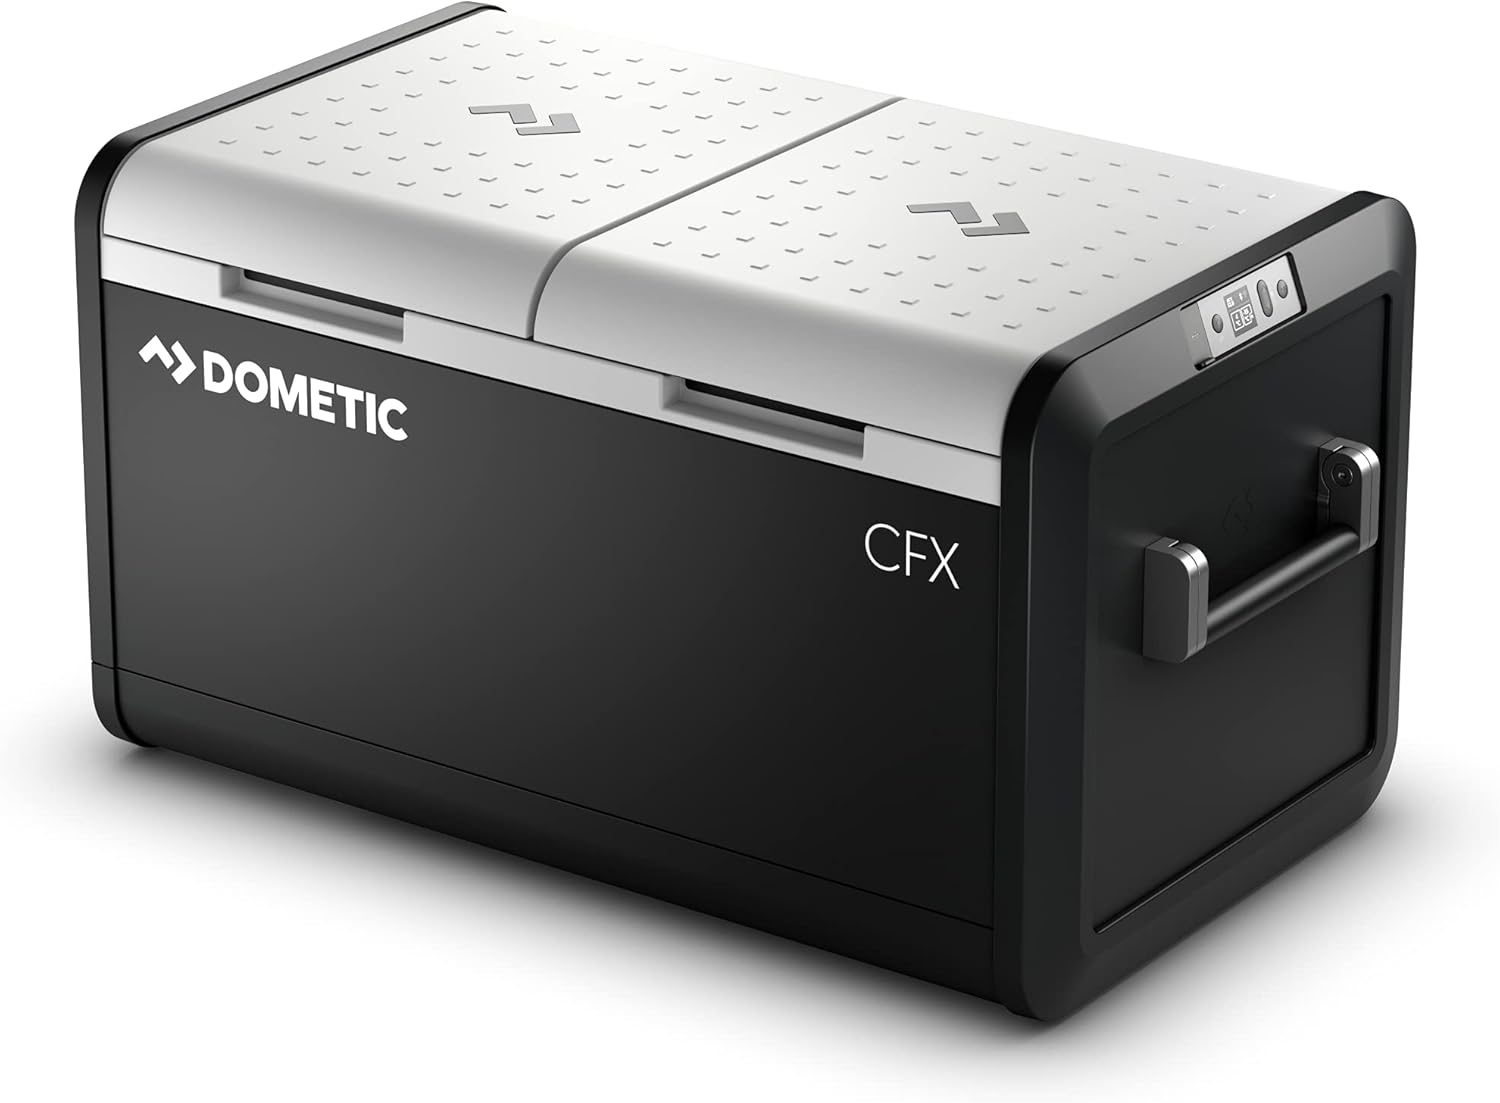
If you’re on extended trips and don’t want to worry about sourcing ice every few days, it’s worth it to get a 12V powered cooler.
Technically these are mini-refrigerators that run off of your car’s 12V power. Even just a basic 12V cooler that plugs into your vehicle’s cigarette lighter (like the Coleman PowerChill) could help you stretch your ice a few more days.

For longer trips where you need a more efficient and reliable refrigerator, go with one of the Dometic Portable Refrigerators.
Just a word of caution for new overlanders!
These 12V portable coolers work great while driving because your car is constantly recharging the battery and powering the mini-fridge. But if you leave the cooler plugged in while your car’s not running, it will continue to draw power from your car’s battery.
So you could wake up in the morning with frozen bacon, but no way to start your car. Yikes!
If you’re going on longer off-grid trips, then it’s worth it to invest in an auxiliary battery setup. Basically, this will add a second battery that you can use just for your powered cooler and other devices or lights.
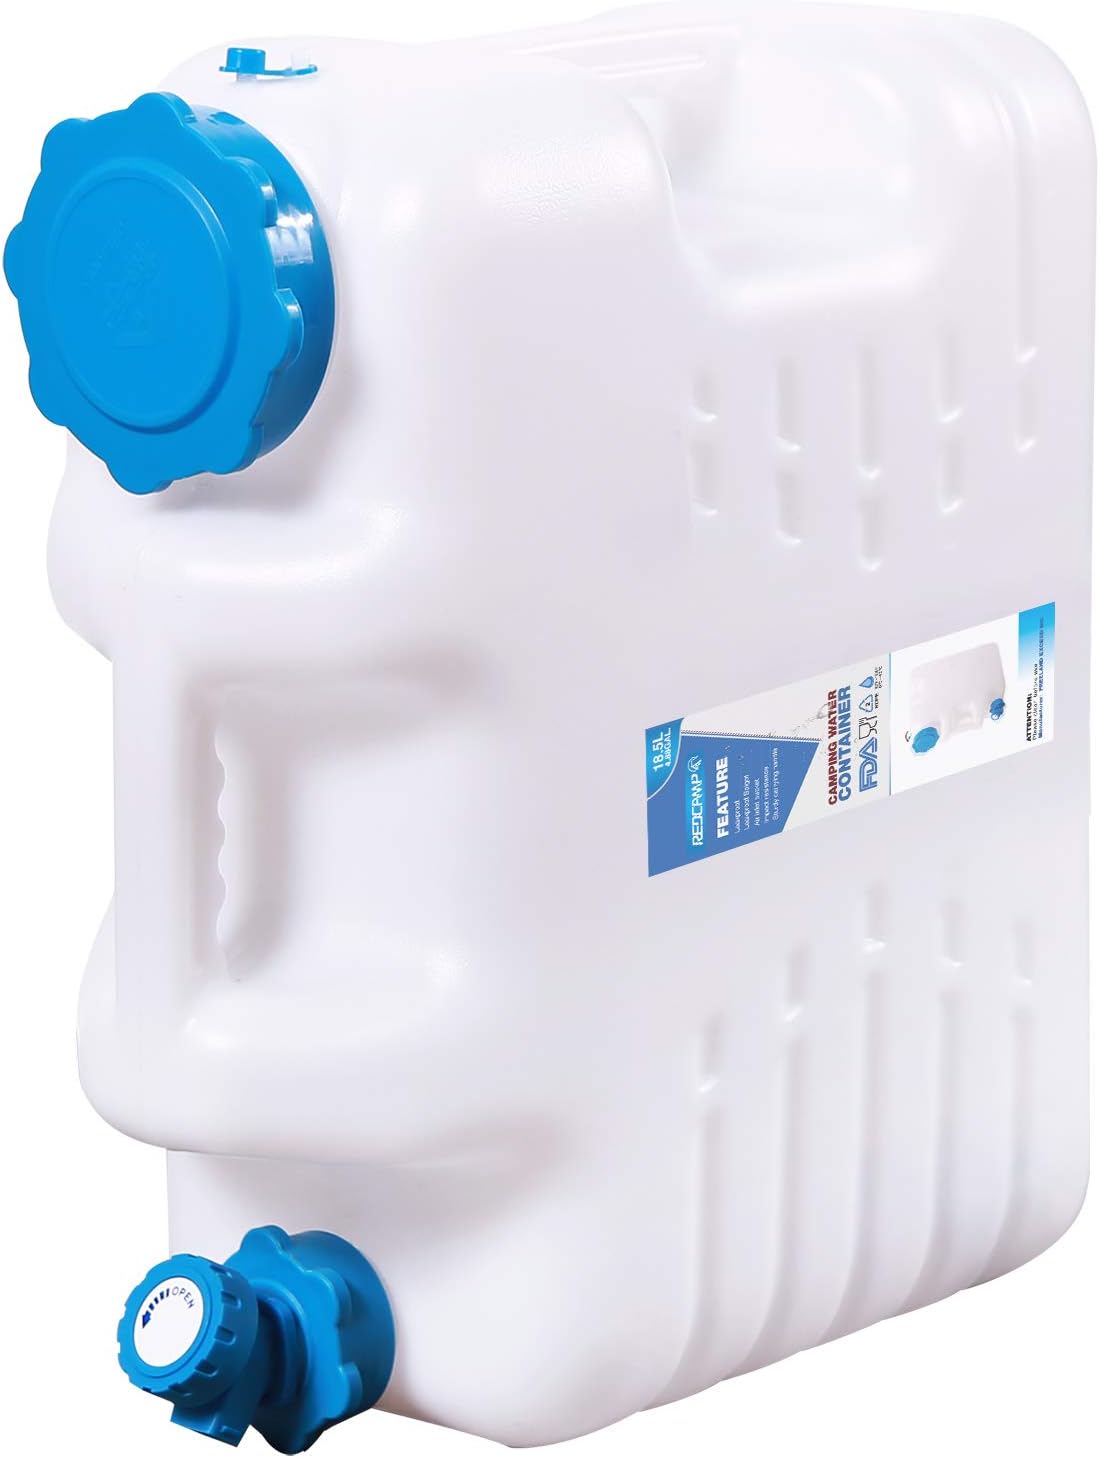
And last but not least, water. Where will you store your water?
One of the simplest options is several collapsible water jugs like these from Redcamp. If you get ones with a spout, you can even set it up to double as a faucet for your sink. And some of the more extravagant overland kitchen setups have water storage already built-in.
Food Prep
In addition to packing some essential prep utensils, like a general-purpose knife, cutting board, mixing bowl, and some kind of mixing spatula/spoon, it’s also good to have a flat surface to work on.
The easiest way to solve this is with a folding camp table. You don’t have to get fancy, even a basic folding plastic table, like the ones you pull out for game night, will do the trick. Then it doubles as a place to eat!
How much space you need for food prep will depend a lot on what you’re planning to cook. Most overlanders try to keep things simple.
The more food prep you have to do, the more dishes you’ll have to wash. The more dishes you have to wash, the more water you’ll need.
So it’s worth it to plan a simple (but tasty!) menu with meals that are easy to prepare.
Now it’s time for the fun part, cooking!
Cooking
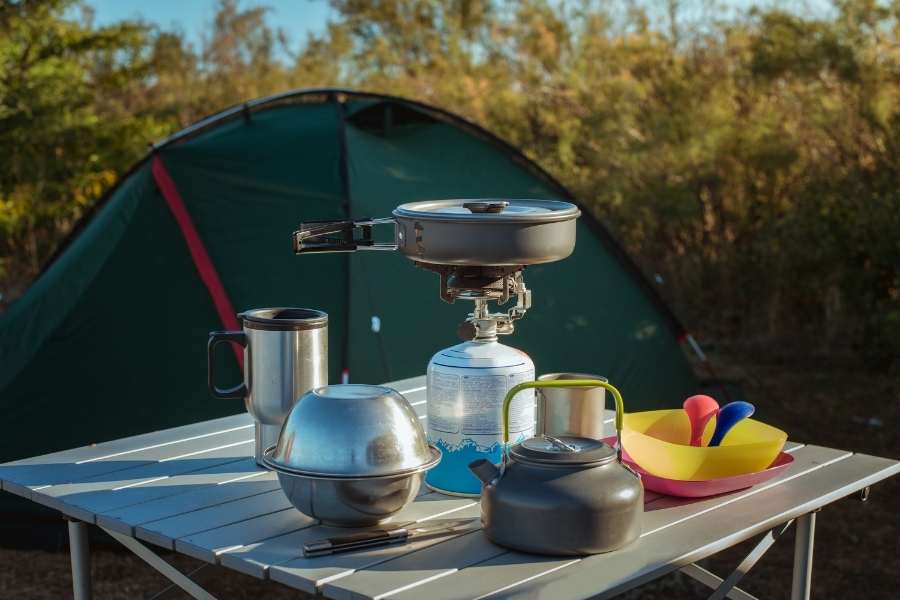
You need heat, so… a camp stove. Sure you could light a campfire every night and cook your food over it, but after a long day on dusty roads, you need a quick and easy way to cook your food.
More extravagant overlanding kitchens have built-in stoves or spaces for standard camp stoves. These are really convenient to use – just pull out a drawer and bam! You’re ready to cook!
A simpler option is to just use a good, old-fashioned camp stove like the Coleman Triton+ 2-Burner. Just pull it out and plop it down on your table. Plus, they’re pretty compact once folded up.
If you’re really short on space, you can even just use a single-burner backpacking stove for boiling water, like the JetBoil.
Source: iKamper
Time to Eat!
In most cases, your prep area can double as your eating area. Being able to actually sit at a table makes you feel a little more human on long trips when you’re already sacrificing other “creature comforts”.
On shorter trips, most of us are just fine enjoying a freshly cooked meal from the comfort of our camp chairs.
And just like your prep area and utensils, when it comes to plates and cutlery, keep it simple. It’s amazing what you can do with a spork! (They’re awesome, right?!) A long-handled spork can handle just about anything and will make cleanup soooo much easier.
Cleanup
Cleanup, the part no one likes. Like I mentioned before, cleanup is a lot easier when you’ve planned your menu correctly. The last thing you need is to try and wash a pile of dishes with limited water – NOT fun.
So it’s worth planning how you’ll clean up your overland camp kitchen after meals. Quick cleanup means you get to relax by the fire sooner!
Some of the nicer overlanding kitchen setups have built-in sinks with hot water heaters that make you almost feel like you’re at home.
For a simpler solution, it’s hard to beat a two basin dishwashing setup – one basin or bowl with soapy water for washing and another with clean water for rinsing.
If you like to have at least a little running water, try setting your water container with a spigot above your basin and voilá! You’ve got running water at your campsite.
So now that you’ve got a basic idea of what you’ll need for your overland camping kitchen, let’s look at some things you can use for an overland kitchen setup that fits your vehicle, budget, and needs.
Overland Kitchen Setups
We’ll break this down into three different categories…
-Simple Micro Overlanding Kitchen – For those of us who like to travel light. (Or whose budget requires us to travel light!)
-DIY Built-In Overland Kitchens – For more camp cooking comfort on longer trips.
-Premium Mobile Kitchens – For long trips when your budget isn’t an issue.
Your particular circumstances and needs might fall somewhere in between these three, so steal ideas from each to create the best possible setup for your overlanding adventures.
The Simple Micro Overlanding Kitchen

For a simple overlanding kitchen that gets the job done and doesn’t break the bank, you’ll need…
- Cooler. I would suggest a 40-70 quart cooler. That will give you enough space to store all your food and drinks for a multi-day trip.
Some good options are:
Canyon Coolers Outfitter Series 55QT
Igloo BMX – A nice budget option for a rugged cooler.
- Cookset with pots, pans, utensils, plates. You can bring stuff from home, but it’s even better if you can get a set that nests together for easy storage.
Stanley Base Camp Cook Set for 4 – You really don’t need to look anywhere else. This has everything you need from sporks to plates, bowls, spatula, pans, and more that fits together in one compact package.
I was going to put another option, but really for what you get for the price, it’s hard to beat the Stanley Base Camp.
- Camp Stove – If you’re fine with simple meals, you can get by with a single burner stove. But if you want to make your morning coffee and eggs at the same time, it’s worth getting a small two-burner stove.
MSR Windburner Duo – The super-compact option.
Coleman Portable Butane Stove – Simple and budget-friendly.
Coleman Triton+ 2-Burner – A decent little two-burner propane stove.
Solo Stove Lite, Titan, or Campfire – The best wood-burning camp stoves out there. Check out my Lite, Titan, and Campfire reviews.
With those three basic pieces (cooler, cookset, and campstove) you could travel the world. Here are a few other essentials you can add to this basic overlanding camp kitchen that will make mealtime and cleanup even easier.
Multi-purpose table
Camco Folding Table – Just be careful, folding camp tables like these aren’t always the most rugged.
Lifetime 4-Foot Folding Table – Although it’s not as compact as traditional camp tables, folding plastic tables like these will take a lot more abuse.
Collapsible Wash Basins – Make cleanup easier without taking up a lot of space.

Water Container with Spigots – One like this REDCAMP Water Container has a wide opening which makes it easy to clean. You can also get ones with a spigot that collapse when empty for easy storage like this Coleman Water Carrier. They’re also a lot cheaper!
Built-in DIY Option
One of the disadvantages of the simple overland kitchen options is the time it takes to set up. You have to unpack everything from the back of your vehicle, set it all up, and then when you’re done… fit it all back in.
If you don’t have a big vehicle like a Land Cruiser or a pickup truck, it can be annoying doing that whole setup process every day.
That’s why slide out overlanding kitchens and storage that are built-in to your vehicle’s trunk or truck bed work so well. Usually, you’ll have some type of drawer system with your stove and/or sink that just pulls out of your vehicle.
Setup is minimal and when you’re done, everything just slides back into place. Premade systems like these can be expensive, but you can also make your own if you’re handy and have some hand tools.
Here are some cool videos with inspiration for making your own drawer storage system for overland camping.
Premium Overlanding Kitchens
If budget isn’t an issue and you’re looking for the ultimate in overlanding comfort and ease of cooking while off the grid, try one of these ready-to-go overlanding kitchen setups.
Once installed in the back of your vehicle, they provide custom drawers that pull out with space for your camp stove, expedition cooler, and even a sink on some.
I’m not gonna lie, they’re pricey. But if you want the most convenient kitchen with minimal hassle, they’re the way to go.
Overland Kitchen Fridge and Stove Drawer
So which is the overland kitchen for you?
If you’re planning your first overland camping trip, keep it simple. Try to use camping gear you already have. Just plan well to make sure everything is easy to set up and then put away.
If you’re already an avid camper and plan on taking some longer overlanding trips, it’s worth it to get something like the iKamper AIOKS or make your own pullout kitchen drawer.
Whichever you choose, the important thing is to get out there, visit some remote places, and enjoy good food!
Want some more inspiration for your next overland camping adventures? Check out my other overlanding articles.
- WHAT IS OVERLANDING? GET READY TO GO OVERLAND CAMPING!
- HOW TO START OVERLANDING | OVERLAND CAMPING FOR BEGINNERS
- TOP OVERLANDING ROOF TOP TENTS 2021 | BEST ROOFTOP TENTS