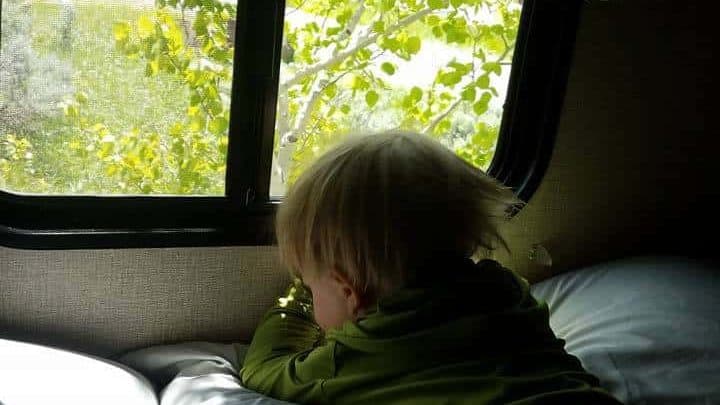
Who else loves to nap during the day, but are blinded by the sunlight streaming through those cheap camper blinds, and swear you’ll buy the fancy black out blinds for your camper next time??
But if you’re like me, and super cheap, you probably never do! I have a TON of things in my “Save for Later” section of my Amazon cart, and I can tell you, nice blackout blinds are one of them!
This is especially true after our first camp trip of the year with all 3 kids in a new sleep set up – my son moved to the top bunk (no window!) but my twins are now in the bottom where there is both a window and blinds… and the blinds seem especially fun when they are going to sleep! I imagine it’s like some fun crunchy baby toy in their eyes for them!
Anyways, I wanted a quick and cheap way to do a couple of things – block out the light, help regulate the temperature a bit in our camper, as well as hopefully reduce the need to have those crunchy, cheap blinds that little kids love to wreck!
And I got it!
These cost around 5 dollars to make each, and you can bump up their quality with additional material (or even the actual black out material they sell at the store!)
Here we go!

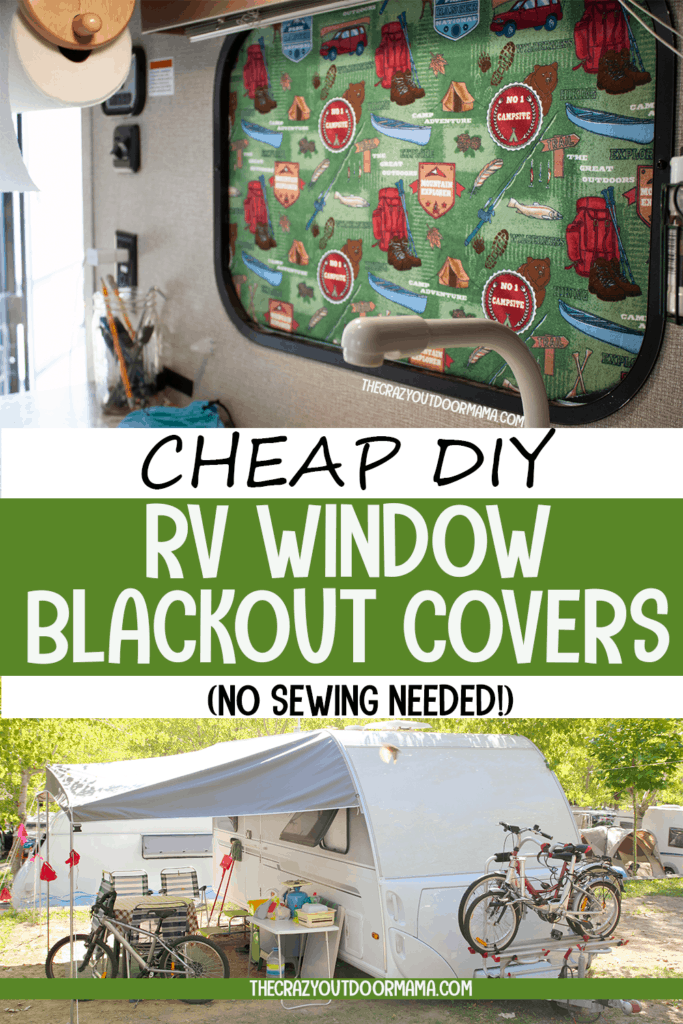
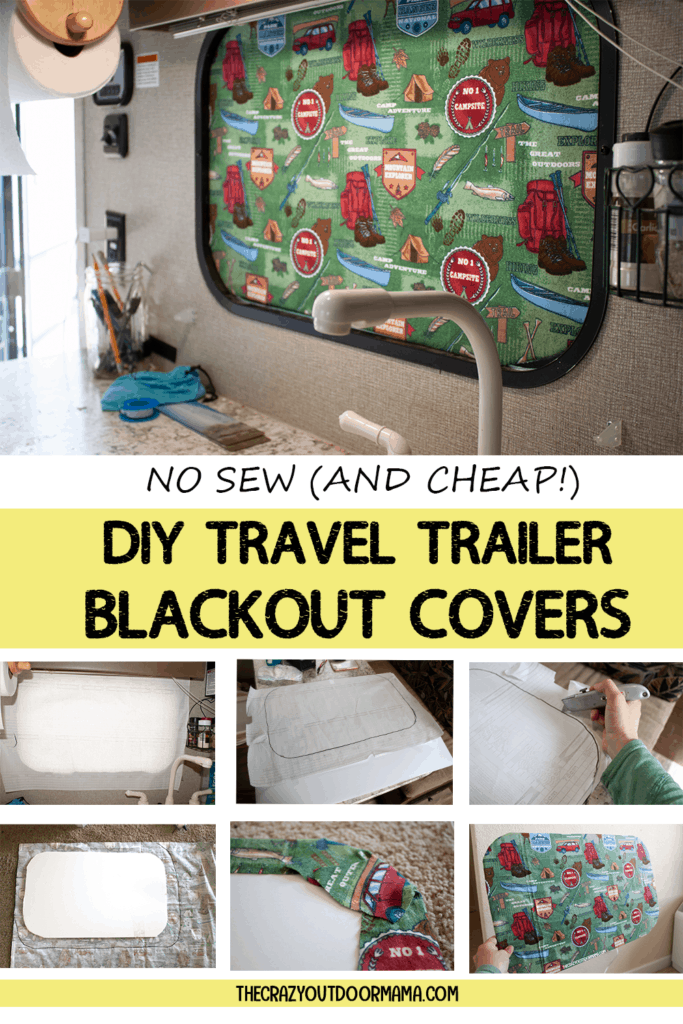
How to Make Custom DIY RV or Camper Window Blackout Covers (For Cheap!)
Make your own DIY RV window blackout covers for cheap with just a few materials! You can modify this to make it more "blackout" as needed!
Materials
- Tissue paper, contact paper, or some other thin, see through paper for tracing your window shape onto
- Tape
- Foam Board (You can get it at the dollar store)
- Material enough to cover board (get enough for both sides if you want more black out and temp control power!)
- Marker to trace
Tools
- Hot glue gun
- Exacto knife
Instructions
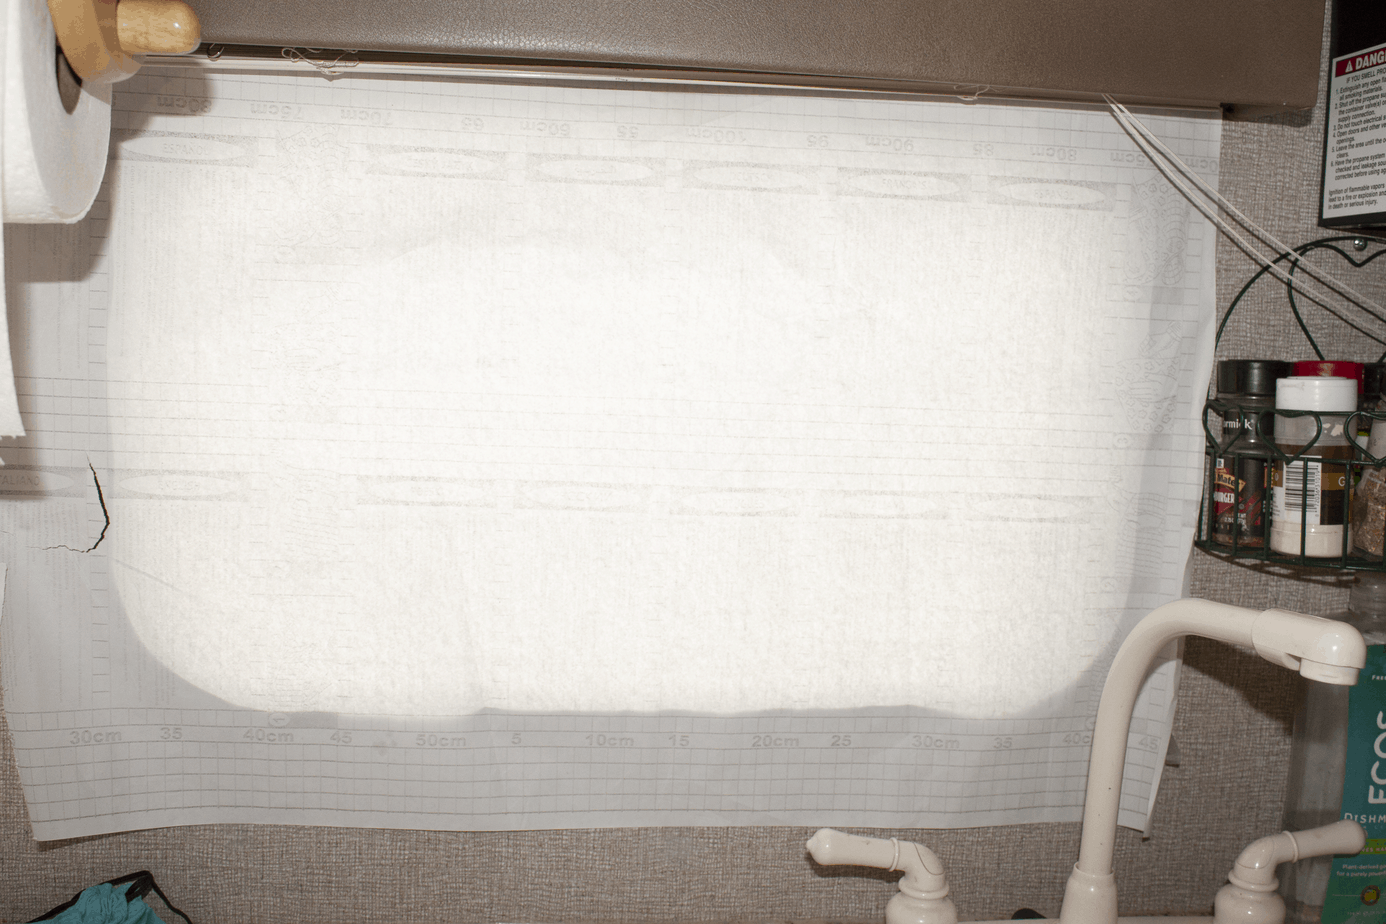
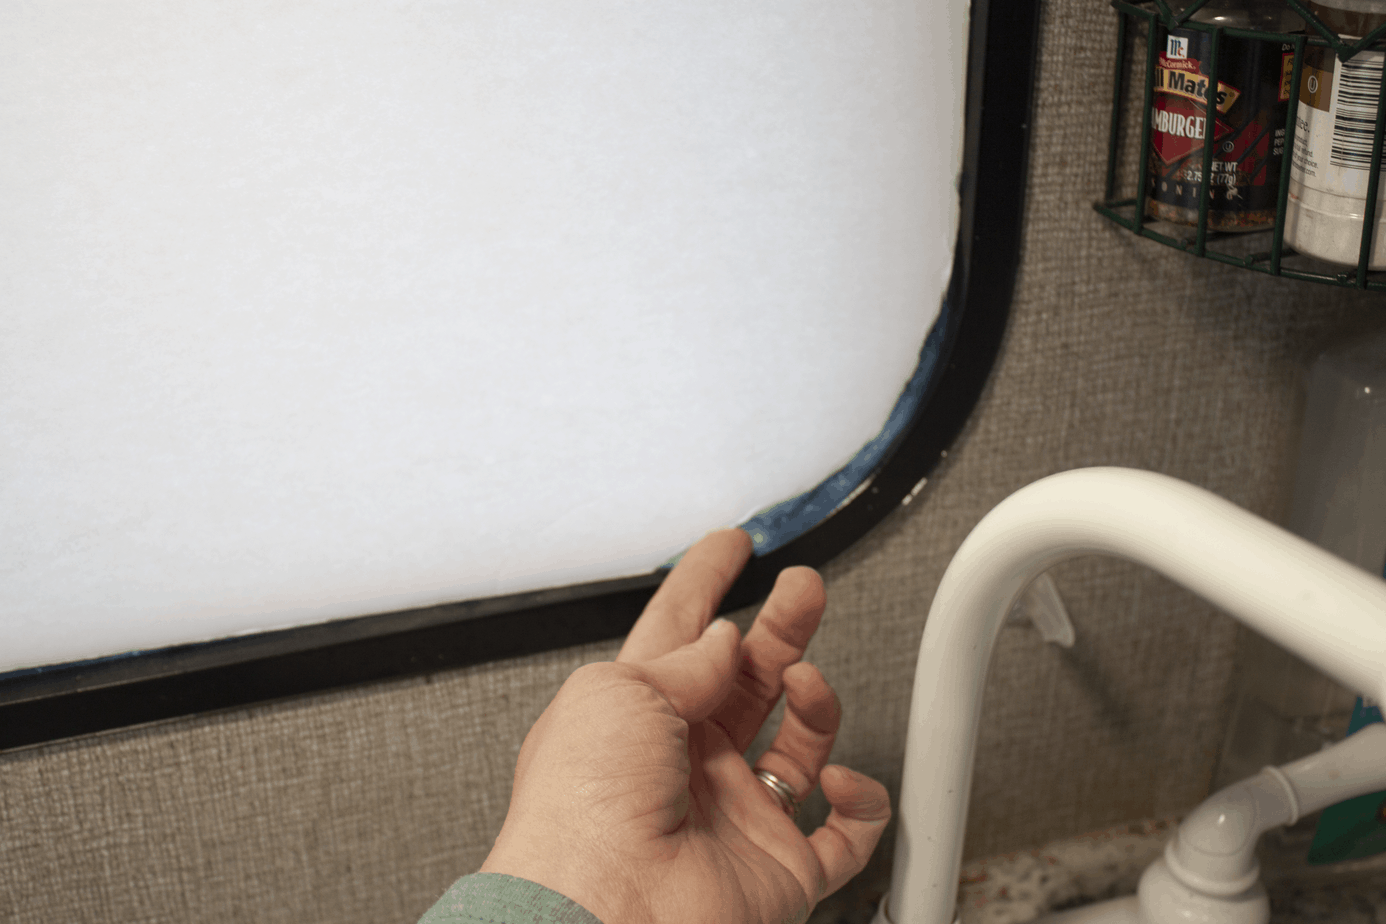
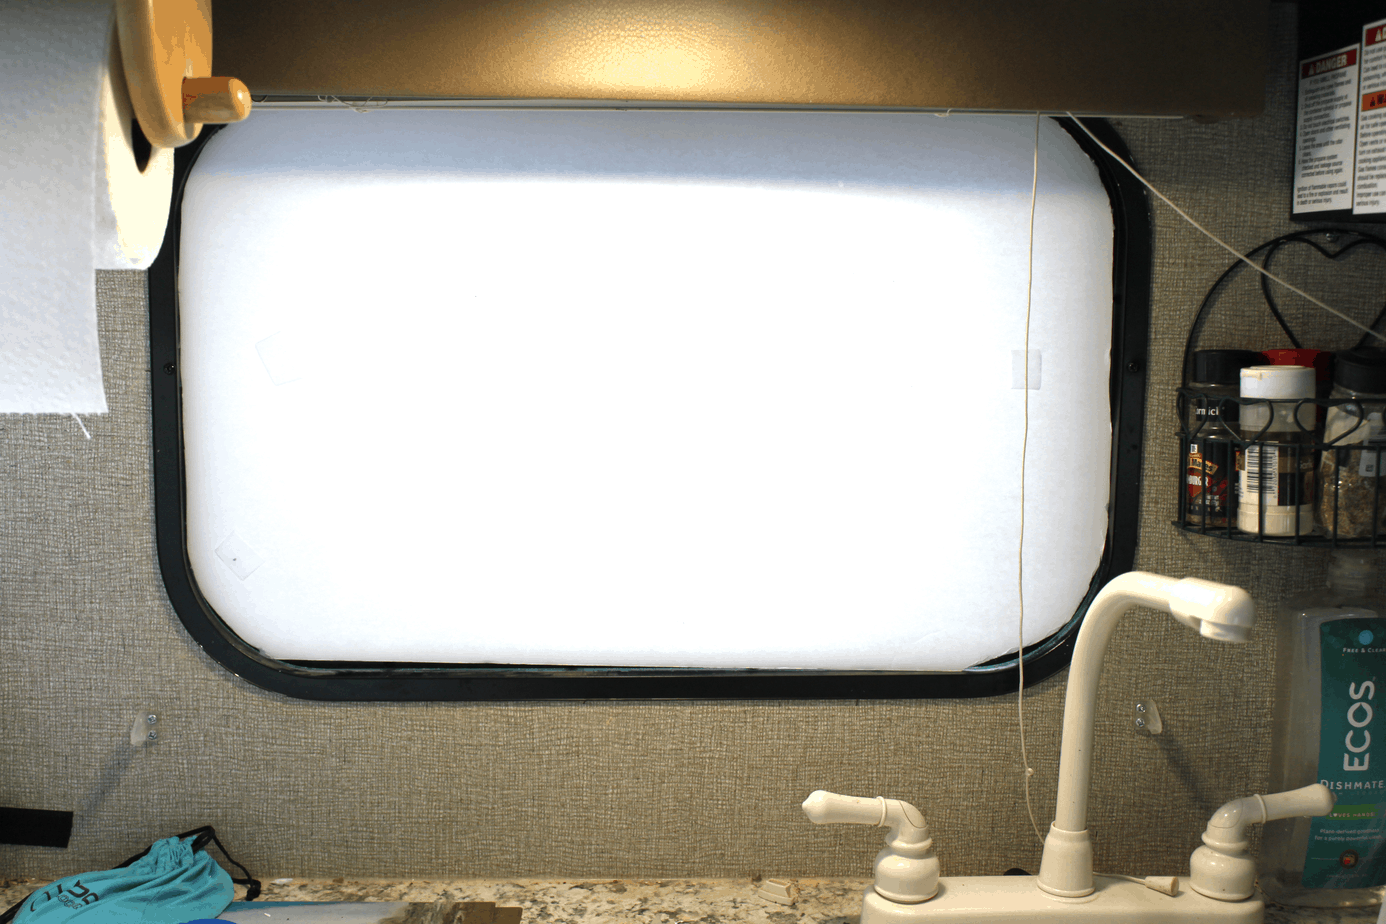
- Tape your see through paper over your window.

- Trace the contours of the window (you should be able to use the frame of the window as a guide) Remember, this is to be placed INSIDE the frame, so trace the inside, not the outside! (see pic)
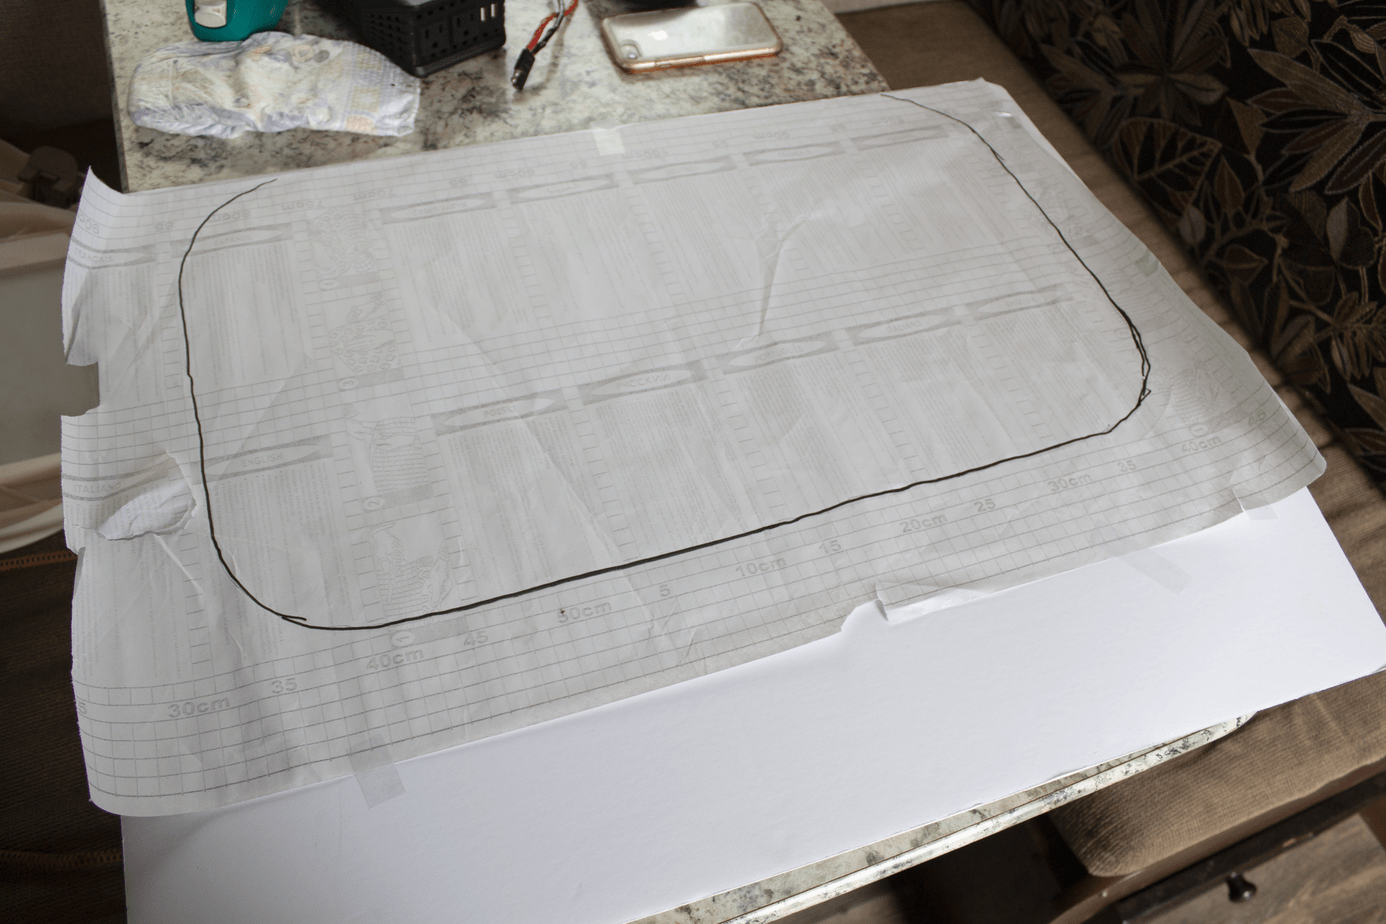
- Remove see through paper and tape it to your foam board
- Start cutting out the window shape with an exacto knife Leave a small notch so that it's easy removable!
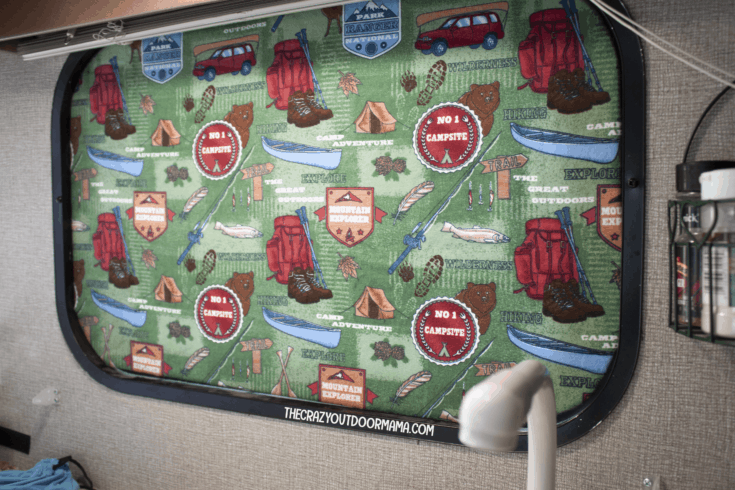
- Once cut, make sure it fits by testing it in your window. It's good to fit snug!
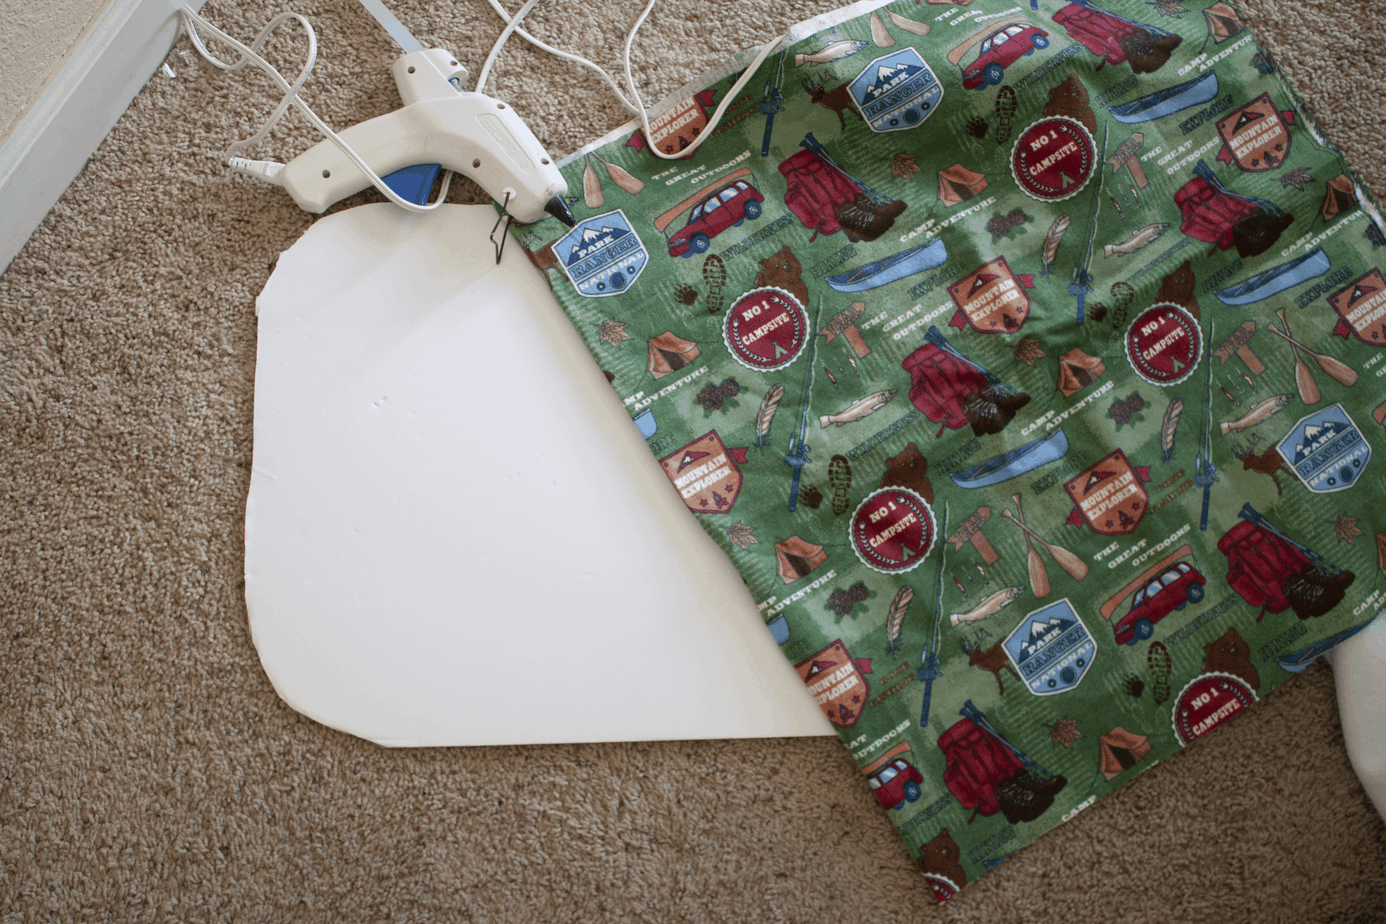
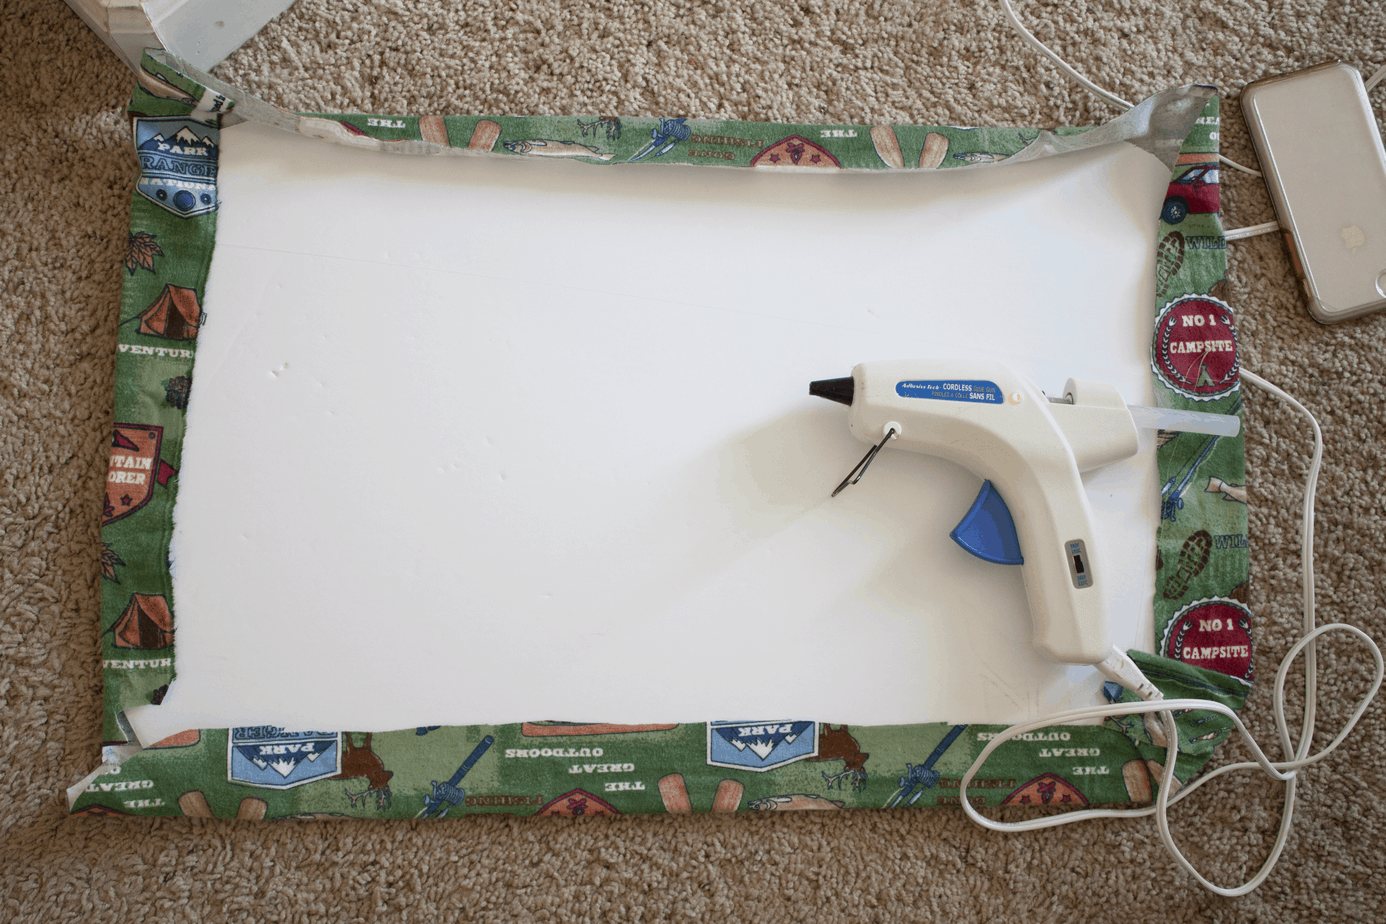
- Bring it in the house to prepare to glue the material to the foam board. A note on materials - Mine was thin, so isn't as "blackout" as some desire (and I only had enough for one side!), so make sure to pick a thick enough / dark enough material for your needs! They do sell black out material near the curtain fabric section in walmart!
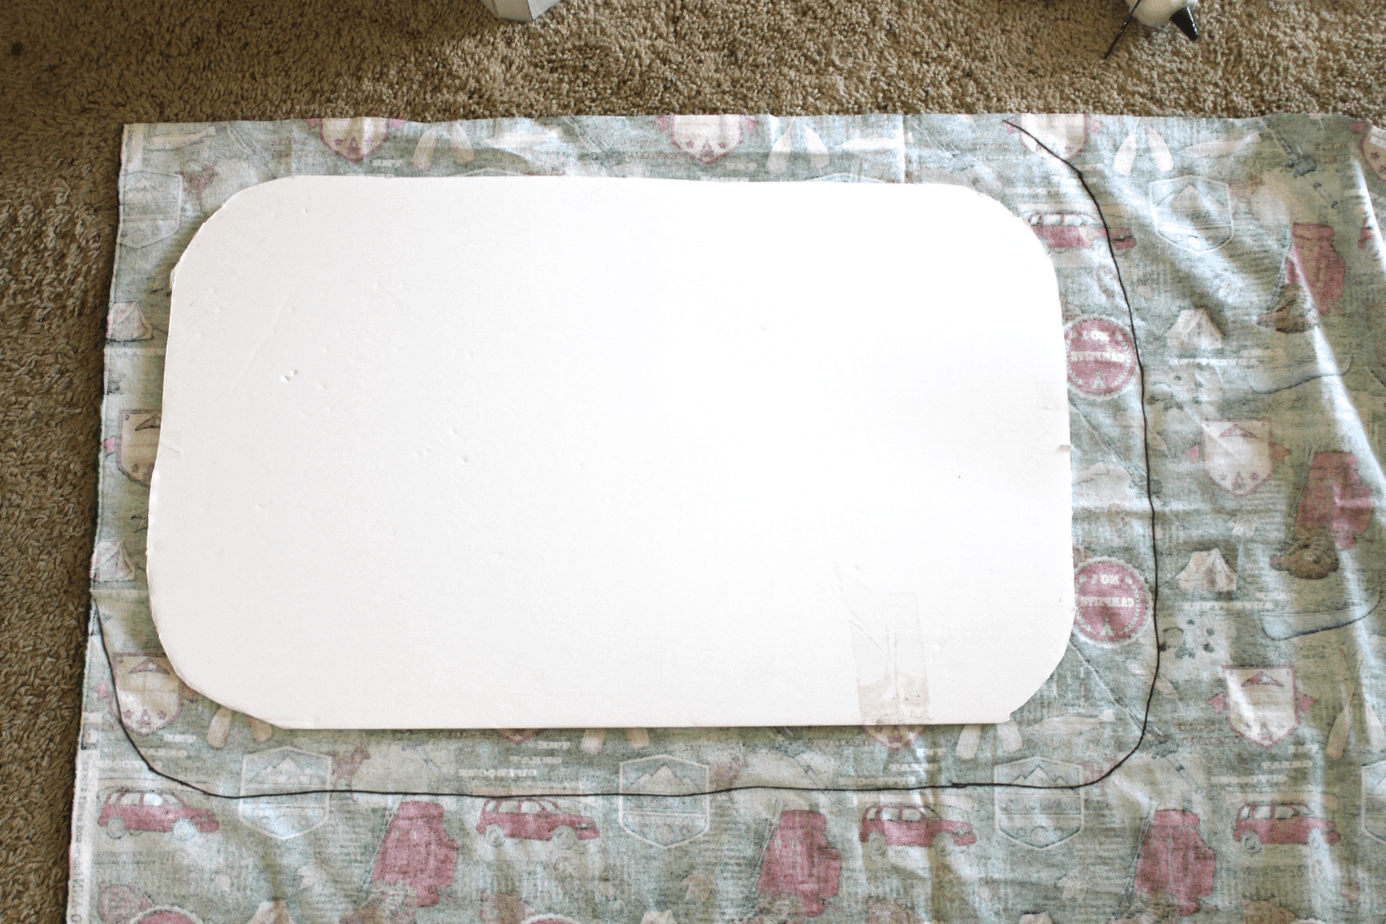
- Trace around your foam board window, leaving an inch or two extra around it for gluing over the edge
- Glue all straight edges first
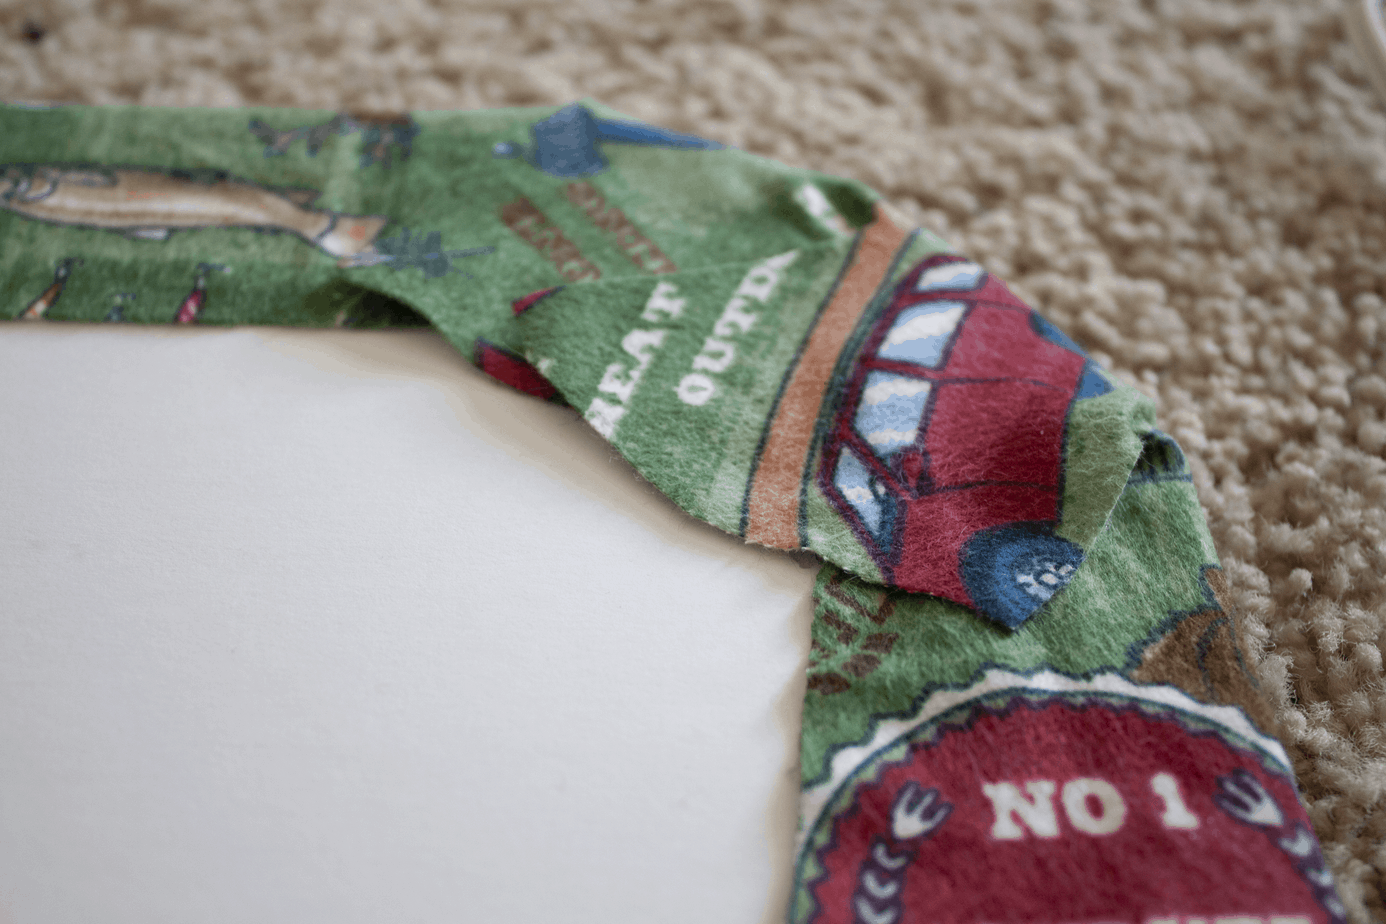
- Go back and do your corners (I'm no seamstress, but I found cutting them a bit helped to make them lay flat better!)
- Done!

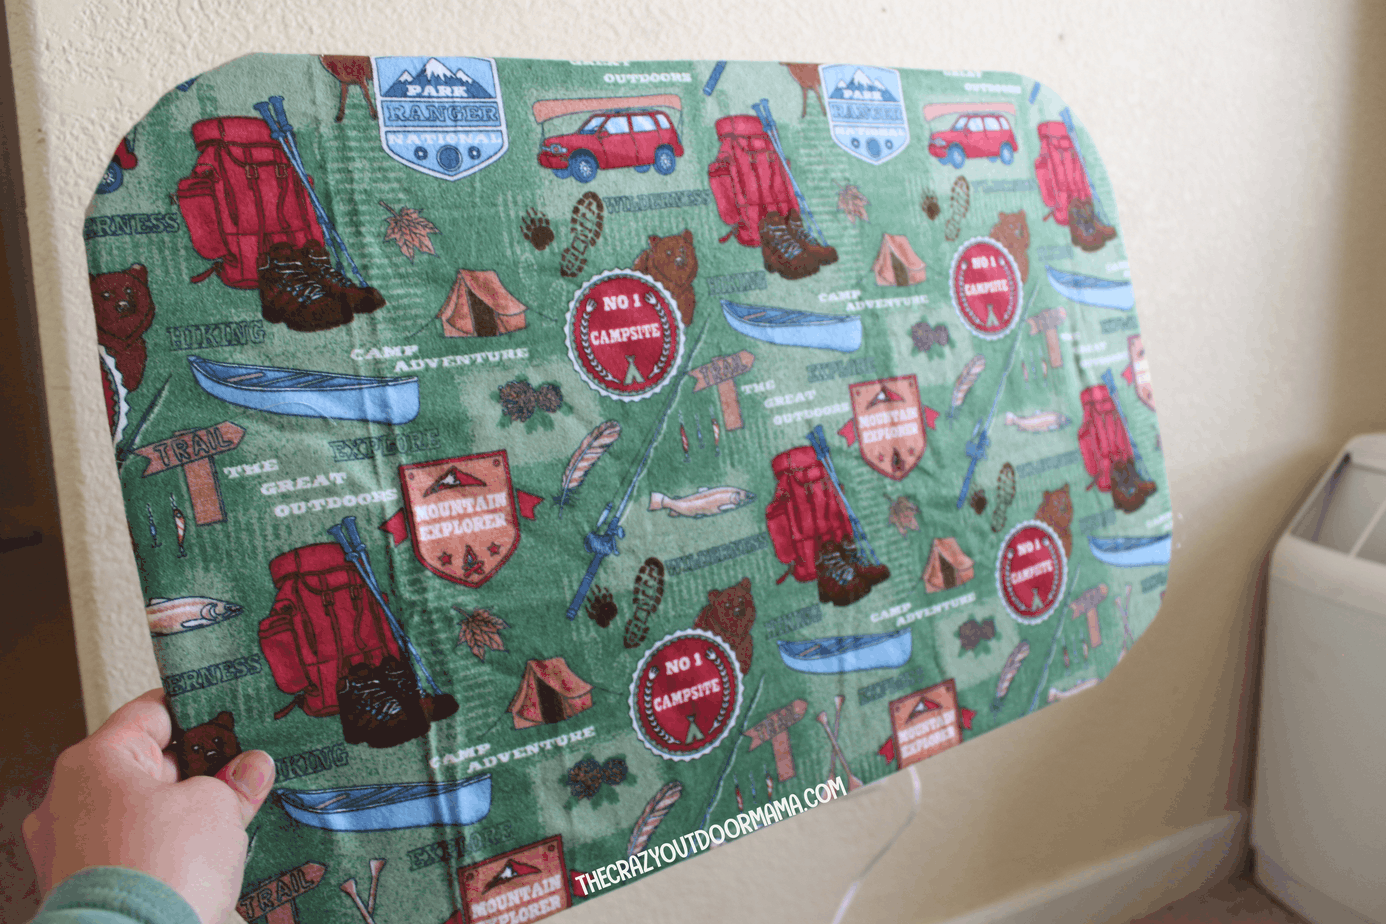
How did it go? Send me a picture!
These work perfect for the windows that don’t open, such as our kitchen window in our camper. I do have an issue with our kids bunk window, as the slide handle sticks out and makes it not lay flat (don’t worry, I have a solution!) I think more of a traditional curtain style might be best, but instead we would use velcro to secure it all in place.
Anyways, I’d love to see if you did it, or of any cool recommendations you have to make this even better! Now go on and enjoy that mid day nap so that I may live vicariously through you (with 3 kids 3 and under, it ain’t happening for awhile for me! =P )
Do you like RV stuff? Then you will love these other travel trailer articles!
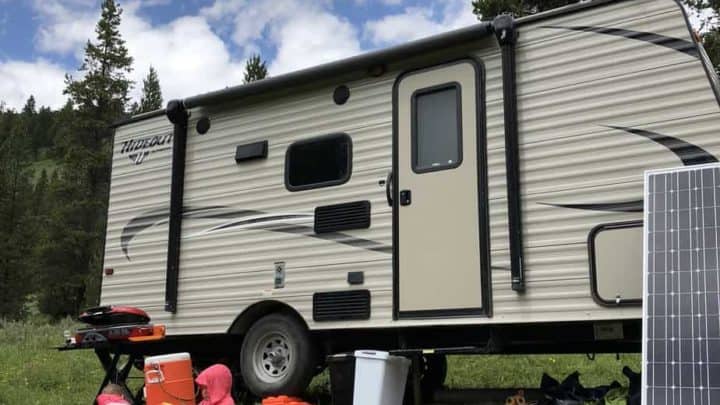
With 3 kids, myself and my husband all in our little 18 footer Keystone Hideout, we try to make everything count when it comes towards organization, purchases, and function! Here’s some cool stuff we’ve learned!


Hi,
Thanks for this idea for the camper window! I might use it for blackouts someday, but I think you inspired me to do something else with the idea. I want to have removable screens for the little no see ems. Those teeny tiny little bugs that get through the regular screening! I think I will use your idea but modify the screen. I’ll use 2 pieces of foam board that are identically cut like a screen shape would be. So, I’d cut like you did, but then cut inside to make the screen frame. I’ll use fine sheer curtain material hot glued between the two pieces. Then I can pot it in and out whenever the no see ems are getting into the camper. Then when I’m not using them I can lay they flat under a mattress. I was trying to figure out how to do this and your idea is the answer! Thank you!
Hi Cathie!
That sounds like an AMAZING idea! I might try that too, those little guys are so annoying! I’d love to see a picture of it when you’re done if you get the chance! Other people might be inspired by you! I’m so happy you found this useful – you’re welcome! -Stacy
I’ve personally used the silvery windshield sunblocks that can be inserted inside between the windshield and rear view mirror. They can be easily cut to fit, can fold up or lay flat for storage, and are reflective. Helped cool our bathroom down when I put one in the skylight above our shower!
Awesome! I’ve thought of cutting one up and then sewing it around a throw pillow (for more insulation) to stuff in that exact spot!
I like this idea. I just went car-camping in my Toyota RAV4 and had seen a YT video showing someone using black construction paper to cover their windows…complete with a little peek hole just in case someone comes knocking on your window. It worked well for short-term usage, but was not easily removed if I needed to drive. I think I will use your basic idea of using the foam core board, but I will paint it black and then put pieces of velcro on it to stick to the ceiling of my car when I’m not using it. 🙂
Car camping is the best! We used to do that with our son (until two more came along :P) Yes, the foam board might help insulate a little better and will definitely make it easier to reuse! Let me know how it goes! (P.S. that’s genius to use velcro on the ceiling – I would have never thought of that!) – Stacy
Out trailer is a rockwood which has the whole front of the bedroom is one large window. I purchased black foam board from Hobby Lobby so there was no need to do both sides ( my window has black tint on it). I used a navy blue sheet and made 3 covers across the window. It looks like I have a padded headboard now. I used command velcro to attach it and whola…no light comes through and they have never fallen down while traveling the country.
Teresa,
Holy cow, that’s genius! I always wondered how I would modify this to work for a large window… and you did it! AND it sounds like it looks good too! I’m hoping to upgrade our camper next year to one that has either a large back or front window… I have to keep this in mind! Thanks so much for sharing! -Stacy
Did you make the camper awning? If so , I would love to see a blog on that.
Llda,
No, I’m sorry! Though I should figure out how to do it, that would be very interesting!
I shopped the Dollar store for window shades in the automotive section. Trimmed to size…done and done
Ruth,
Awesome!!! I’m happy that worked out for you! =) -Stacy
Instead of hot glowing the material if you can sew or knew someone that can sew them then hot glue the end piece that would make it go all the way around.
I would do this and add window car cover shields to the board and then put the sew the material on. Then you have double protection and no lights getting in.
Jesarae,
I have to say, having a hybrid like that would likely work better than just what I wrote above. I need to do an update – we built second ones with an additional barrier and it did work better (but the hot glue didn’t feel as sturdy so I just sewed it)
-Stacy
As someone who hates to sew, this is a great idea! My husband and I have been converting a Ford Transit Van to a camper, and since our interior is heavily metal, what I did was cut some blackout-curtains down to size , hem the edges when I had to (I tried real hard to use the existing hemmed sections), and stick magnet tape on the fabric to attach the curtains to the metal walls/windows trim. I bought 100′ of 1″ magnet tape (magnet on one side, adhesive on the other) for about $33 on the amazon, and have almost half left over, as I’m sure I’ll need repairs. But it works , it was easy, and they actually look okay!
My total cost was just for the magnet tape, as I got the curtains using my TJ Maxx MasterCard rewards points for the two sets, but didn’t like the curtains in the house and was too lazy to return them. A year later, my husband decides to build the camper, and lo and behold, the curtains were a perfect match! This is why I keep things, even when I should Marie Kondo them.
Also because I hate cleaning. But we’re going to go with “visionary” on this one, because it worked out so well. 😉
That is an awesome idea! I want to do something similar (but with velcro) on some windows that have the handle in the middle that prevents this design from working (it won’t lay flat). I did have to sew this other one I’m making, but I’m wondering if magnets might be better than velcro because they don’t get worn out as fast. I love this! And how lucky is that that they matched! I can’t count the amount of times I’ve saved stuff “just incase” I can use it for a project later… and I always justify my habits when stuff like that happens =P -Stacy
Great idea! I am so going to make these. Right now I’ve just hung up black fleece over the window shades, but it’s such a pain to put them off and on. Plus yours are prettier. Thank you so much!
Yes! I was just hanging my husband’s shirts over the blinds for a while there =P I bet they’ll turn out great! Your welcome! -Stacy
I love this and I think I will try to add thermal bubble insulation to mine. We love our trailer in the winter but have had to use the foil insulation to the windows and it looks terrible! Has anyone done this?
Hello!
I just did an article on winter rv camping and it might help you out! What you could do is get this product called “3M Window insulator kit” as a first layer of insulation (it’s clear so it won’t look bad!) then see if you can do a beefed up form of this black out cover so that it still looks attractive. You might be able to fit some additional insulation in it (I was thinking something easy like buying a car sunshade and cutting it to fit). It might be better though at the point to sew it if you could, not sure if hot glue would hold it all together. Let me know what you end up doing! – Stacy
I did a similar fix for our new trailer back in 2013, although not as elaborate or pretty as yours. What would you expect from a guy? I used black foam board from the dollar store also. Instead of making templates I cut the foam boards for length and height and then used a tin can that matched the radius of the corners to mark the panels for trimming. I used sharp scissors, not blades to trim them. They are super clean panels. I didn’t add add any covering, mostly because that’s not where my talents trend. I also found that old sol can be as hard on these panels as my interior fabrics, but the panels are easy to duplicate. They stay in the windows when our trailer is resting. After some time I made one modification. Go to Home Depo and buy a roll of flextime insulation. You’ve probably seen the same material used as auto windshield shades in parked cars. Cut it to fit and glue it to the side facing out on each of you panels..Makes them even darker and helps keep the inside a bit cooler. Thanks for letting me ramble. Milt
Hi Milt!
LOL if my husband had it his way we would have just duct taped an old towel around it, so I get it =P. And I love the tin can idea – even tracing it, it was difficult to get those nice clean perfect curves on the edges (why the heck can’t they just do a straight edge??) Thanks for the insulation idea tip! We actually bought some cheapo car shades and cut them up for our kids lower bunk window because we needed some extra insulation at night (and I didn’t feel like beefing up what I already made.) I should have really just use that originally! And don’t worry, you can ramble any day, I love hearing thoughts and ideas! =D I hope you’re doing well! – Stacy
I don’t know how this compares to other ideas posted for insulation, but thought I’d throw it out there. We have a partially finished basement that gets really cold in the winter. A few years ago I replaced the cushions on our dining chairs and re-covered with the same fabric, so I had squares of old, worn out foam (about 3″thick). I was ready to throw them out and my husband suggested we keep them. A few weeks later I went to his office in the basement and he had cut them to fit inside the window well. The office was MUCH warmer AND when we watch movies in the family room on Sunday afternoon it is pitch black! Easy to take out when he wants light, too.
Hi Sarah!
Ohhhhh that’s a good idea! I bet I could use that for the skylight area (the right size pillow to stuff in there is hard to find). I love that idea! I bet that’d be really helpful for when you need more warmth, like maybe when camping in the RV during winter. LOL it feels so good to be validated when some random scrap you “save just in case you needed it later” actually gets used! =P Hope you’re doing well! – Sarah
Love this idea so much!! DO you think it is possible to keep the current setup (as you did yours) and add the thermal insulation/reflective material to the back where the rough edges are? The kind I have is see through and having this as a backer will make the RV cooler and more attractive!! Thank you for the great share!!
Hi Laura!
YES! We’ve since redone the covers and changed the order that we add things. That would probably work fine! (I need to update this post with some pics of how we did the updated black out shades for our camper!) – Stacy
Hey thanks for posting this useful tip here about blackout window covers
Your welcome, hope it helps to black out your RV and keep it cool! – Stacy
This for posting this! My impromptu fix last time we went out were tension rods and a pillow case. It worked, but I may make a few of these for places where a tension rod won’t work.
Hi Rachel!
Your welcome! I do like the tension rod idea, especially for windows that open that have the big open/close mechanism in the middle that sticks out so far that it’s hard to put one of the cover I use in them. I hope you find these help you! – Stacy
Thank you very much for how to DIY blackout window covers, it’s difficult for me to get such kind of information most of the time always… I really hope I can work on your tips and it works for me too, I am happy to come across your article. Well, I have visited another site https://foreverblinds.com.au/ having some wonderful and similar information.
Hi!
Your welcome! It’s a good alternative if you can’t get something installed. I normally remove website mentions, but actually those custom blinds look super helpful (and pretty!) LOL one day I might up my game and actually get something like that installed in our camper! – Stacy
OMGosh!!!…I cant wait to make these…starting in the RV bedroom windows…thanks
Oh, I forgot to ask…what do you think of using bubble wrap between the window and core board?…it has insulating properties…and we get tons free in our shipments…
HI, when my 1 year old grandson came camping with us – I quickly realized that I REALLY needed something to cover the RV sunroof for his naps. So I used a form board cut to size (1/4 each shorter on each side), used a dark pillowcase and fit it to size and closed it with small velcro piecea so easy to take foam out and wash cover if needed. Instead of sticking velcro strips along the length and width of this foam board (pain to remove glue on window frame after) – I used the Medium size COMMAND hooks. I affix three hooks in window well, slide in my foam piece (inside fitted pillow case), put in position and then affix the last hook to have board sit on it. So easy at end of season to remove all COMMAND hooks before winter starts and easy to reput together in the spring. Happy camping!
Holy cow Franny, that’s an AMAZING solution! I might add your tip to my camping with toddler/babies posts because this is awesome! Thank you so much for taking time to type that out – I’m sure it will help many (because I’ve had people ask for an easy way to block out the sunroof windows – Stacy
I liked this idea, very simple! I cut out a cardboard box to so size and put a pretty pillow case over it! It fits perfect. I can remove the pillow case and wash when needed. Thank you for the idea.
Great to hear Kathy, thank you! That is an AWESOME idea (way easier and easier to clean!) I think we might actually make ours like that next time! Thank YOU! – Stacy
I used your blog to make window covers for my travel trailer. I out a pretty fabric on the inside and reflectix on the outside. thanks for the post! Two windows down three to go.
Hi Dena!
That’s awesome to hear! Your welcome, and I hope the other three turn out just as good as the first two! – Stacy