If you’ve ever wanted your own set of window clings (or just wanted to DIY them for fun with the kiddos!) then you’ll love this DIY window cling tutorial!
I recently became a fan of modge podge ( I have five different types now!) and have been exploring all the cool stuff you can do with them – one of which is making window clings!
I had some left over scraps from something else, and when I tried to get them off the counter… they stuck! I thought it was because modge podge is a sort of glue, but it turns out they are reusable just like window clings from the store.
With Christmas on the way, and a billion Christmas cookie cutters in the pantry, I figured I could try something fun and make window clings using cookie molds!
They ended up turning out alright – I definitely LEARNED ALOT, and I’m super excited to share this fun Christmas craft with you guys!
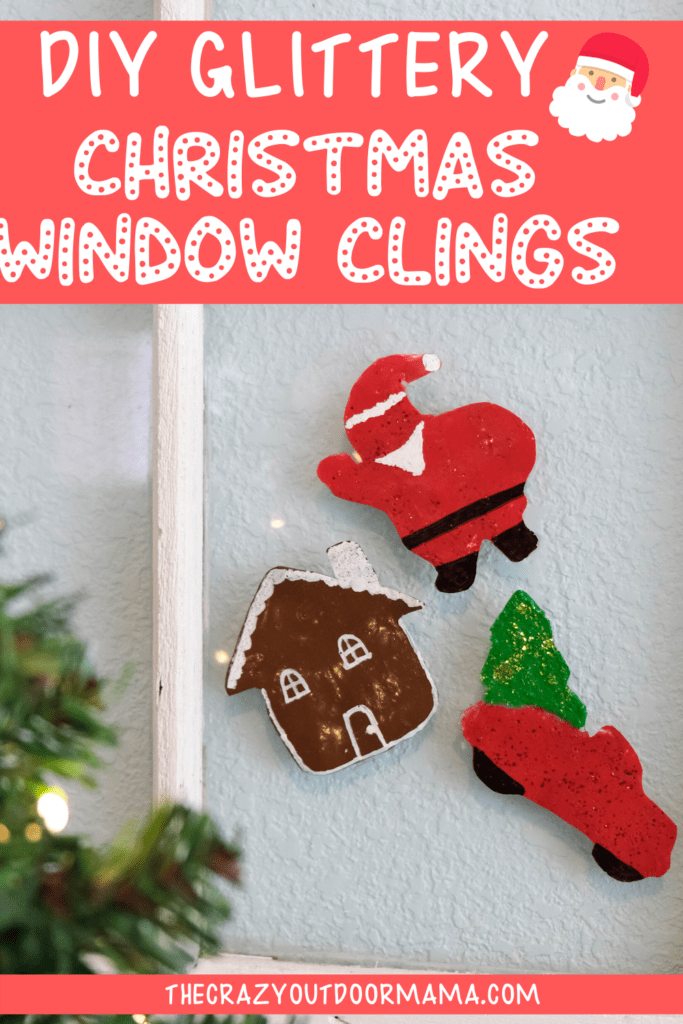
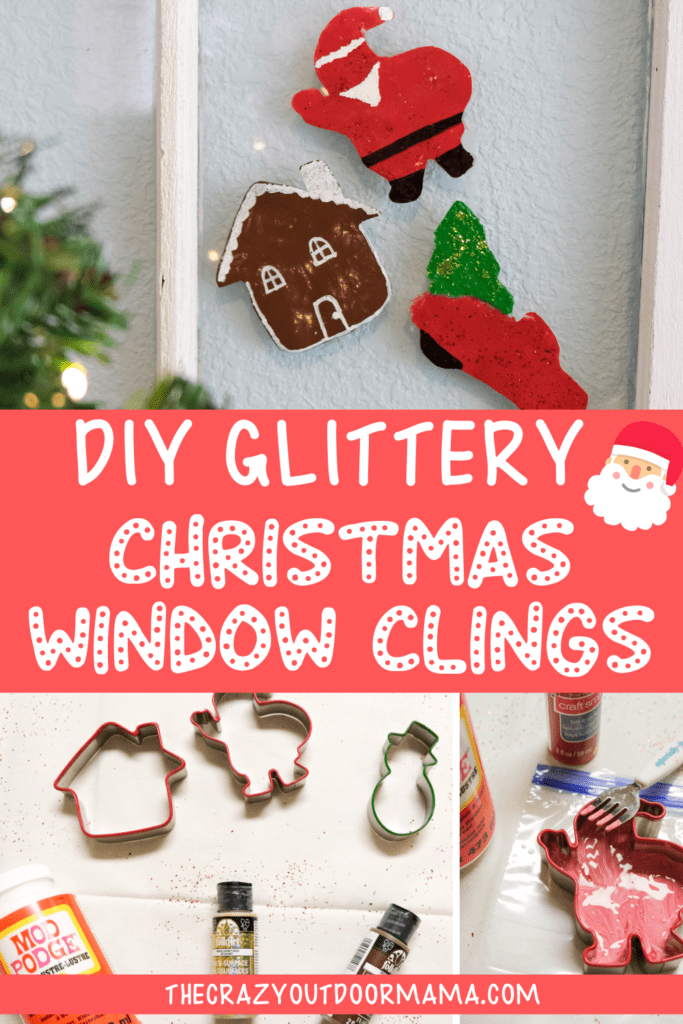
How to make your own Christmas window clings!
DIY Window Clings (Christmas Themed with Modge Podge!)
Make your own pretty, glittery Chrismas window clings with this DIY using modge podge! Some paint, cookier cutters and shine make these extra festive!
Materials
- Modge Podge Gloss
- Acrylic Paint
- Various cookie cutters
- Optional: Paint Pens to decorate with
Instructions
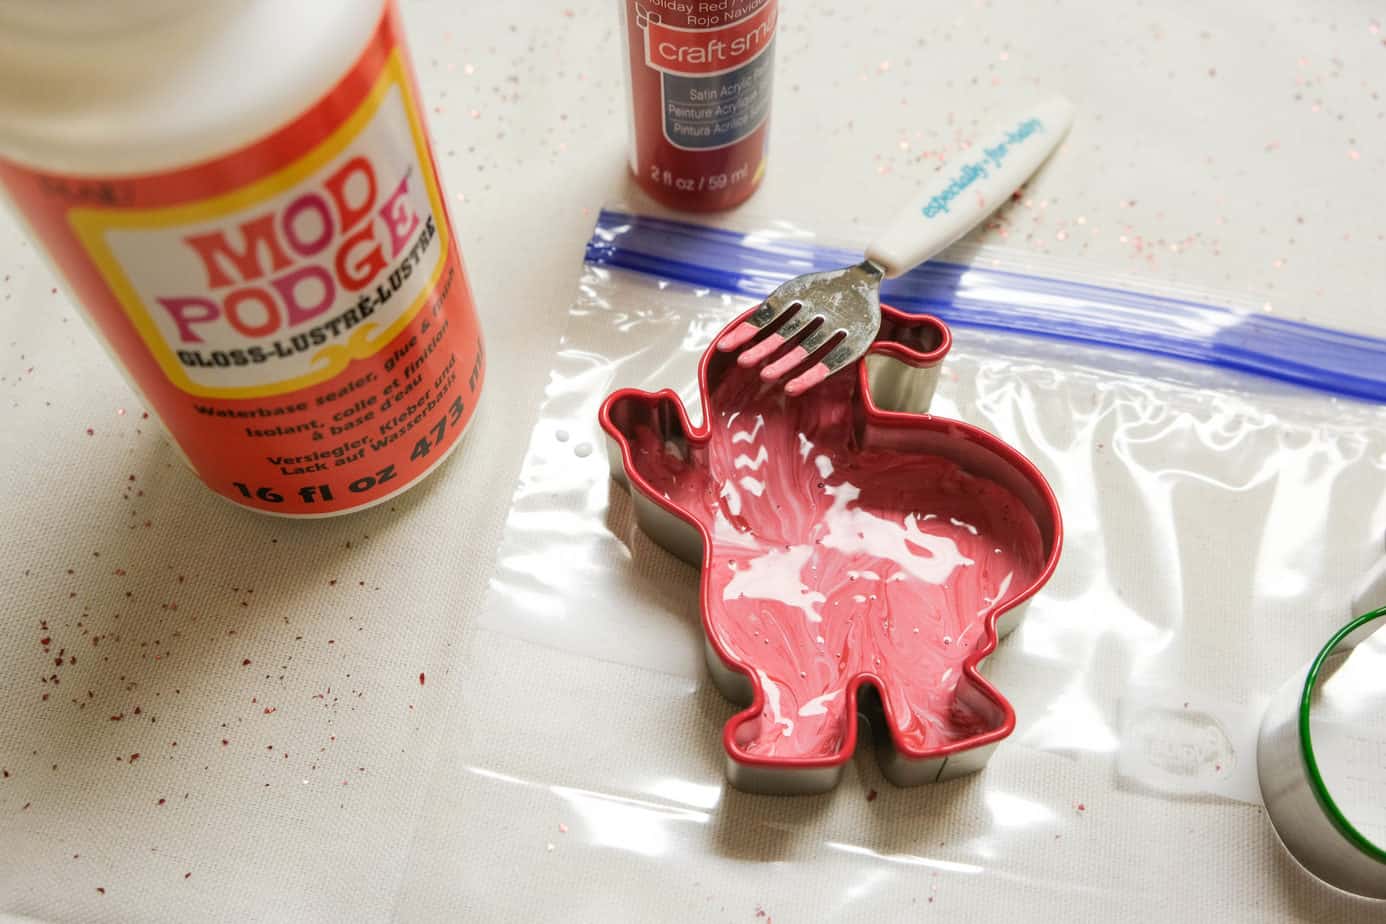
- Mix up modge podge gloss and desired color in a seperate container to create an even color
- Pour into your desired cookie cutter mold onto a nonstick surface (I just used a gallon back) - you may be able to create a multi colored item if you put tape in the cookie cutter to create "walls" to seperate the colors.

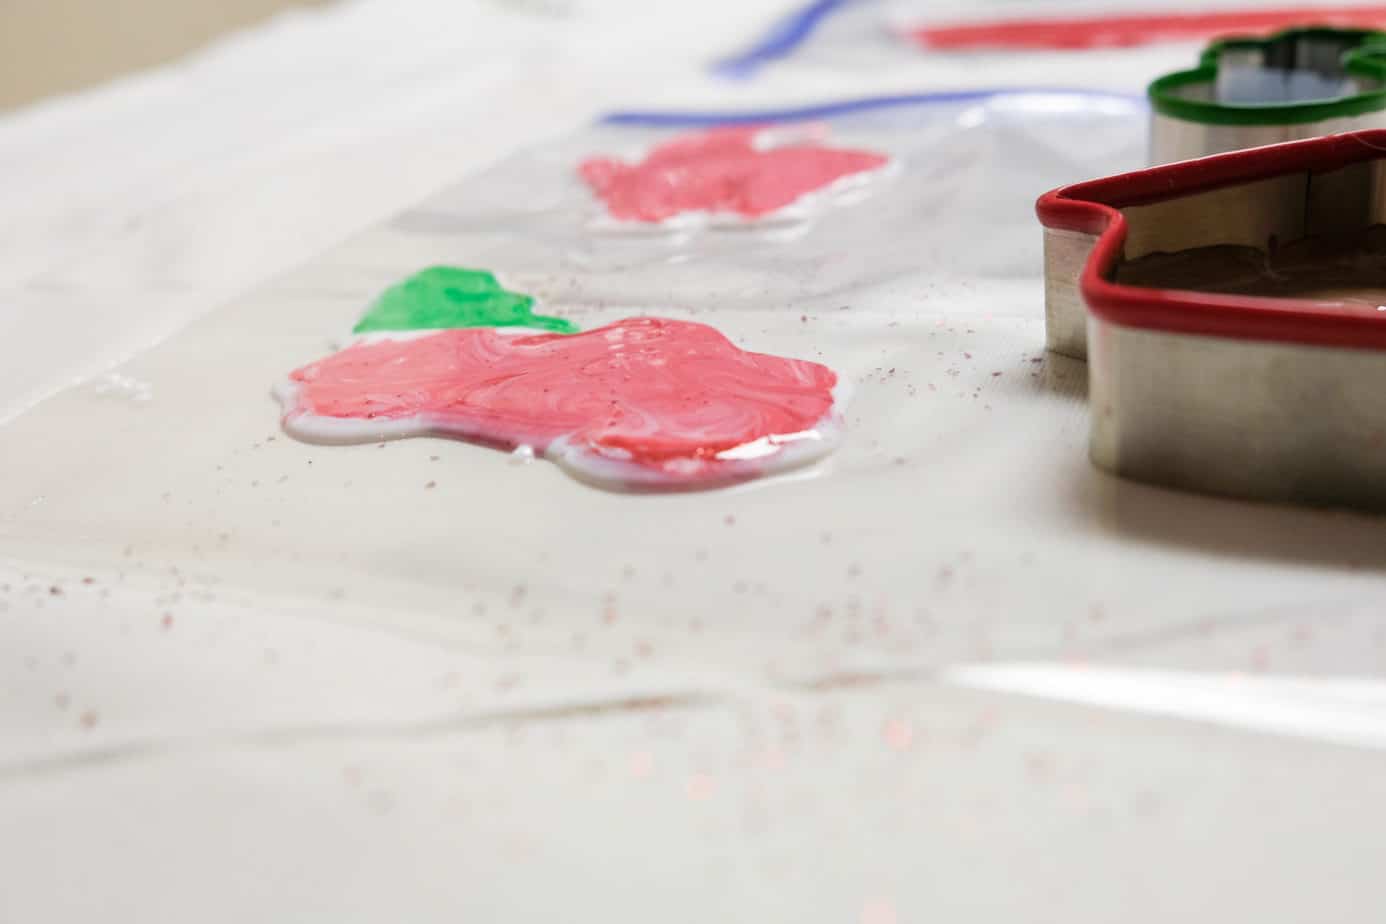
- Sprinkle any glitter on the top of the mixture (do NOT mix it in, as glitter that lands at the bottom will make it not cling as good)
- Don't get too thick (it takes a LONG time to dry, you don't want to add even more time!) Here is an example of my thickness that worked out well
- Once modge podge mixture has set (around 15-30 minutes) feel free to remove the cookie cutter. Keep in mind that for a clean look, you'll need to restamp once dry and cut around the edges..
- Let set for 48 hours! You can test if they're ready by trying to lift them up - the clings should come up cleanly!
- Decorate as you like - I used paint pens and sharpie to add a few details to mine!
Notes
- An alternative way to create clings - leave the cookie cutter on, then use a razor to cut it out from the mold.
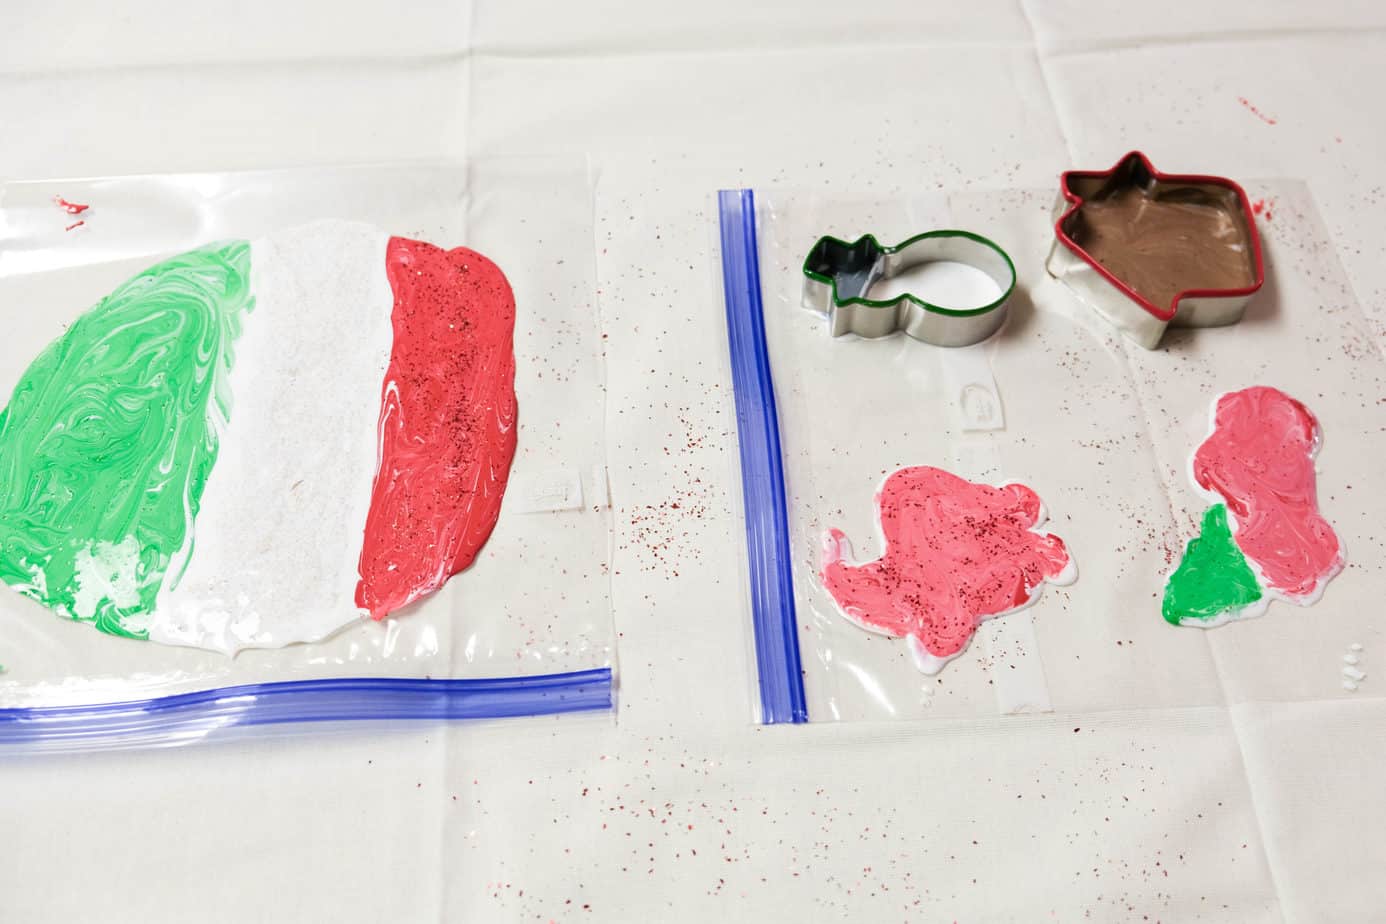
- Alternative way to create modge podge window clings with kids - Pour an ENORMOUS BLOB onto your non stick surface, let dry, then let the kids use the cookie cutters to create their own holiday shapes. Use the cookie cutter to create an outline, then cut it out! I did a Christmas tie dye blob that was fun to cut things out of!
- Mix colors well, the modge podge gloss dries clear - I made this mistake with my poor snowman! I added white paint, but then didn't really mix it and just put it in the cookie cutter. It was clear except for the splotch of white I never mixed!
- Get a crisper look once dried by pushing the cookie cutter down on your cling and cutting along the indention - the modge podge mixture tends to spread a little while drying and become "blobbish" looking
- The cling works way better on the side that was facing down / touching the ground.
Recommended Products
As an Amazon Associate and member of other affiliate programs, I earn from qualifying purchases.
-
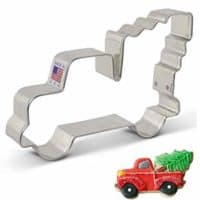
 Ann Clark Cookie Cutters Extra Large Vintage Pickup Truck with Christmas Tree Cookie Cutter, 5"
 -
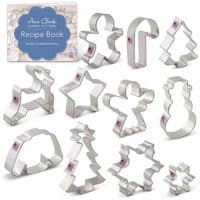
Ann Clark Cookie Cutters 11-Piece Winter Christmas Cookie Cutter Set with Recipe Booklet, Snowflake, Sweater, Snowman, Gingerbread Boy, Christmas Tree, Reindeer and More
-
Mod Podge Waterbase Sealer, Glue and Finish (32-Ounce), CS11203 Gloss Finish
What shapes did you choose? Let me know!
I’m excited to make window clings for ALL occasions (especially ones they don’t normally sell clings for… like camping themed ones!) as time goes on.
Here are some more Christmas articles you might like!
- This peek a boo Santa craft coming popping out of the chimney will delight your kiddos!
- Make your own set of Christmas themed window clings with your kiddos!
- Keep your kids busy forever with this winter themed sensory activity – ice lake rescue!
- Make Christmas even more special with this 12 page Christmas scavenger hunt pack!
- Make a fabric ornament out of any printed picture… like this cute Santa on skis!
- Make this DIY mini wine ornament for the wino in your life (or yourself… I am!)
- Check out this list of fun kids winter toys so that the snowy winter doesn’t give your family such cabin fever!
- Speaking of snow… make these yummy two ingredient snow popsicles the next time you wake up to a fresh fluffy blanket of snow!
- Paint in the snow with this easy to make snow paint!