If you have an ornament in mind, but no one seems to make it… make one yourself using modge podge photo transfer with your favorite printed picture!
I have been doing ALOT with Modge Podge lately (it’s freaking magical!) and with Christmas on the way, there’s an infinite amount of projects! I’ve been doing a project and article a day, though I’m sure that will slow down… but who knows!
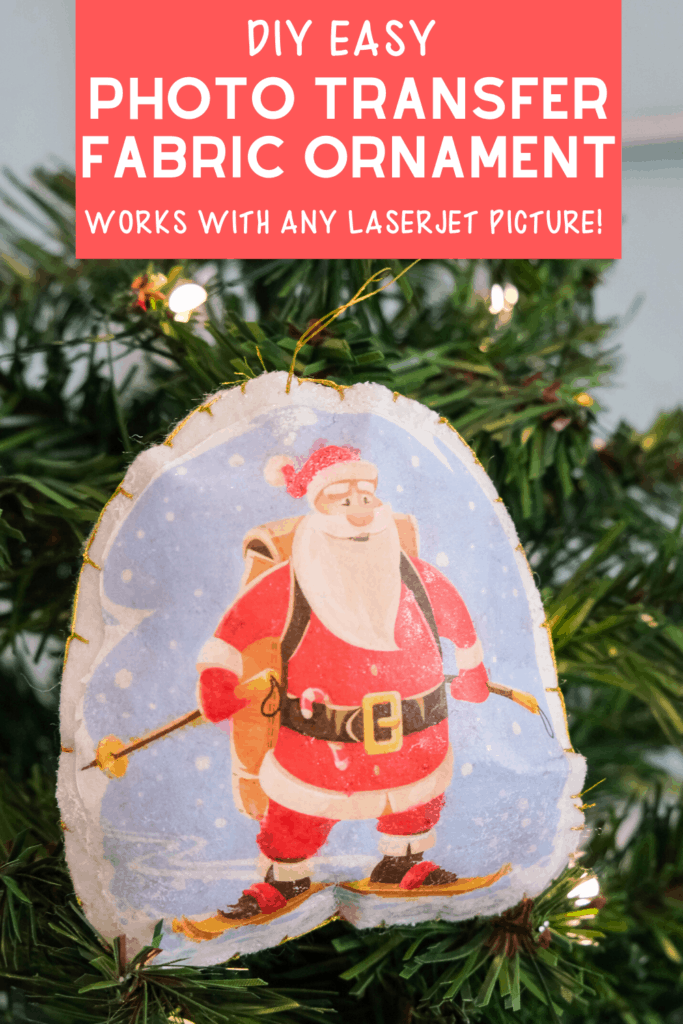
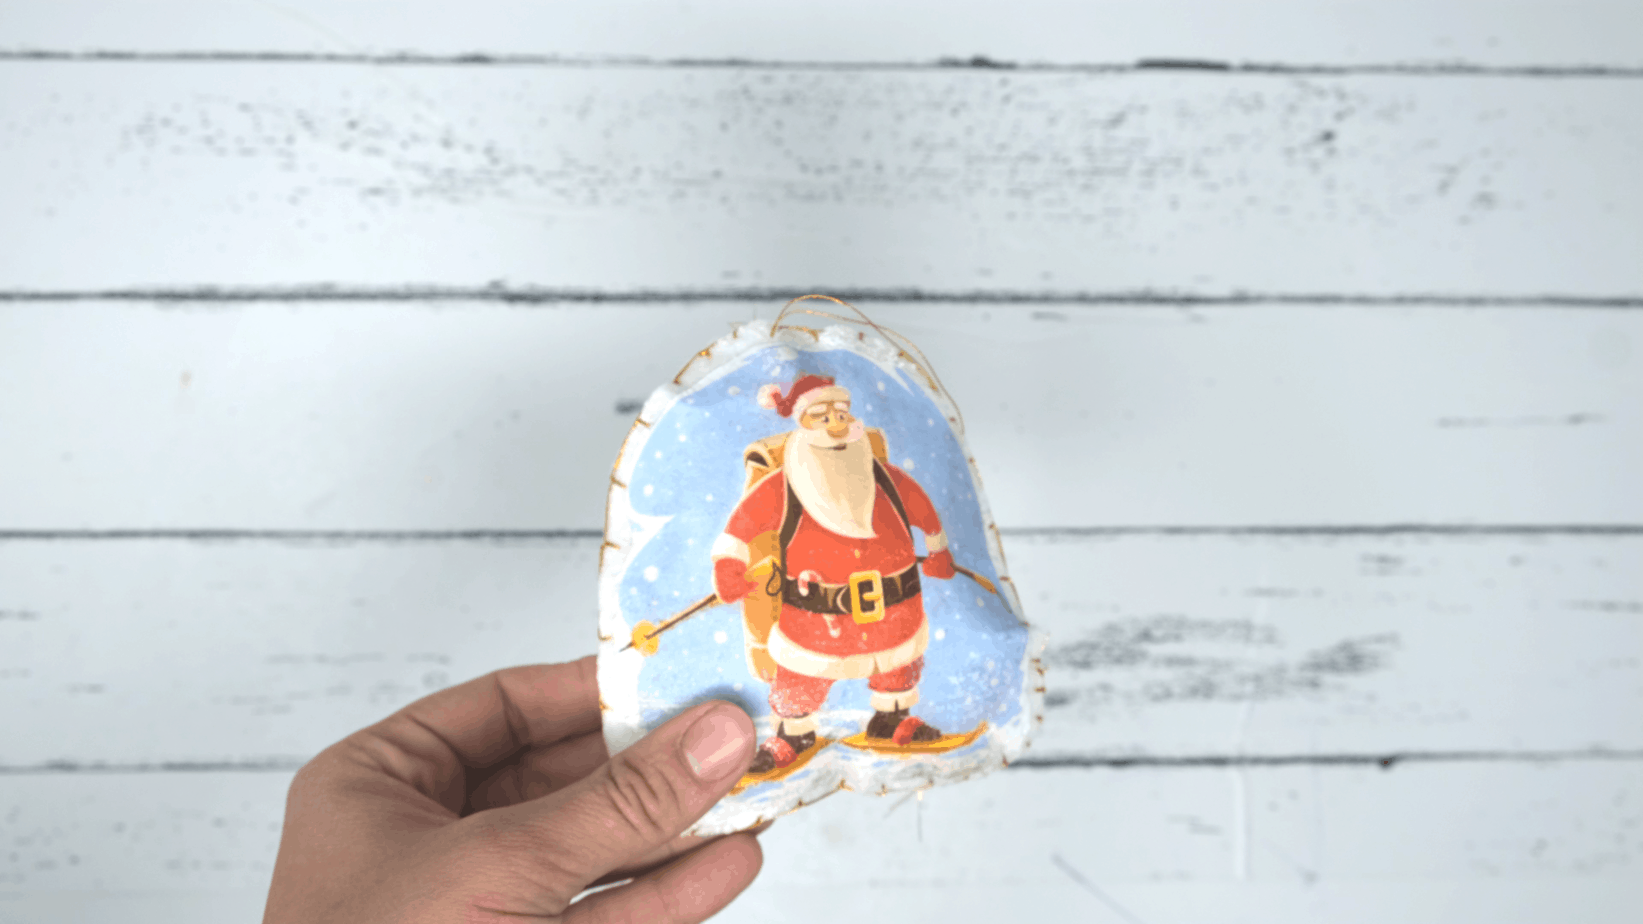
Anyways, I wanted a special Santa ornament that had Santa wearing skis (we’re a skiing family!) but couldn’t find anything I loved online. I DID however find a really adorable Santa with skis image that I could purchase and make my own ornament with!
So that’s what I did!
You might notice that I have multiple images and styles of how I made this ornament – I did end up doing two different versions, as well as other different images so that I could figure out what works best.
I’ll give you my best tips to get the most out of your modge podge photo transfer to fabric and how to whip up a quick ornament!
What you’ll need to do any photo transfer to fabric
I’m sure there are different mediums out there, but the most known and trusted way to do it is through Modge Podge Photo Transfer. You can find it at almost any craft store and, of course, Amazon.
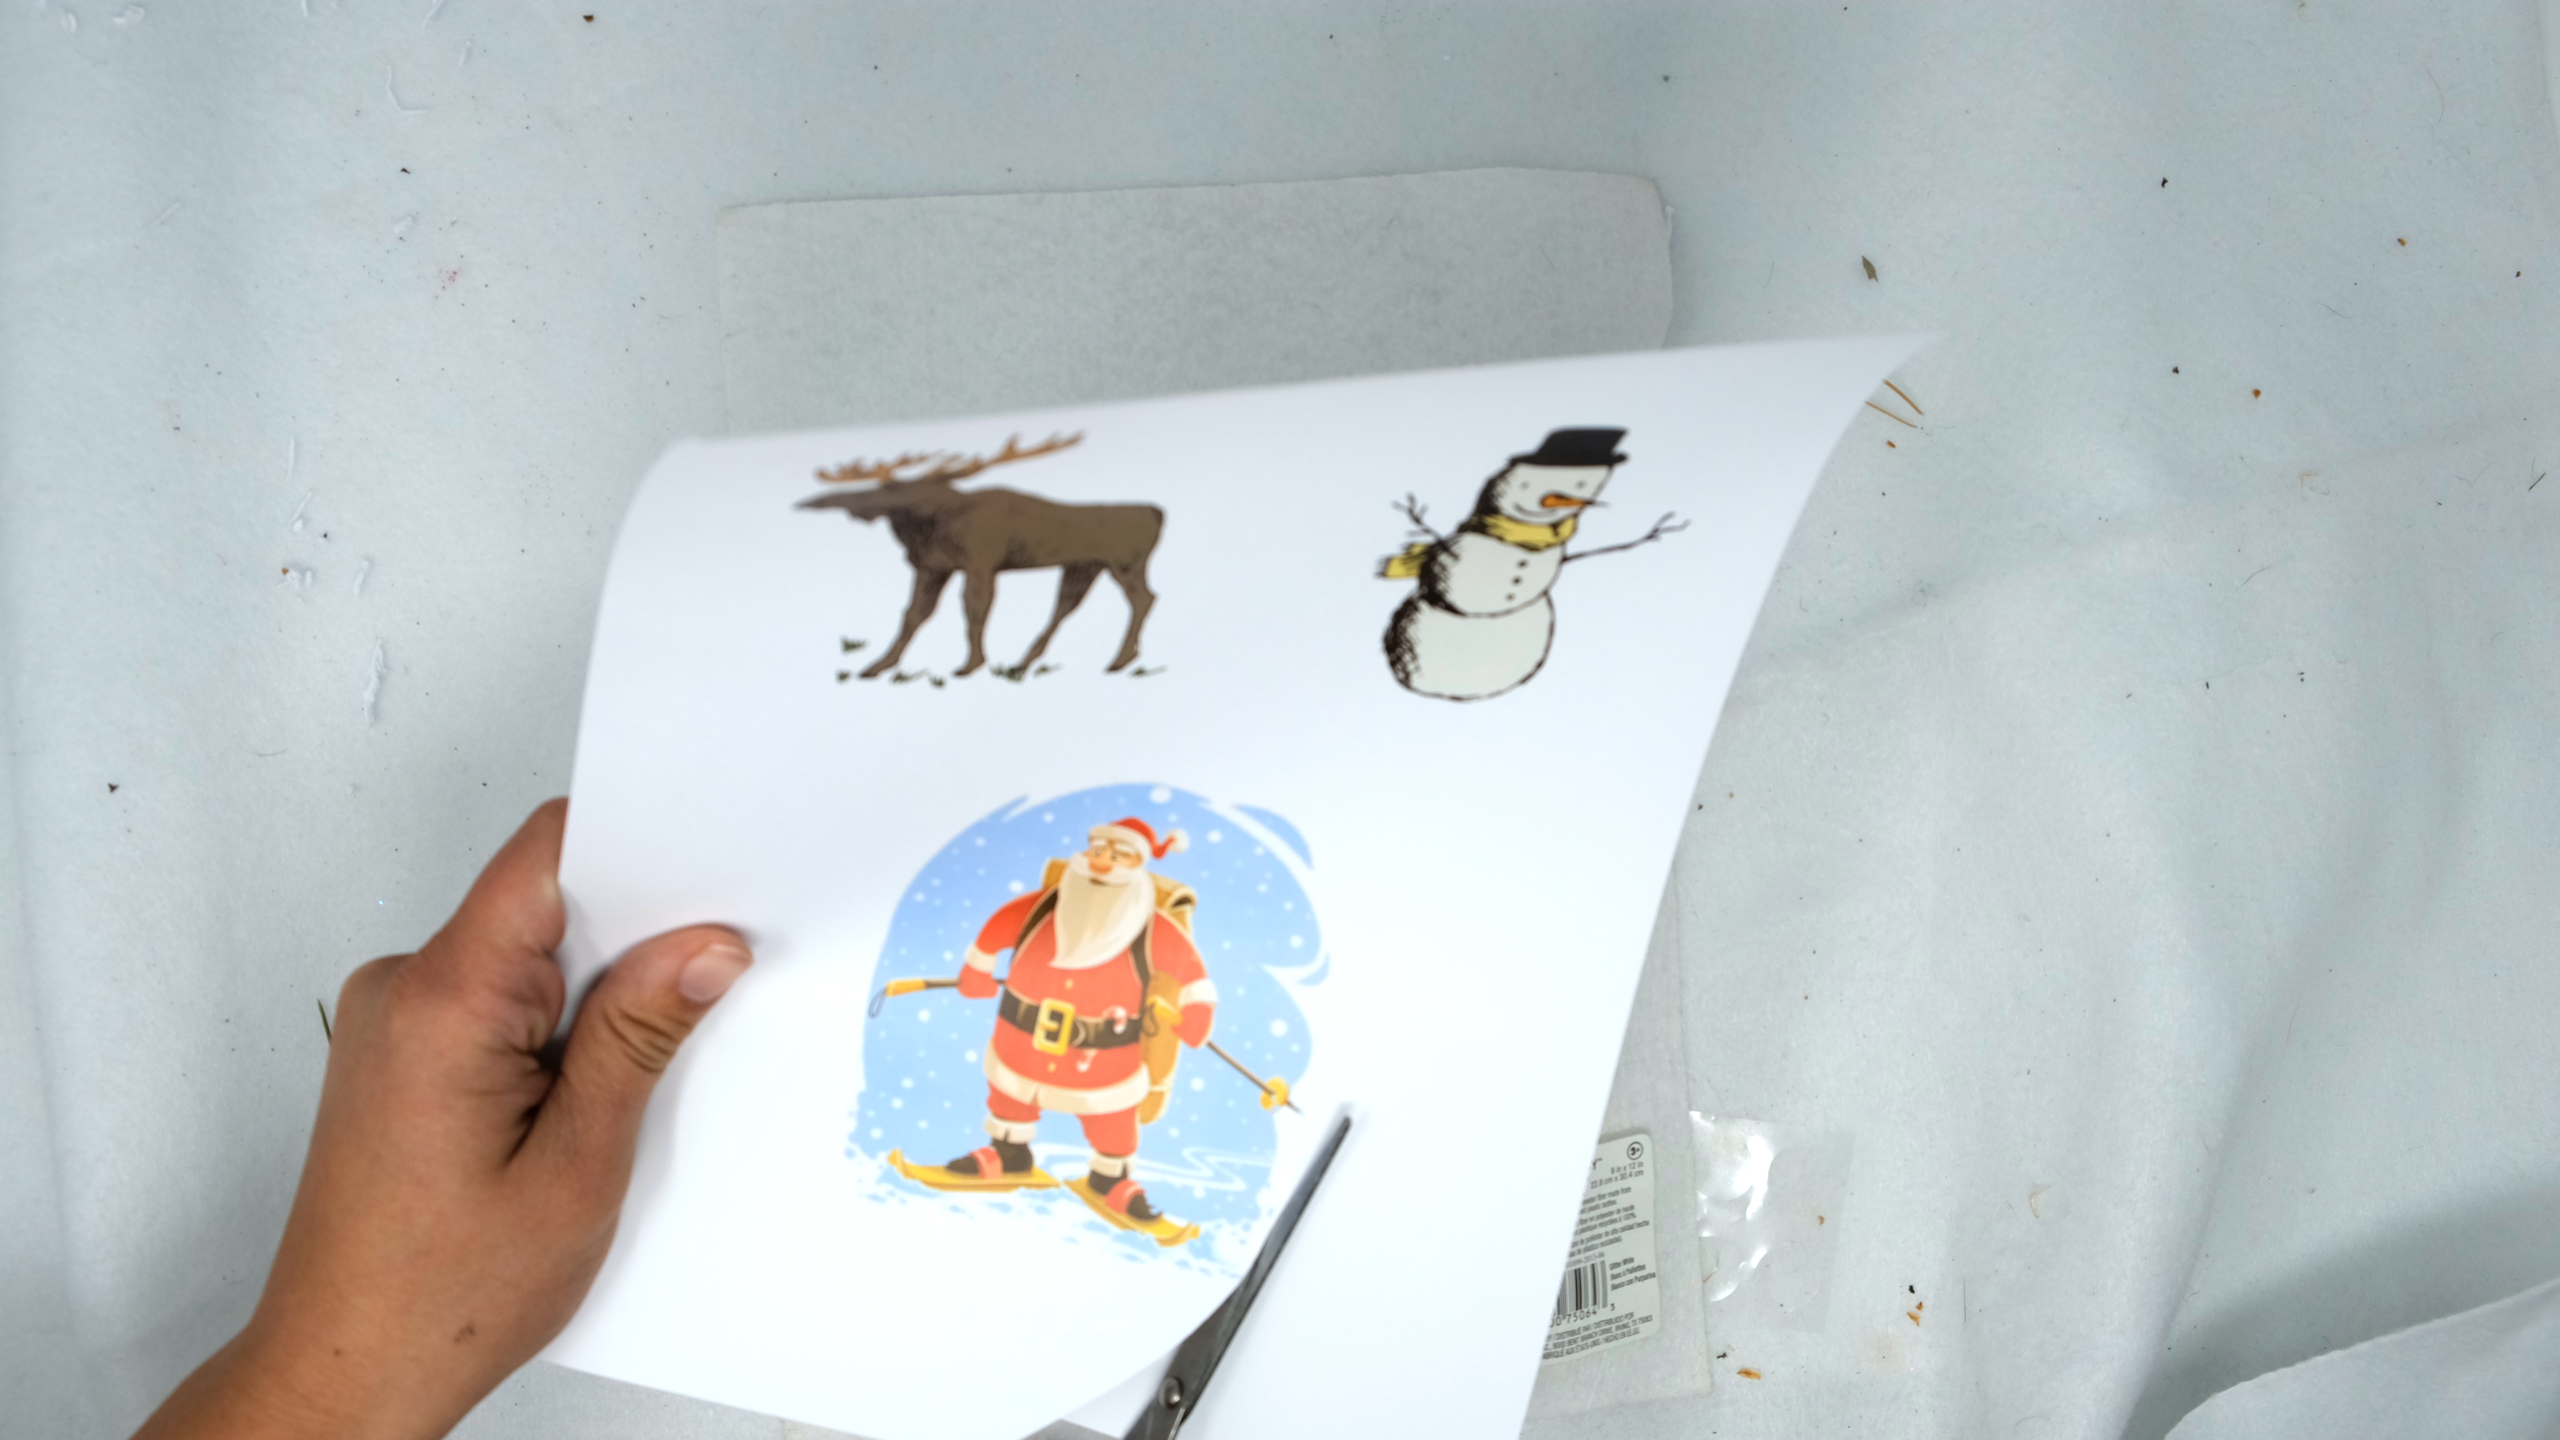
You will also need a LASER JET PRINTER – actual photos and inkjet printed images won’t work.
Modge Podge Photo Transfer DIY Christmas Ornament
Learn how to use Modge Podge Photo Transfer to make anything you can print into a fabric ornament! Today I'm making a Christmas tree ornament that has a Santa on Skis!
Materials
- Laserjet Printer
- Fabric to put picture on + backing of ornament
- Thread
- Stuffing
- Optional: Glitter for extra sparkle!
Instructions
- Print and cut out your desired picture from a laserjet printer.

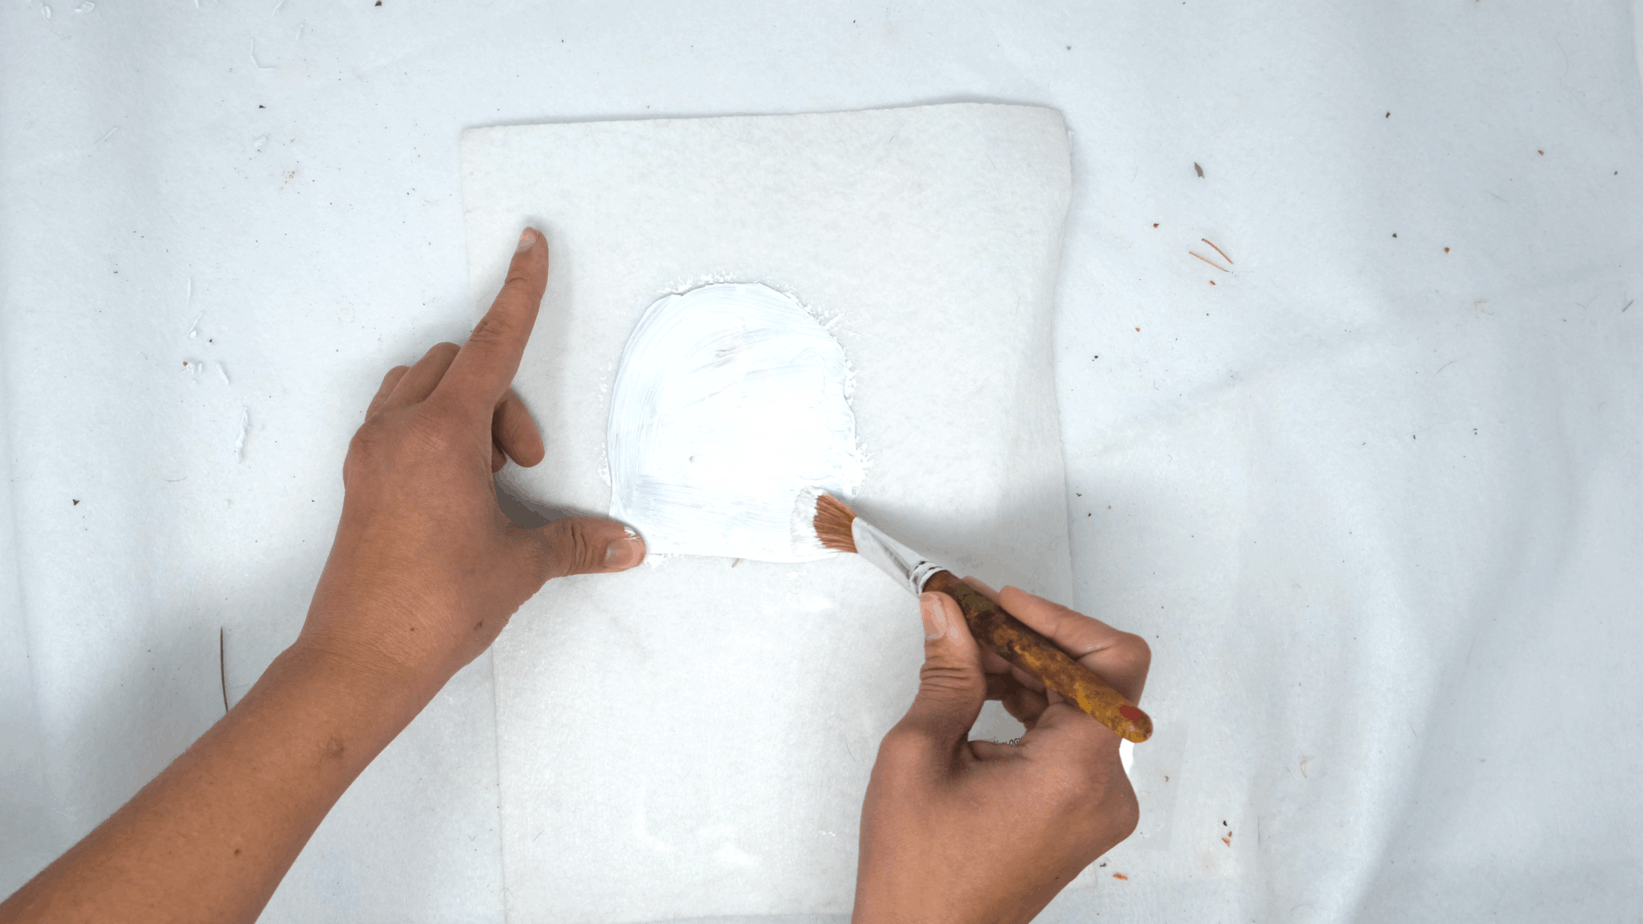
- Apply a thick layer of modge podge fabric transfer to the picture using a paintbrush- you should BARELY be able to see the picture after you're done (or not at all!) Put it face down (modge podge side down) onto the fabric and press down firmly. Try to remove any excess that squishes out.

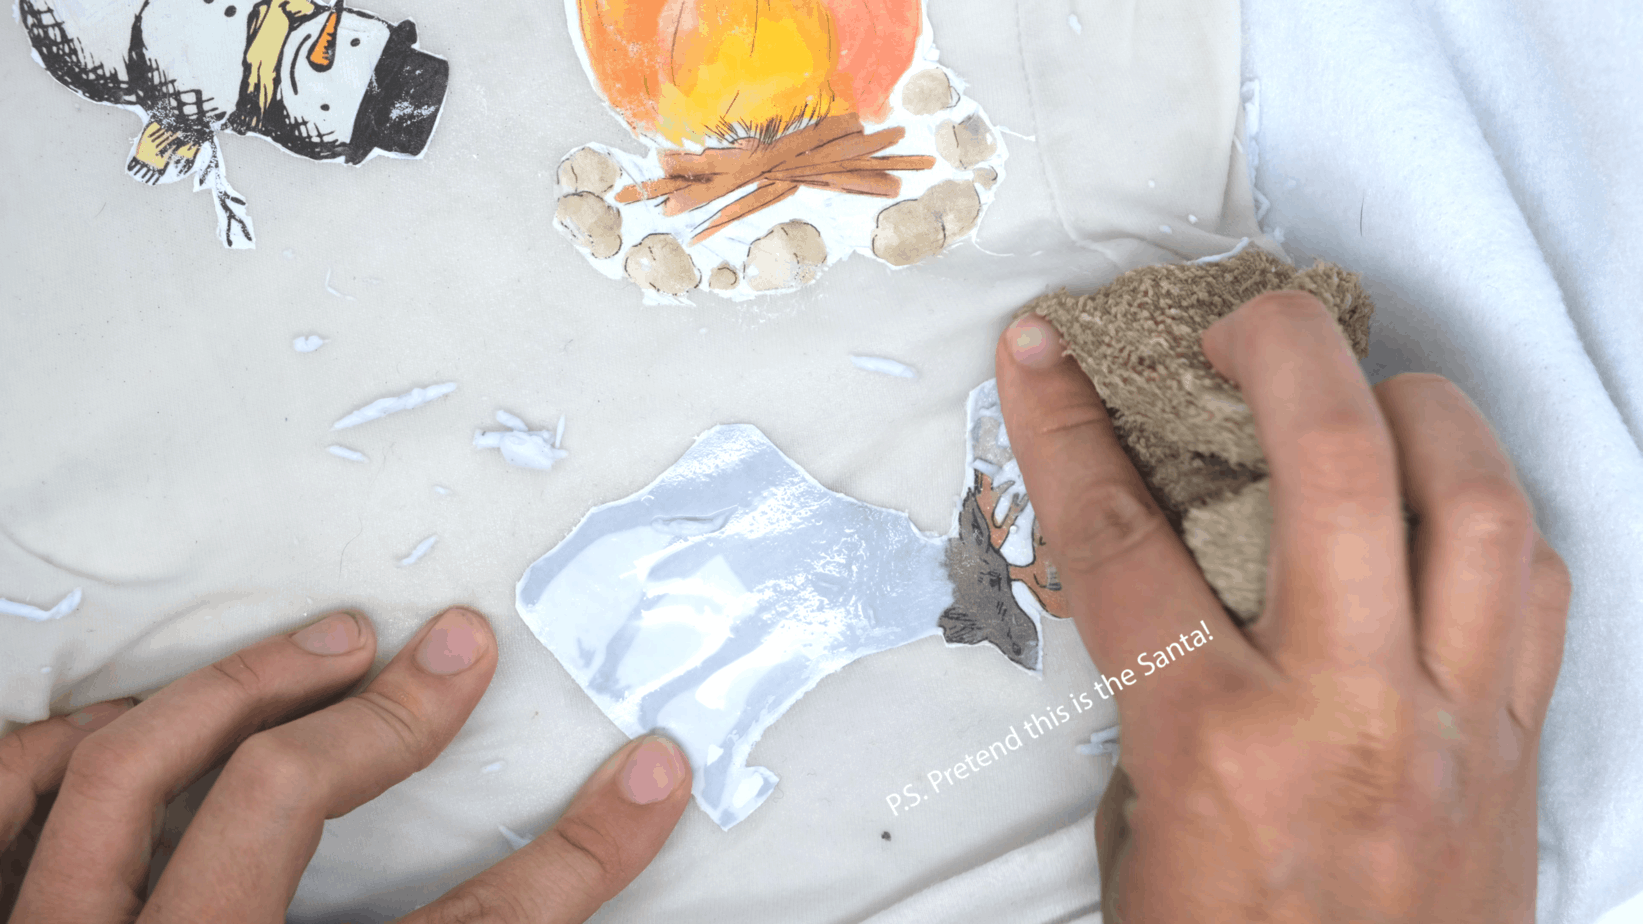
- Wait 24 hours then rub the paper off your image Get a wet rag and fully dampen the picture (I squeeze water on it till I can see the picture). Now gently remove the paper by making firm strokes going towards the ends - don't just scrub it like it's a pan! The paper should rub off fairly easy as long as you moistened it before you started trying to rub it off.
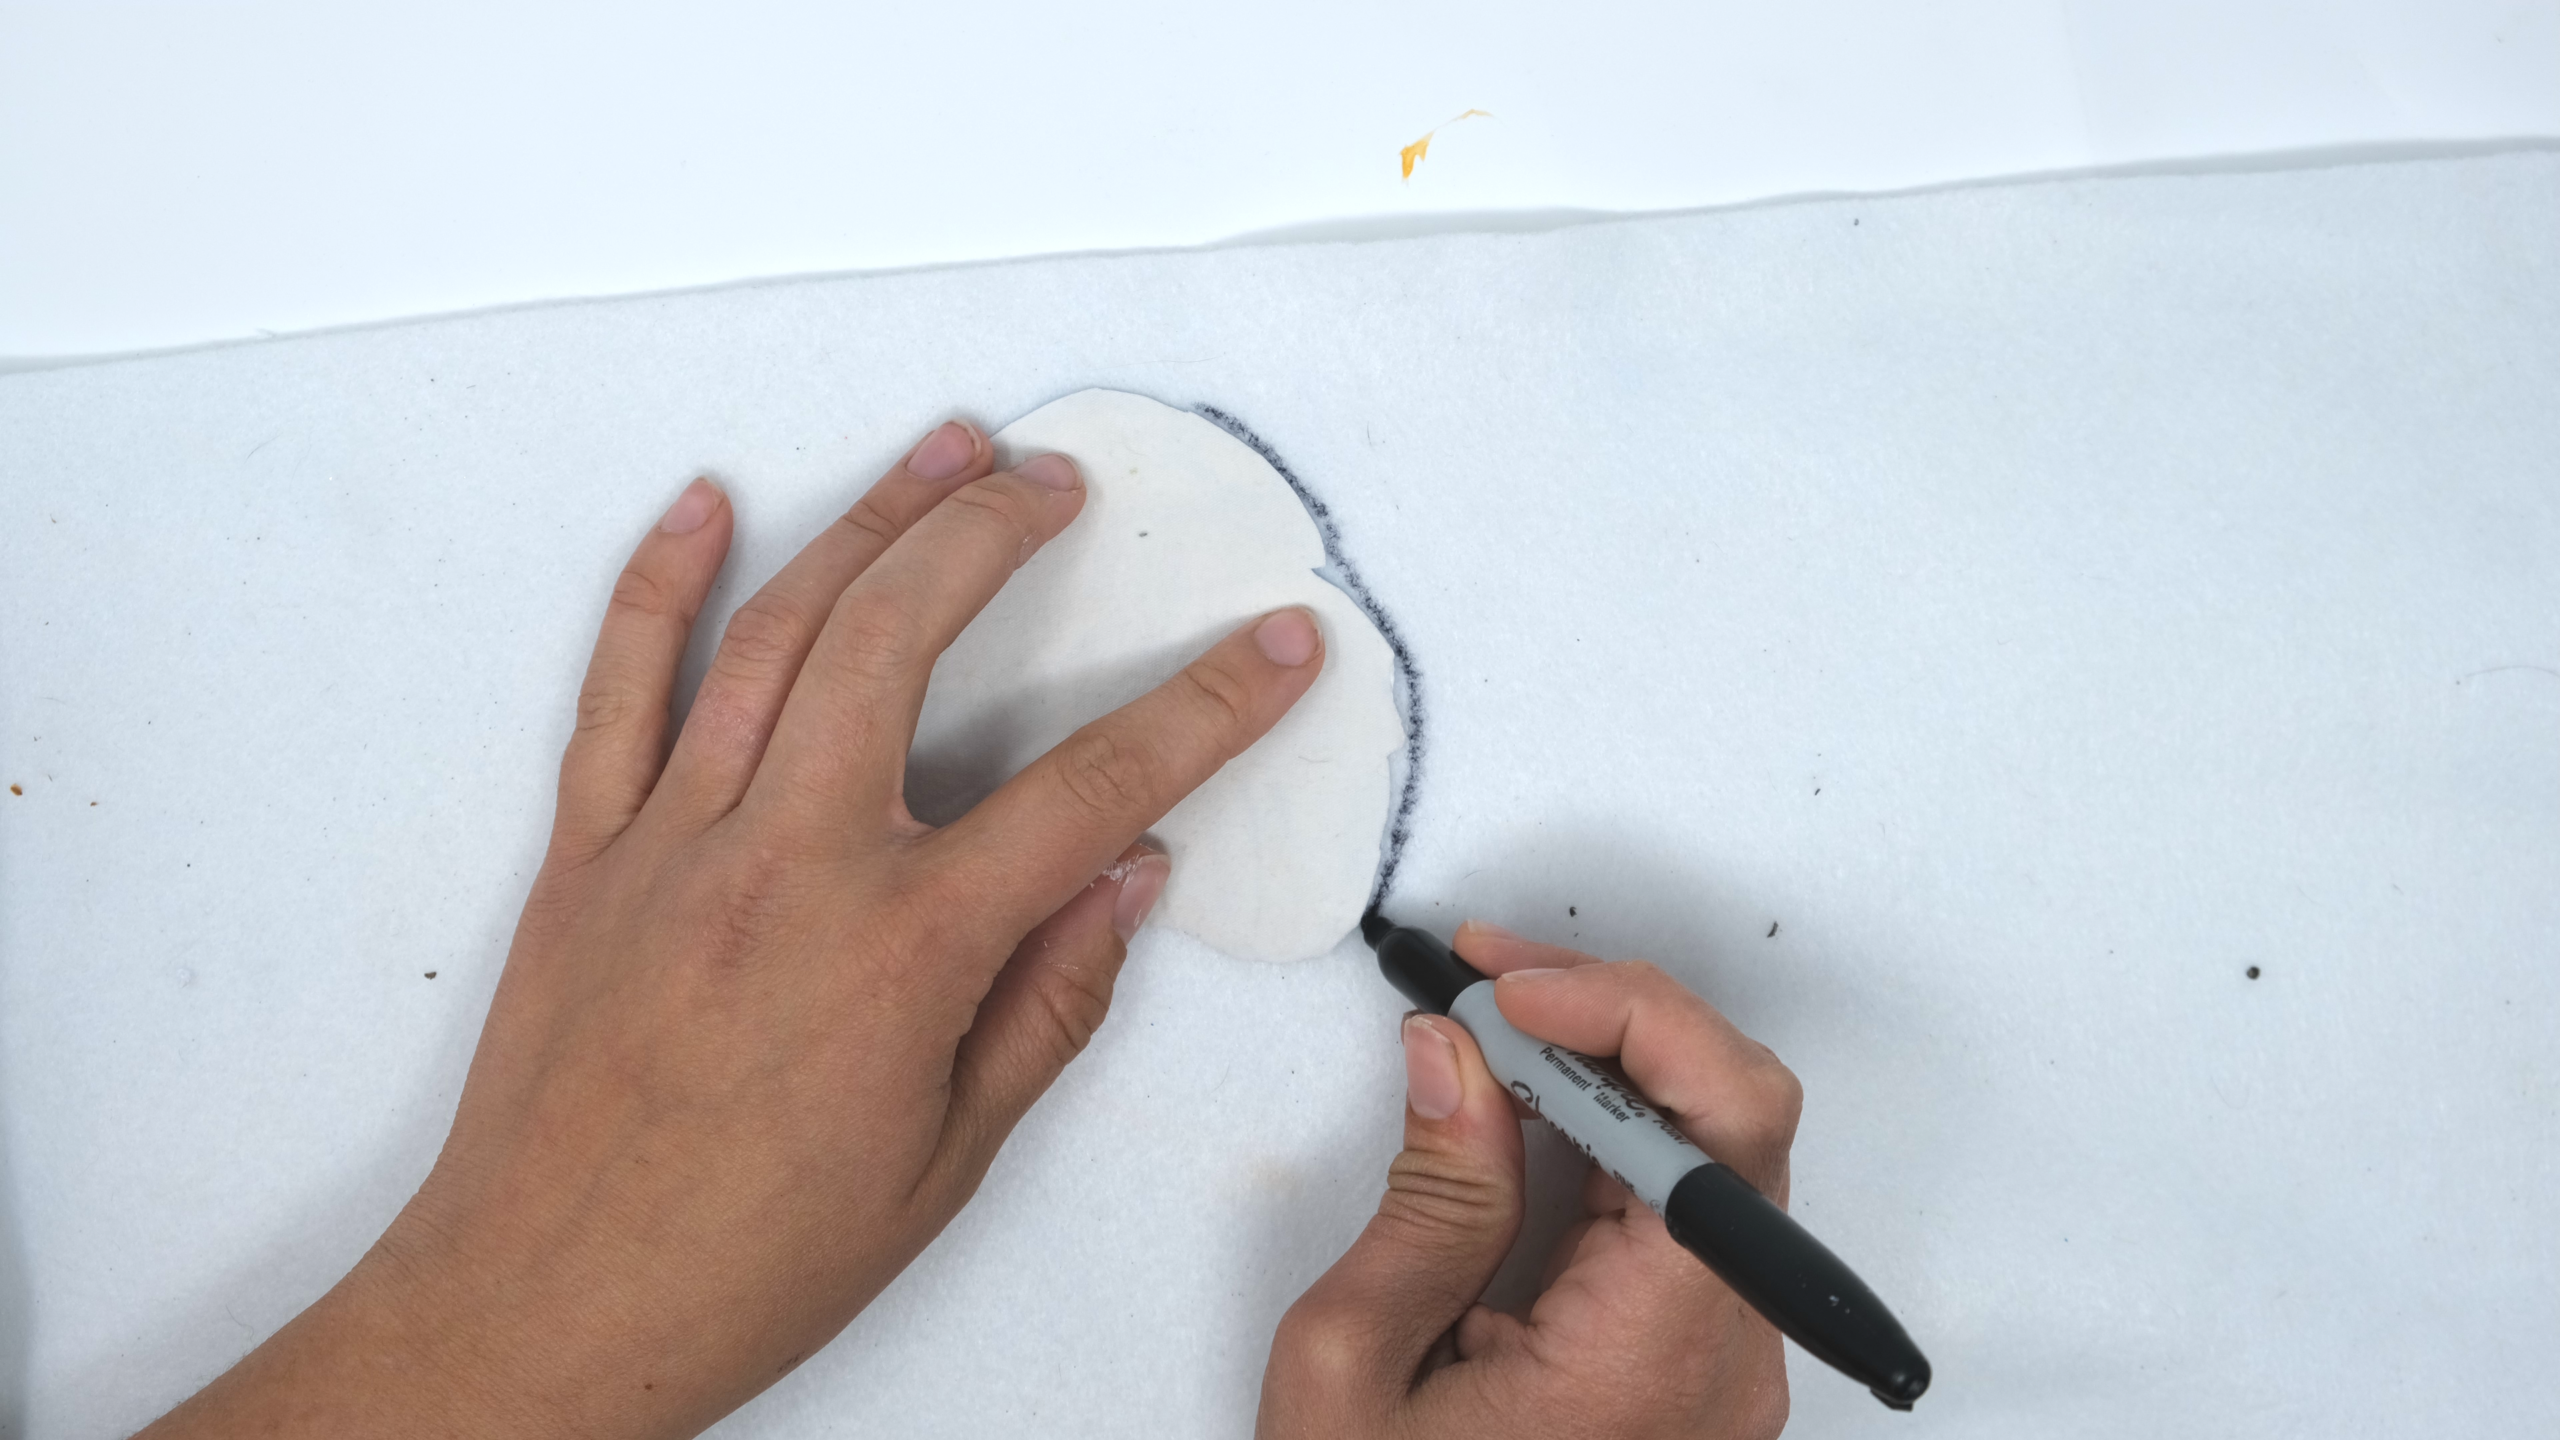
- Cut the modge podged image to the size you want, then trace it onto another piece of fabric that will serve as the backing.
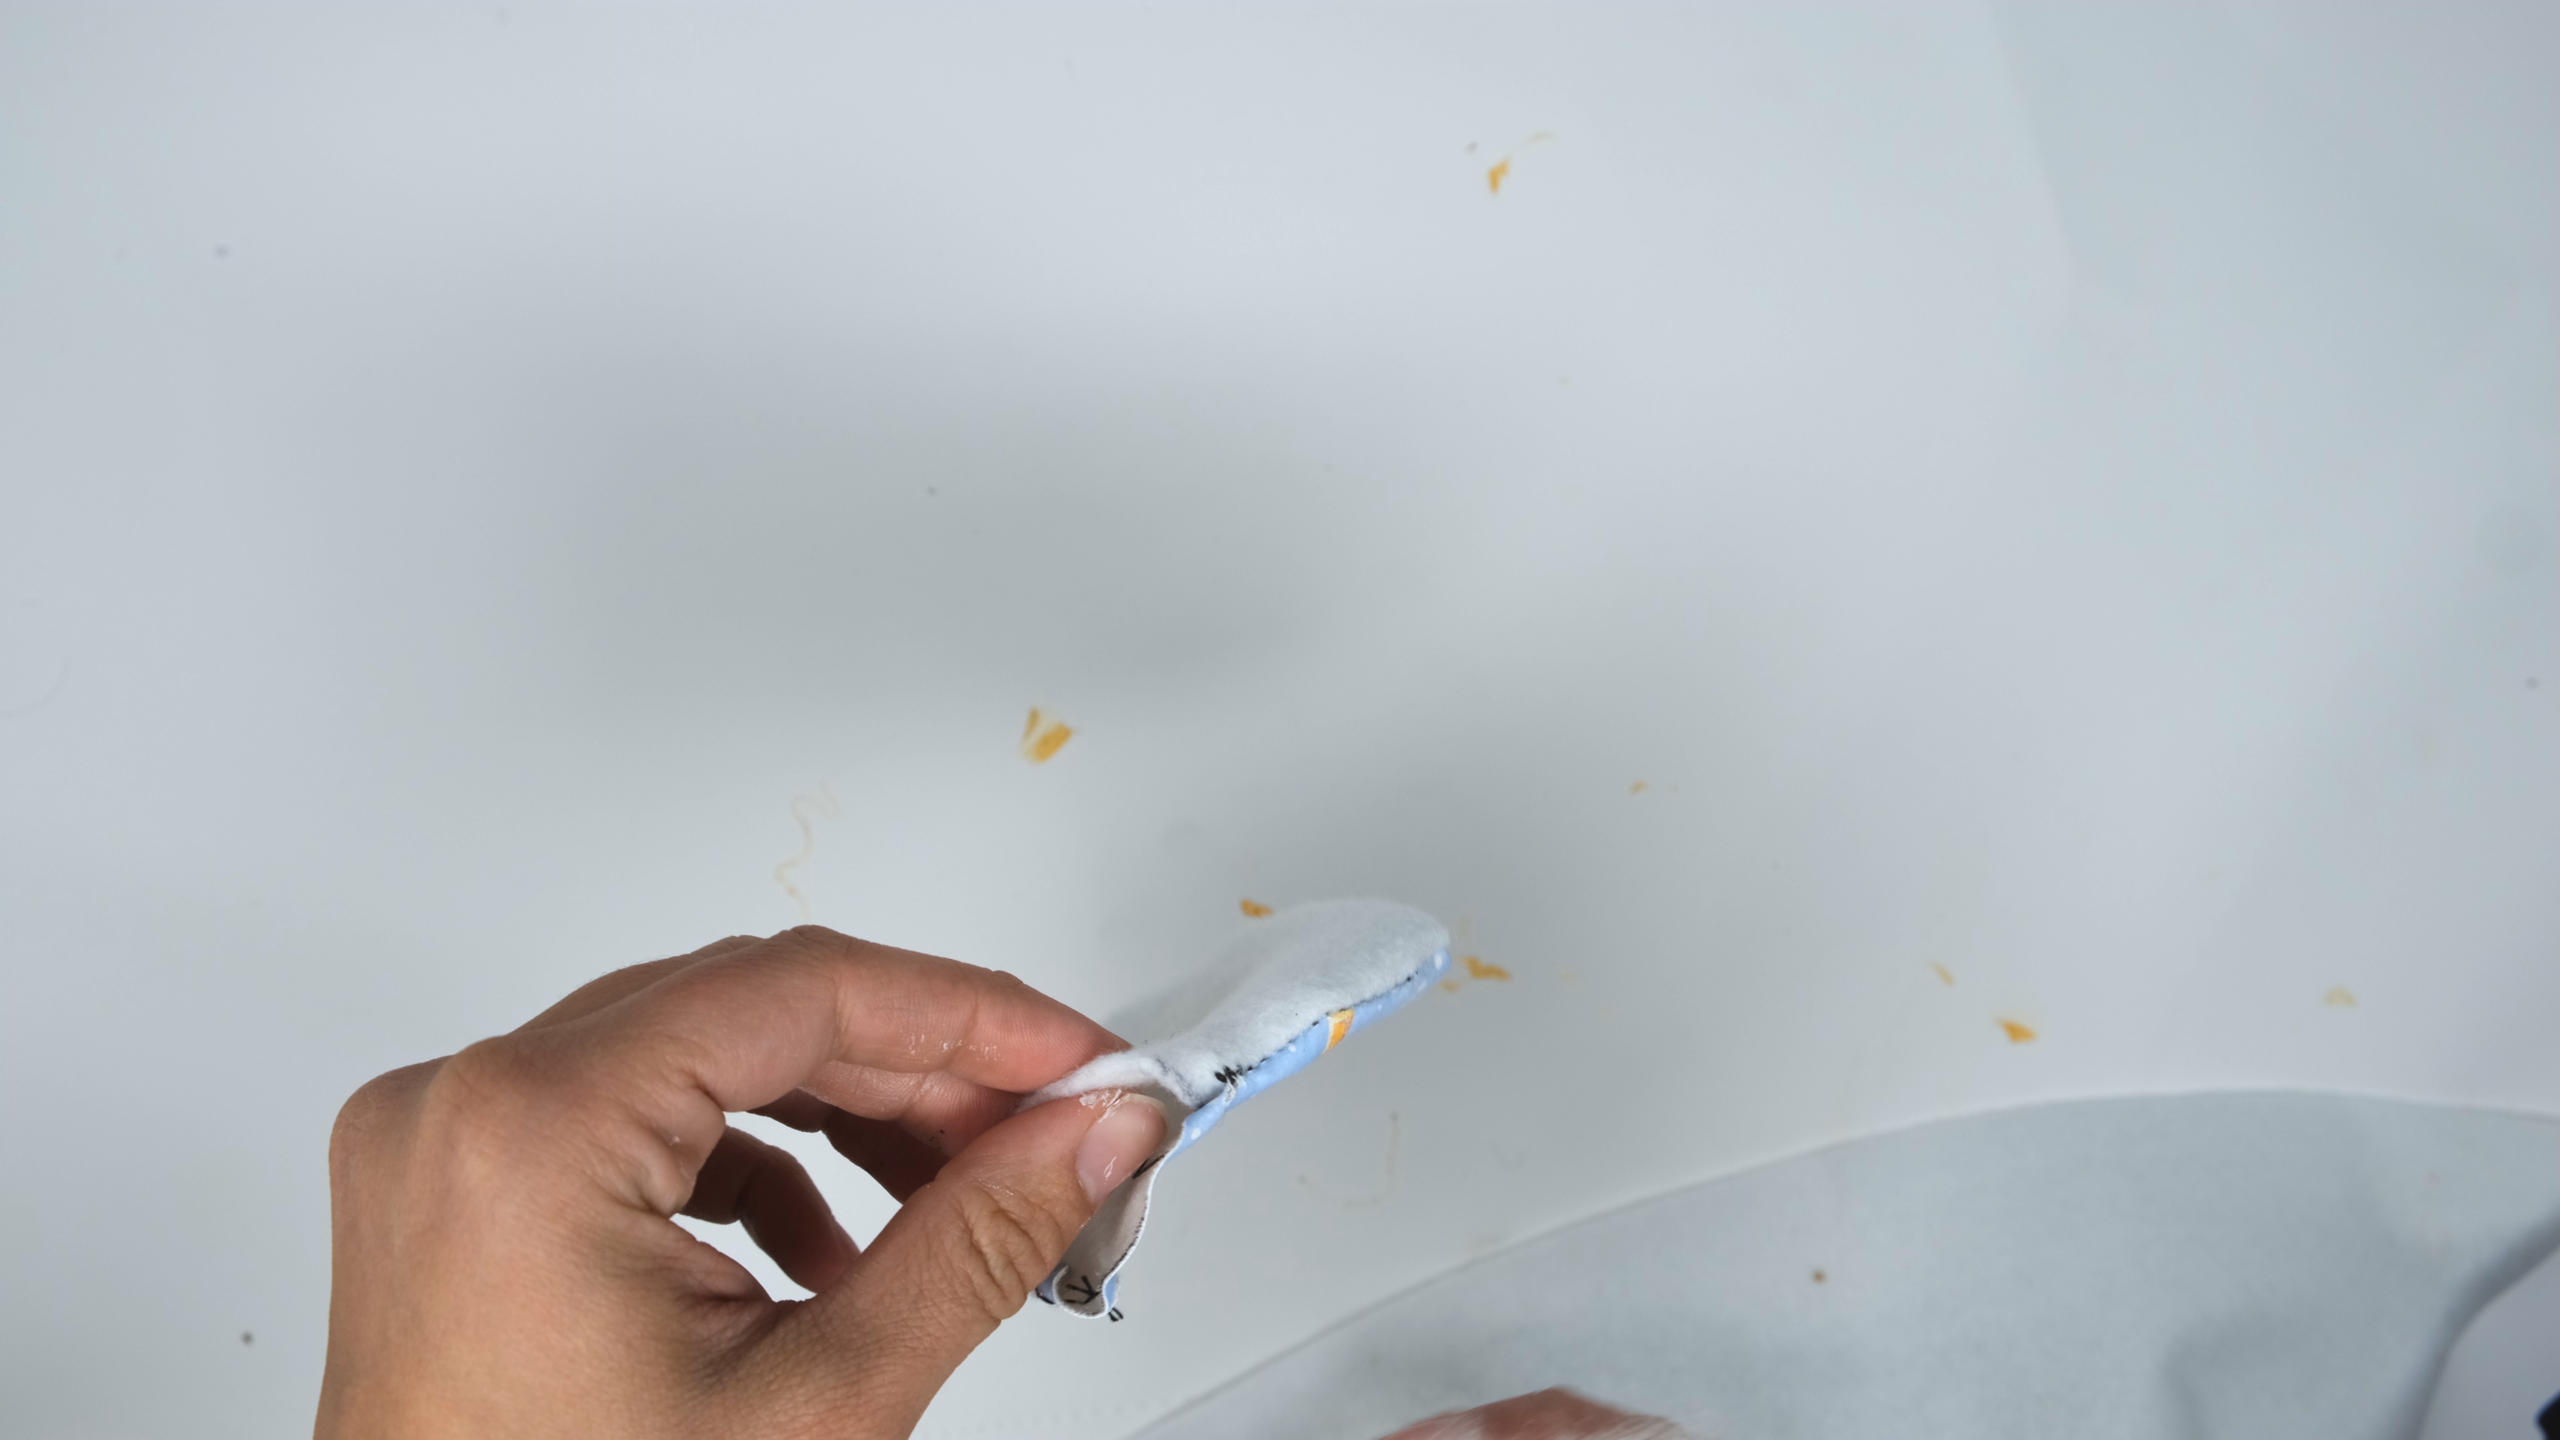
- Sew it as you like. I tried sewing it with a machine and turning it inside out, and also tried a blanket stitch. The blanket stitch seemed more attractive (especially if you have a pretty thread!) and easier to make look nice. Don't forget to leave space to stuff it before you sew it closed!
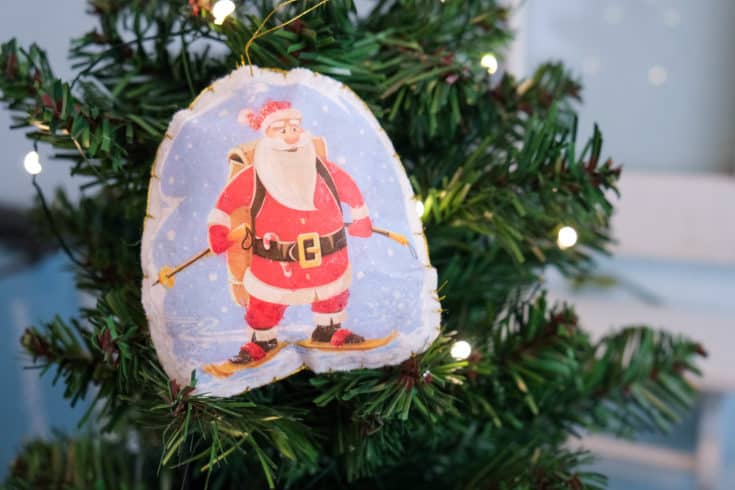
- Done! Make a loop ontop (or just use a wirehook), add any additional decor, and it's ready!
Notes
- Keep in mind how stiff your material is - the more flexible fabric, the more 3D it can appear! I used a Tshirt the first time and a stiff piece of felt the second time. The tshirt had more of a 3D look since it was stretchy, but the stiff felt was more vibrant!
- The image WILL rub off if you abuse it! My first attempt wasn't that great (I didn't leave enough material around the edges to sew it inside out and still see all the picture) so I let my kids play with it. It did wear down, but then again hopefully you aren't scrubbing the walls with it! It may be interesting to try Modge Podges spray gloss sealant.
Recommended Products
As an Amazon Associate and member of other affiliate programs, I earn from qualifying purchases.
Do you have any tips or comments? What kind of ornament did you make?
Expect to see some more fabric ornaments on the way! In fact, my next one might be one for the kids (Blippi…. shh!) but for now I’m happy we finally got our Santa on skis ornament!
Here are some other fun Christmas/Holiday things to read!
- This peek a boo Santa craft coming popping out of the chimney will delight your kiddos!
- Make your own set of Christmas themed window clings with your kiddos!
- Keep your kids busy forever with this winter themed sensory activity – ice lake rescue!
- Make Christmas even more special with this 12 page Christmas scavenger hunt pack!
- Make a fabric ornament out of any printed picture… like this cute Santa on skis!
- Make this DIY mini wine ornament for the wino in your life (or yourself… I am!)
- Check out this list of fun kids winter toys so that the snowy winter doesn’t give your family such cabin fever!
- Speaking of snow… make these yummy two ingredient snow popsicles the next time you wake up to a fresh fluffy blanket of snow!
- Paint in the snow with this easy to make snow paint!