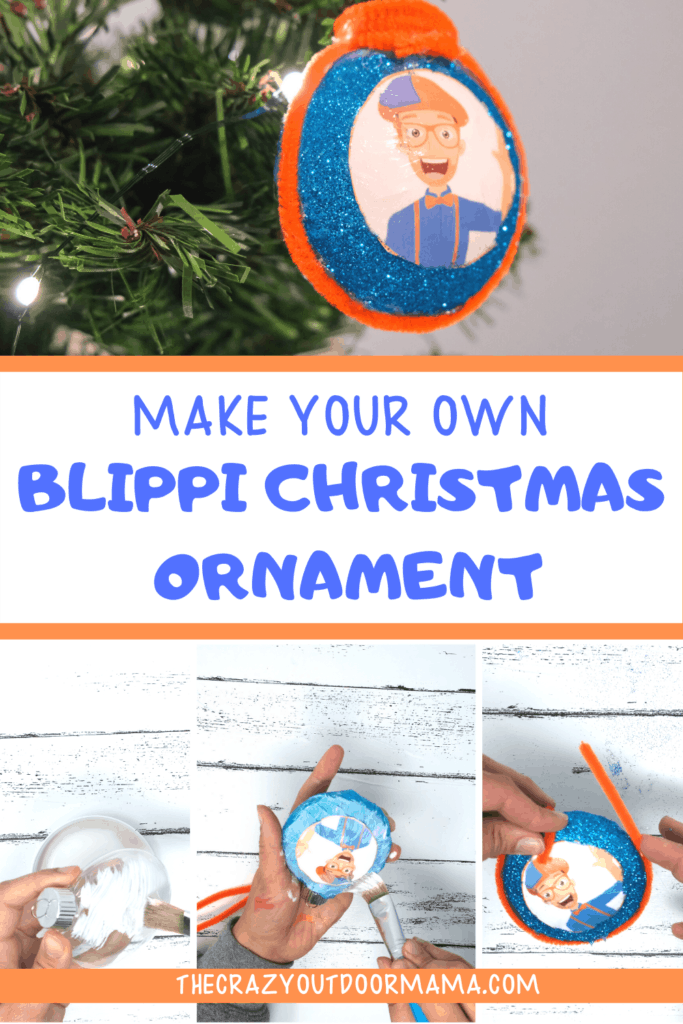
If you have kids who scream Blippi anytime the TV goes on, then you have to make this beautiful DIY Blippi Christmas ornament! Trust me, if they have even a tenth of the reaction mine did, it will be well worth it to see their favorite person on the tree this year!
I recently got SUPER into modge podge, and with Christmas around the corner, I’ve just been crazy busy doing projects using it! Photo transfers, window clings, sealing crafts… anyways, I had just made a fabric Santa ornament when the question finally came up
“Can we make a Blippi one?”
Well, of COURSE I had to! I have three kids, ages four two and two (twins!) and I wanted to bring Blippi to our Christmas tree!
This one uses a plastic ornament as a base, but I most definitely do plan on doing a soft version too (via photo fabric transfer!)
Anyways, here we go!
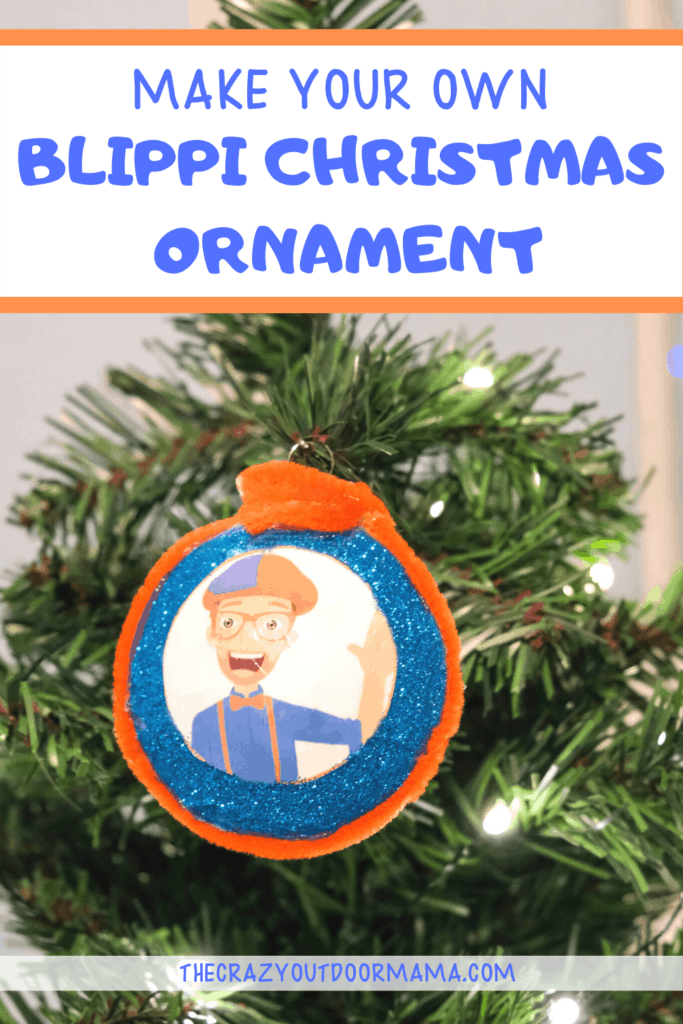
DIY Glittery Blippi Christmas Ornament
If you want to get something Blippi themed for Christmas this year, then watch the kids excitement when you make this DIY glittery Blippi ornament... they'll be fighting over who gets to hang it up!
Materials
- Blank Ornament (I used a clear round one that I got from Michaels)
- Blippi blue tissue paper
- Orange pipe cleaner
- Blippi picture
- Blue glitter
- Modge Podge (Gloss or Matte will work, just depends on the look you want)
- OPTIONAL: Some sort of spray sealant to spray over the glitter so that this lasts alot longer!
Tools
- Hot glue gun for pipe cleaner border
- Paintbrush to apply modge podge
Instructions
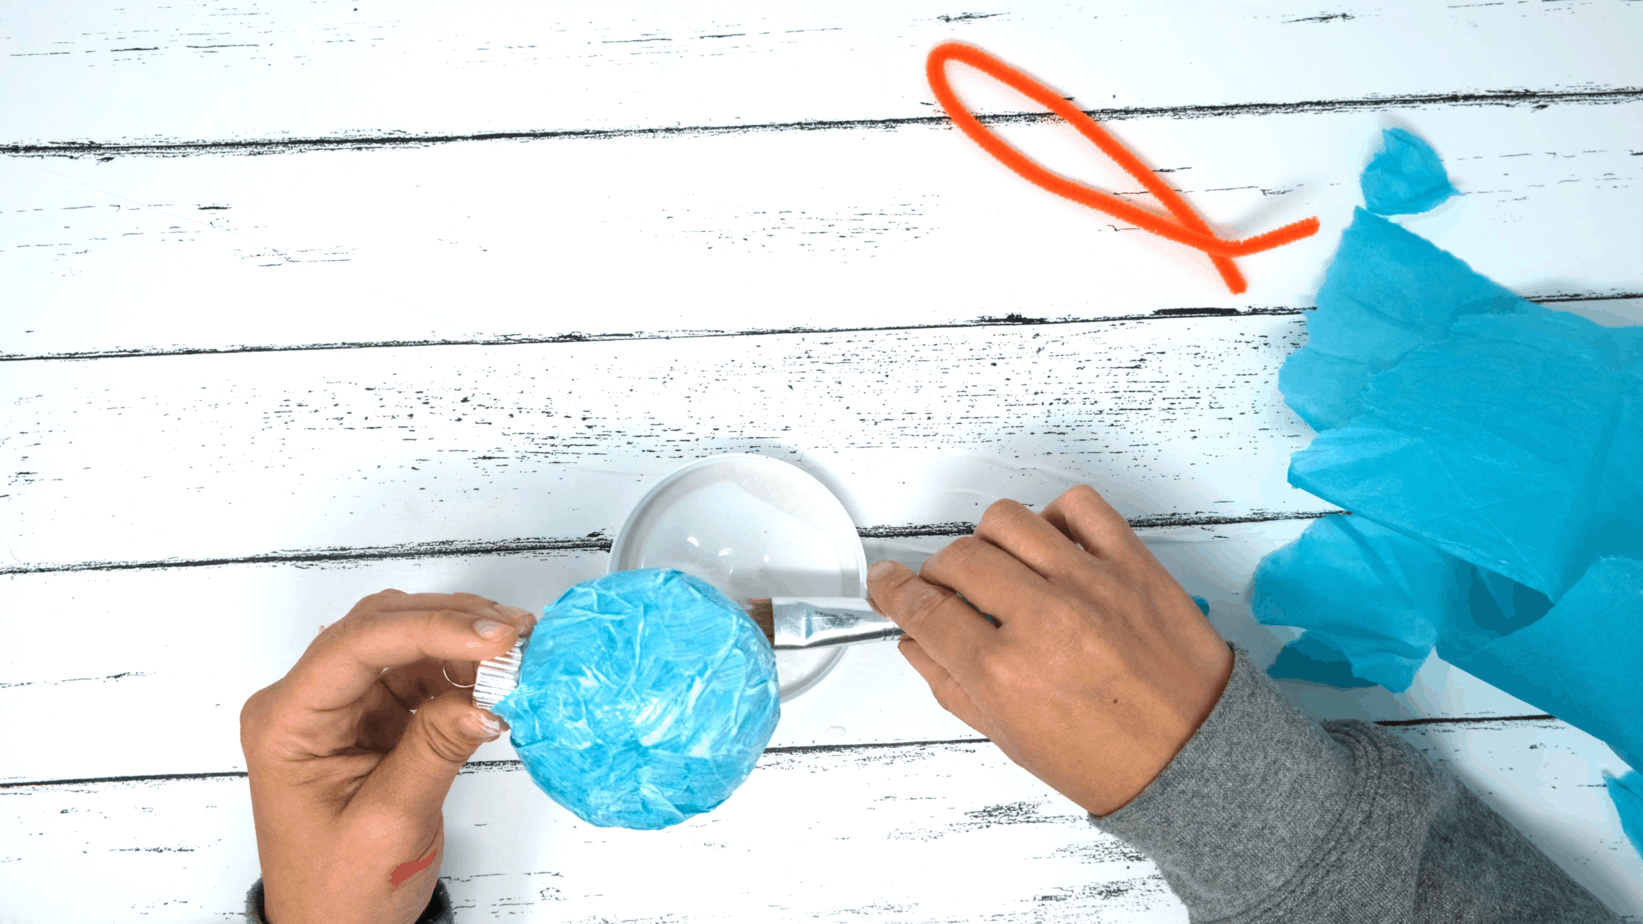
- Use a paintbrush to apply modge podge to the entirety of the ornament. Get your tissue paper to roughly the size of the ornament BEFORE putting it on so that you have less resizing and such to do once it's already on.
- Press the tissue paper onto the ornament in a single layer. Brush over any edges so that you have a smooth finish.

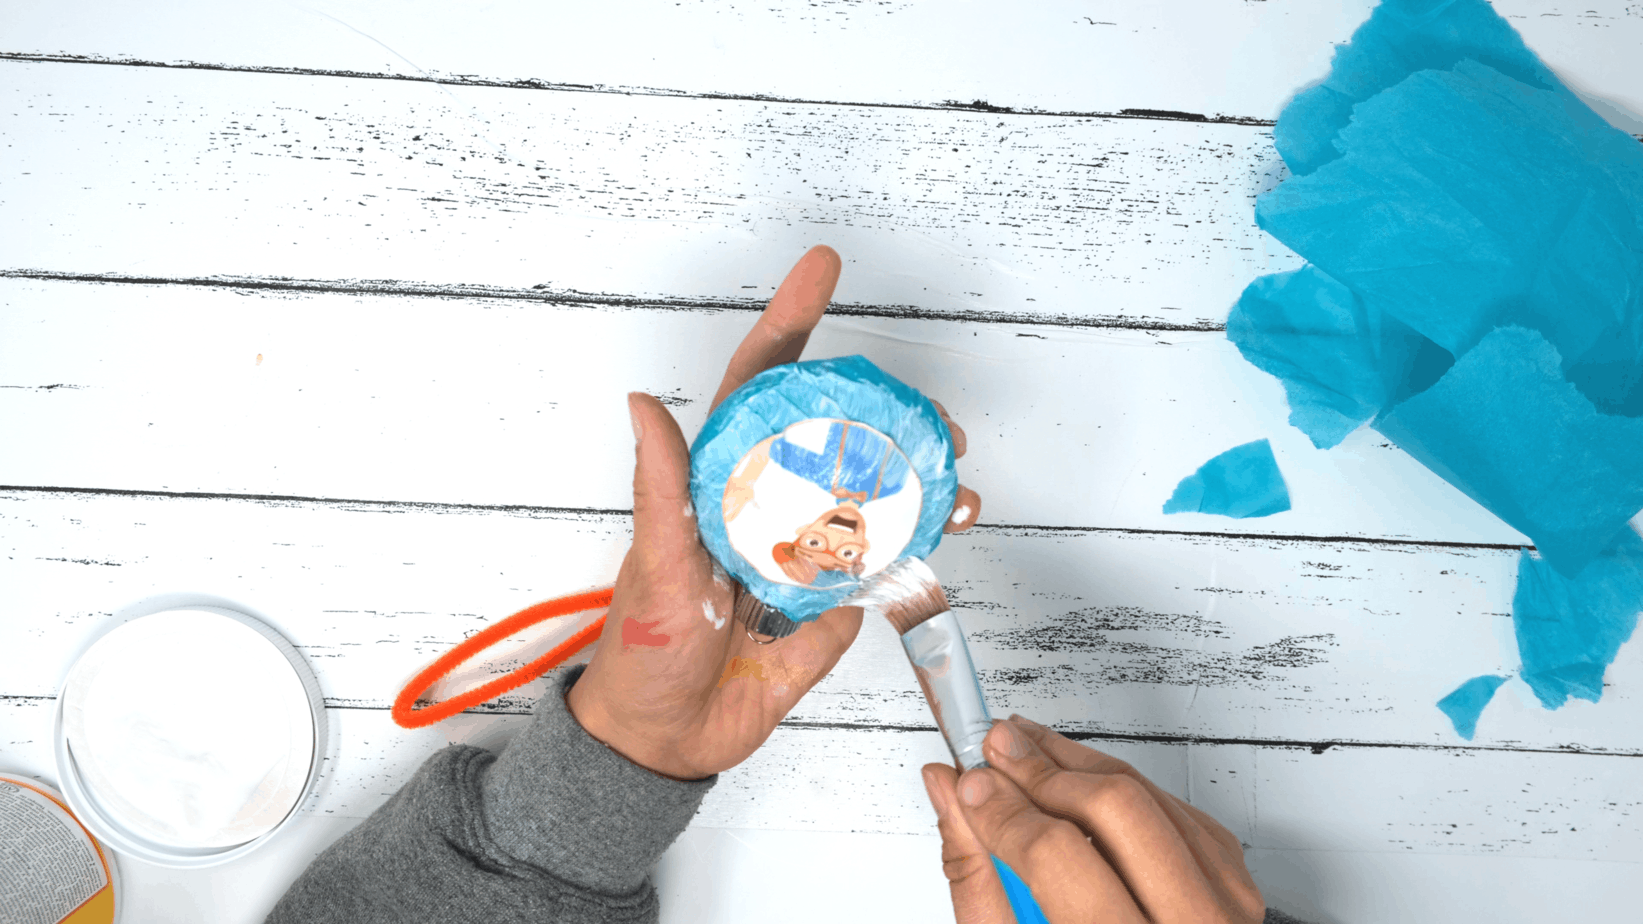
- Get your Blippi picture (I used a circular cartoon picture I found on google) and put it in the middle of the ornament then paint over with the modge podge to seal it and give it a glossy/finished look. Don't worry, this stuff dries clear! The picture will look alot better if you cut small slits around it so that the image doesn't bump up once applied to a rounded surface.
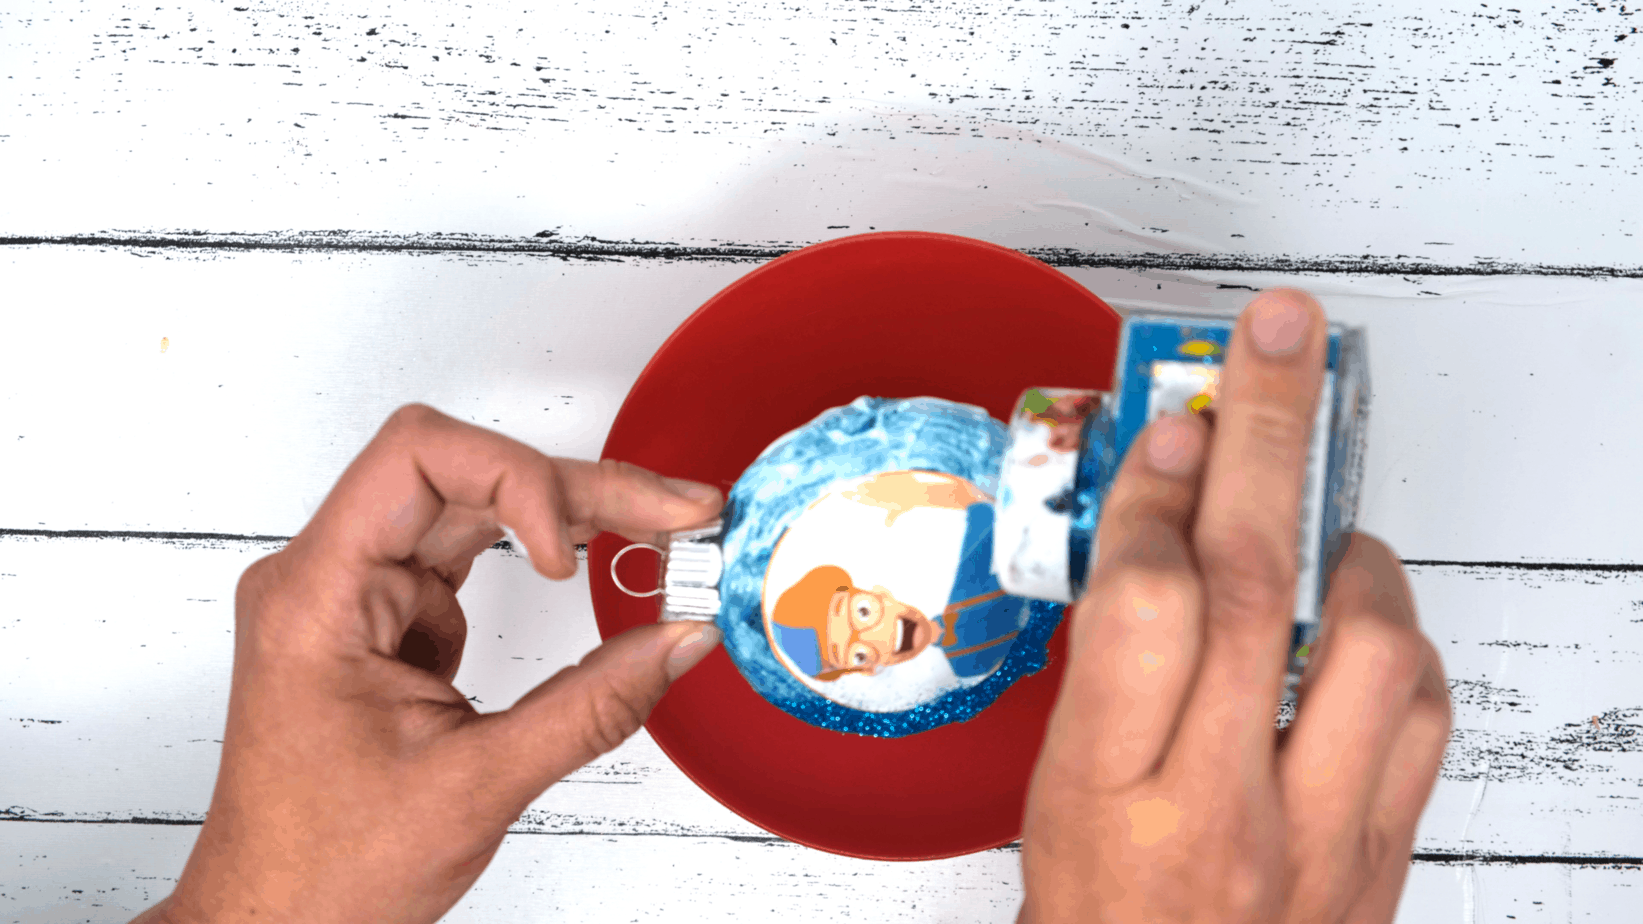
- WAIT TILL EVERYTHING IS DRY, then brush modge podge on the borders of the picture and the back for the glitter Go slow so that you get a clean look without too much glitter ending up on the picture. Put a bowl underneath the ornament, then hold it as you sprinkle glitter on it. Use a second bowl to put under your ornament so that you can use the first bowl and just keep putting the glitter on till all the sides and back are covered.
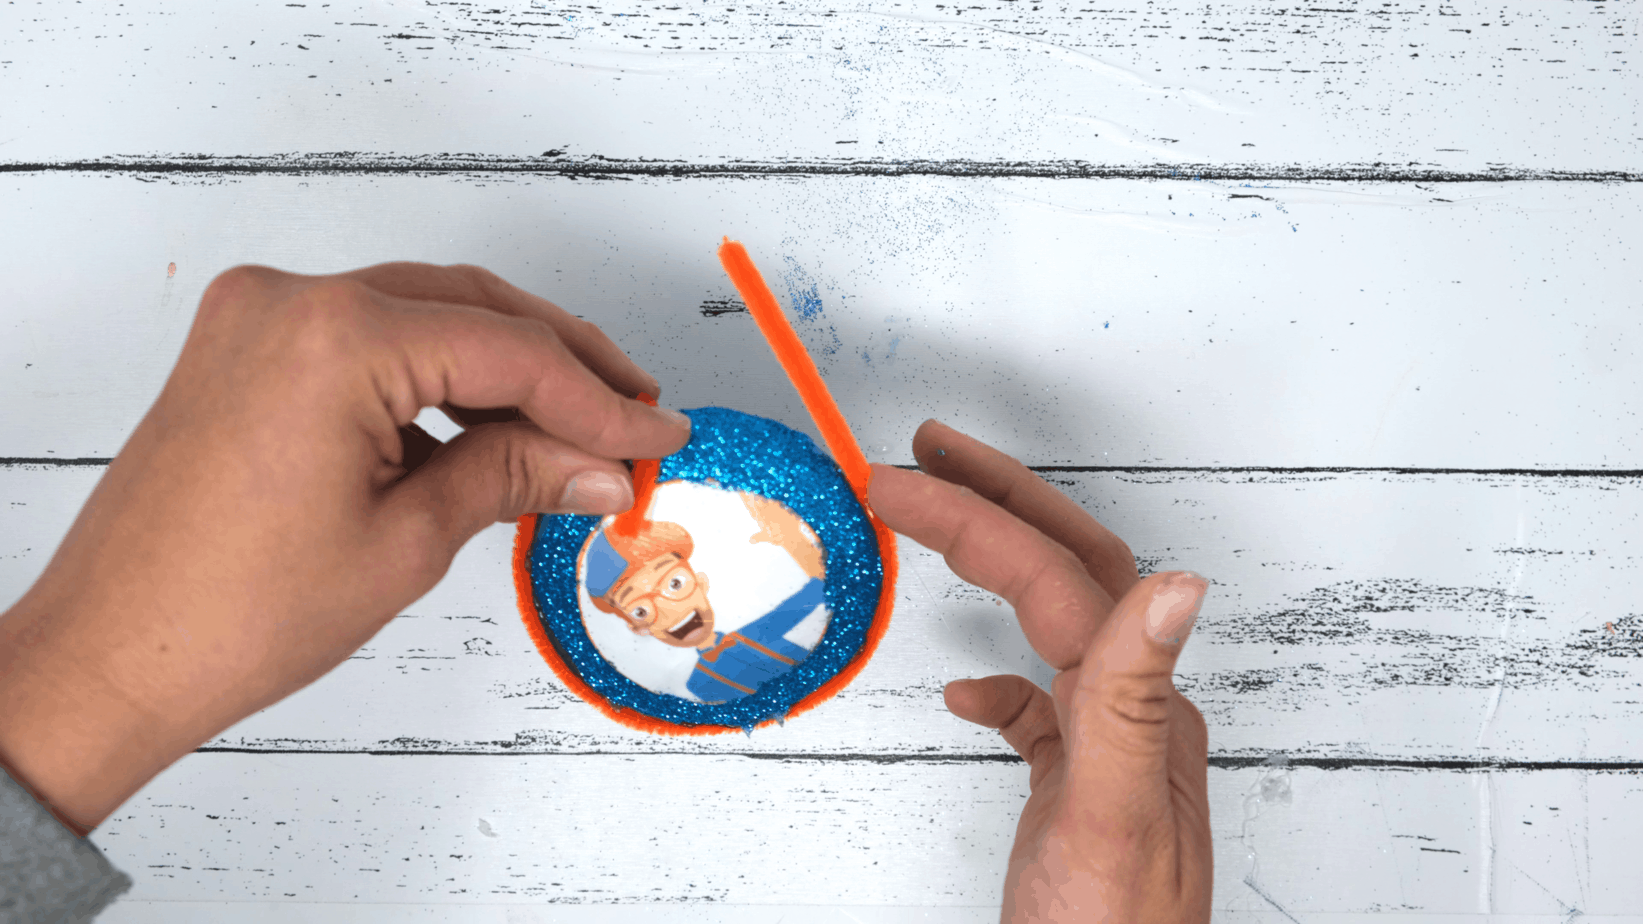
- After glitter has dried, add the orange pipe cleaner border using a hot glue gun. After trying this multiple times, it seems best to NOT wrap the start of the pipe cleaner around the top of the ornament - just start at the base and glue the pipe cleaner around the edges of the ornament. OPTIONAL - Spray with a sealant once dry so that it doesn't all just rub off!
- Wrap the top of the ornament with a separate orange pipe cleaner - using a separate pipe cleaner just has a more balanced look than what I did which was wrap it around the top to start then go around the ornament.
Notes
- Cut a couple of slits around the edges of your Blippi picture so that it lays flat better on the rounded ornament (other wise it will bump up and have big creases in some places... found out the hard way)
- I highly encourage you to spray a sealant on your ornament so that the glitter doesn't rub off. I'm actually keeping mine in a safe place till I get to the store and buy some so that it doesn't somehow get wrecked before we even get our tree!
Recommended Products
As an Amazon Associate and member of other affiliate programs, I earn from qualifying purchases.
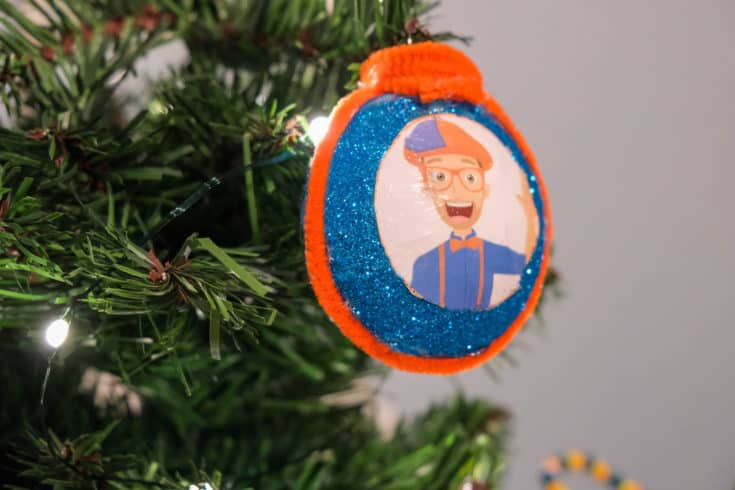
How did it turn out?
I hope your kids get as much joy from seeing a sparkly Blippi hanging from the tree as mine do! Keep an eye out for more Blippi ornaments – I got three kids, so I guess I’ll make three ornaments!
Here are some more fun Christmas articles!
- This peek a boo Santa craft coming popping out of the chimney will delight your kiddos!
- Make your own set of Christmas themed window clings with your kiddos!
- Keep your kids busy forever with this winter themed sensory activity – ice lake rescue!
- Make Christmas even more special with this 12 page Christmas scavenger hunt pack!
- Make a fabric ornament out of any printed picture… like this cute Santa on skis!
- Make this DIY mini wine ornament for the wino in your life (or yourself… I am!)
- Check out this list of fun kids winter toys so that the snowy winter doesn’t give your family such cabin fever!
- Speaking of snow… make these yummy two ingredient snow popsicles the next time you wake up to a fresh fluffy blanket of snow!
- Paint in the snow with this easy to make snow paint!