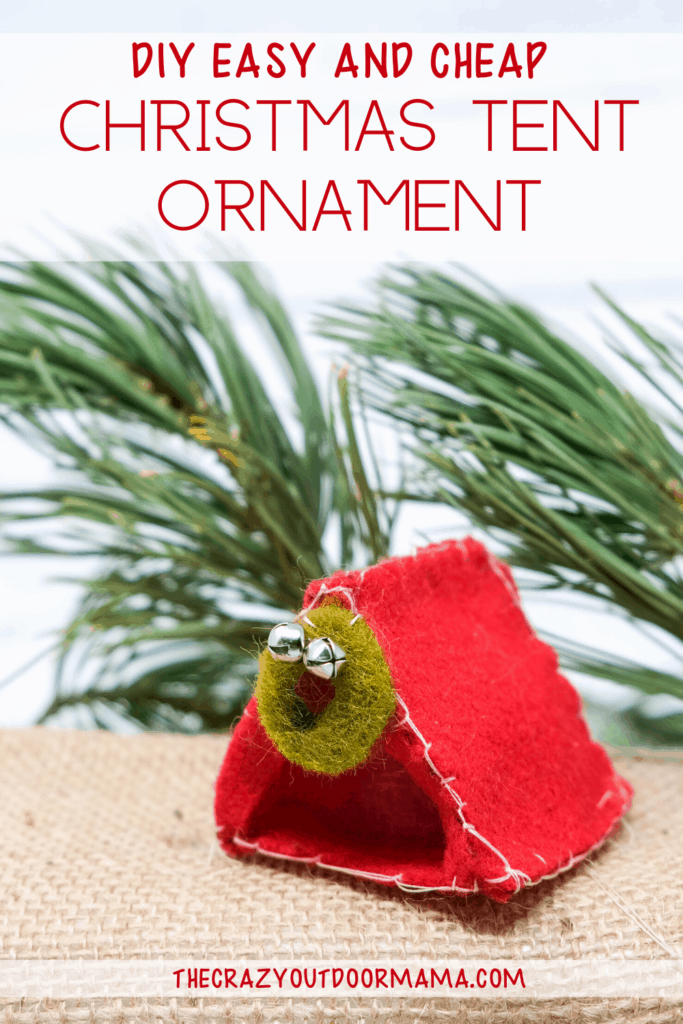
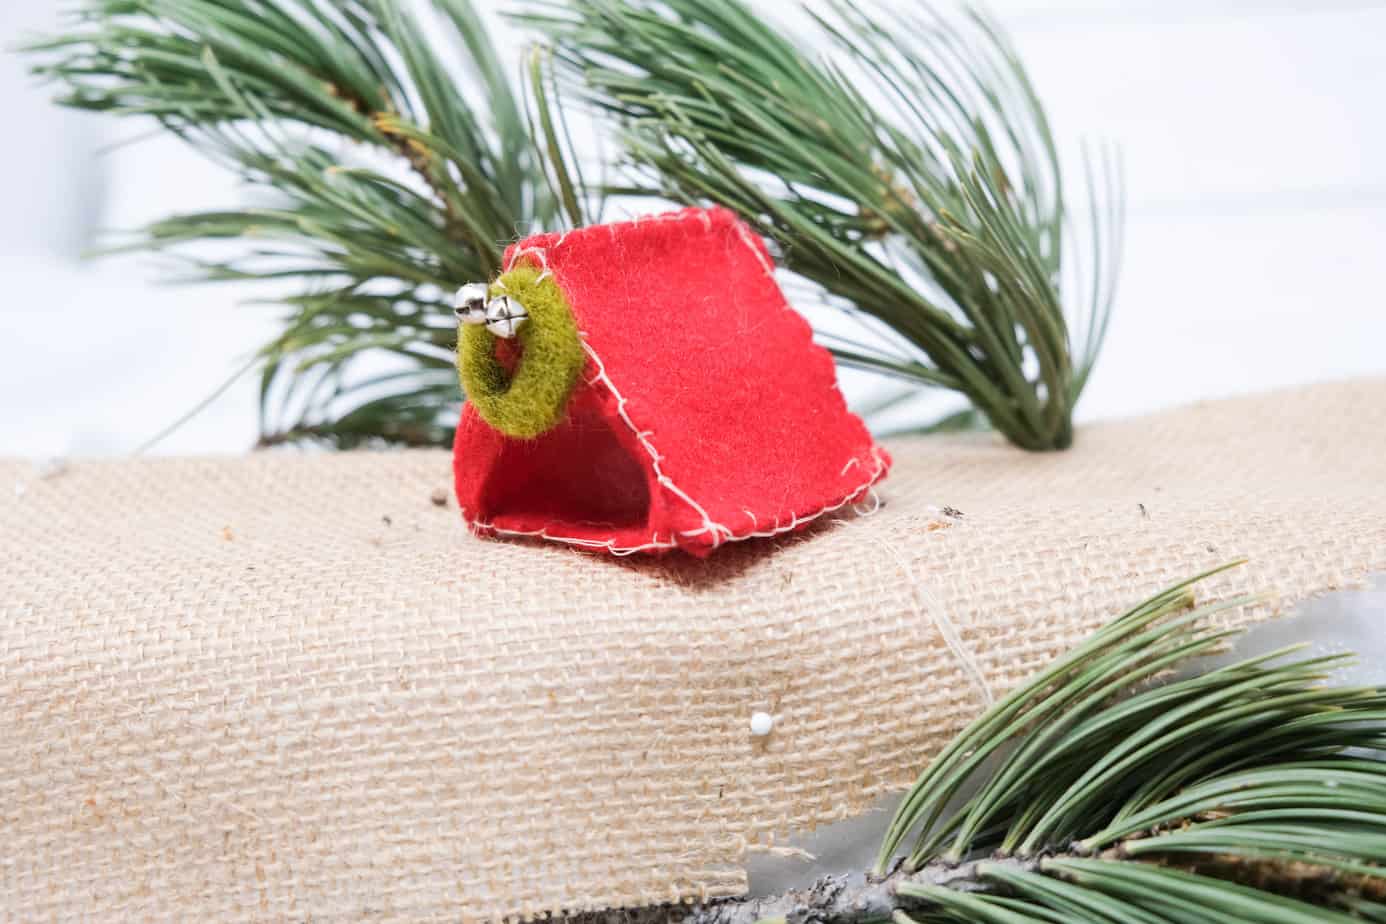
If you love that rustic, homemade look for your tree, then you’ll love to add this adorable DIY festive tent ornament!
Before the kids came, I used to make close members of my family a felt/felted ornament each year that fit their personality or hobbies. For example, my uncle got a duck and my mother in law got a set of chickens!
I, unfortunately, fell out of it as the kids came (time seems to go away, doesn’t it??) Four years later though, here I am with a felt ornament!
This cute holiday themed tent is made from just pieces of felt (as opposed to wool) and is pretty easy for most people who have some basic sewing skills! It’s also super cheap so you can get multiple colors if you want!
Let’s get to it!
How to DIY this cute camping ornament
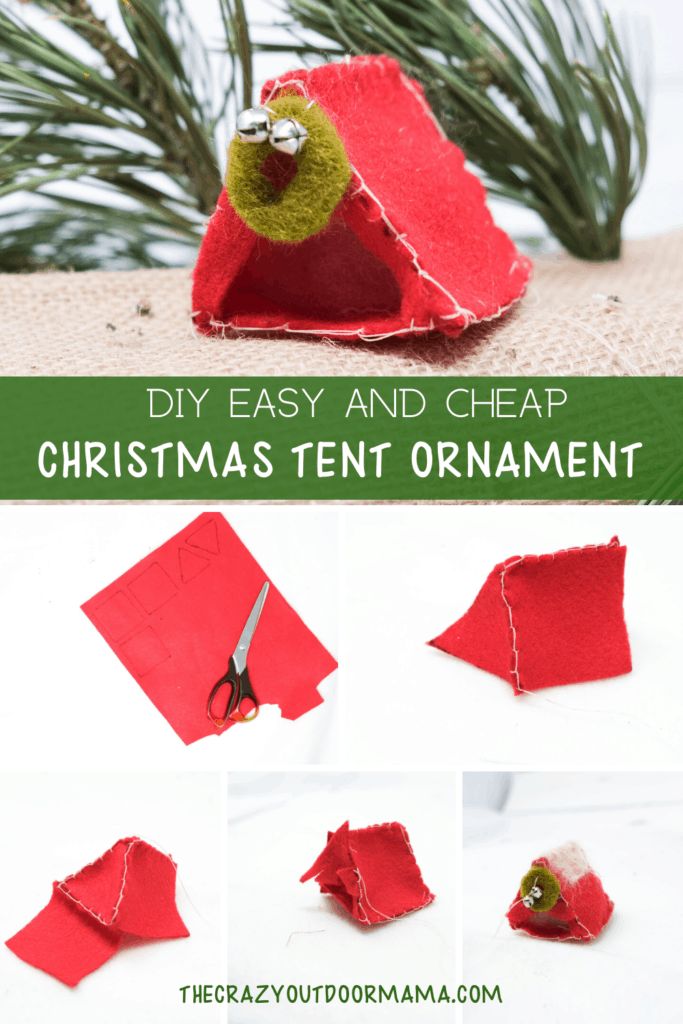
For the basic tent, all you’ll need is one sheet of felt (I chose red), some thread, and something to stuff the inside so that it holds its shape. You can choose to add a wreath, bells etc if you want to make it even more Christmas-y!
Related: Love wine? Then you’ll get a kick out of this DIY camping themed wine ornament!
DIY Tent Camping Christmas Ornament
Make your own camping themed Christmas ornament this year that's cheap, easy, and doesn't require a ton of time! This tent can be as wintery as you like, just make the tent and add what you want!
Materials
- 1 sheet of red felt (or whichever color you'd like your tent to be)
- Thread
- Small amount of filling to stuff in the tent (helps keep the shape)
- Additional Decor - green felted wool for wreath, bells, white felt for snow etc
Tools
- Needle
- Printer to print out templates
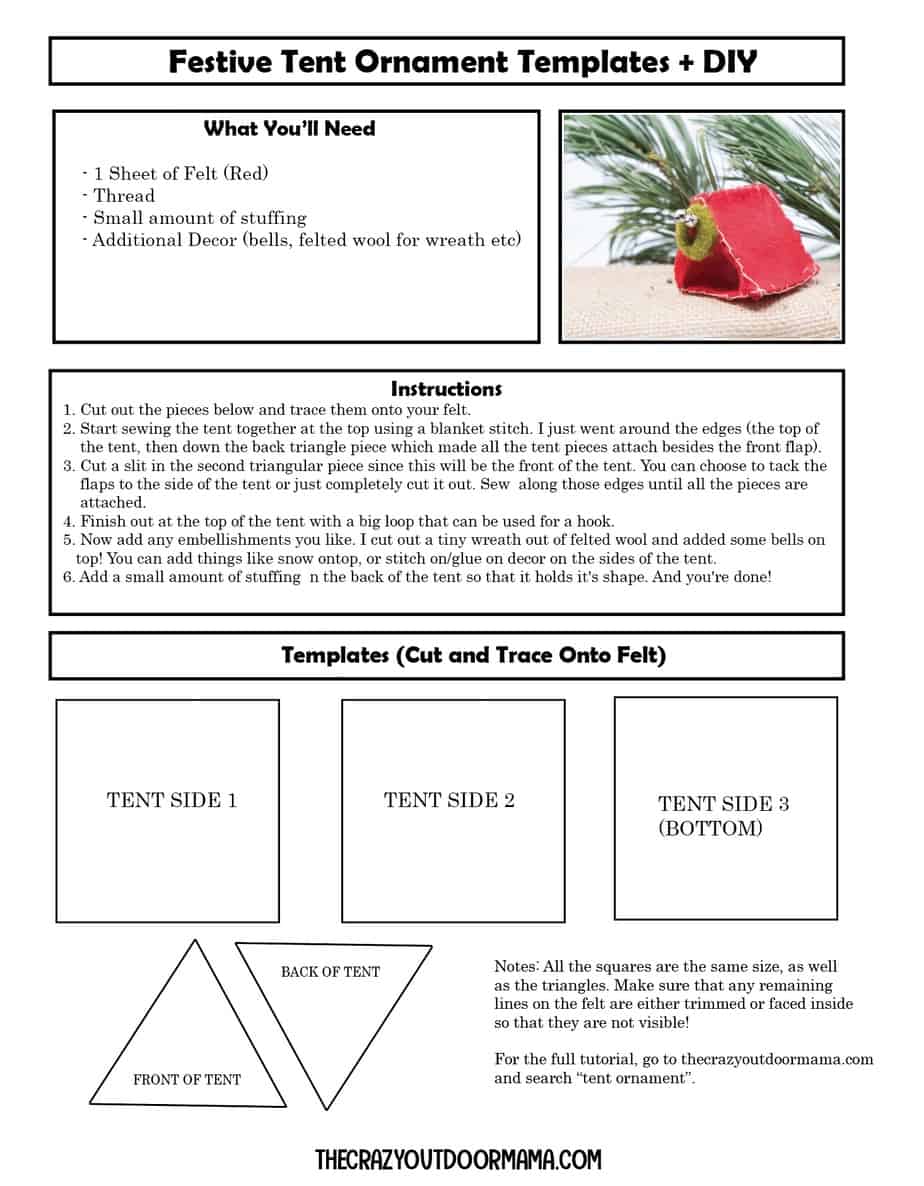
Instructions
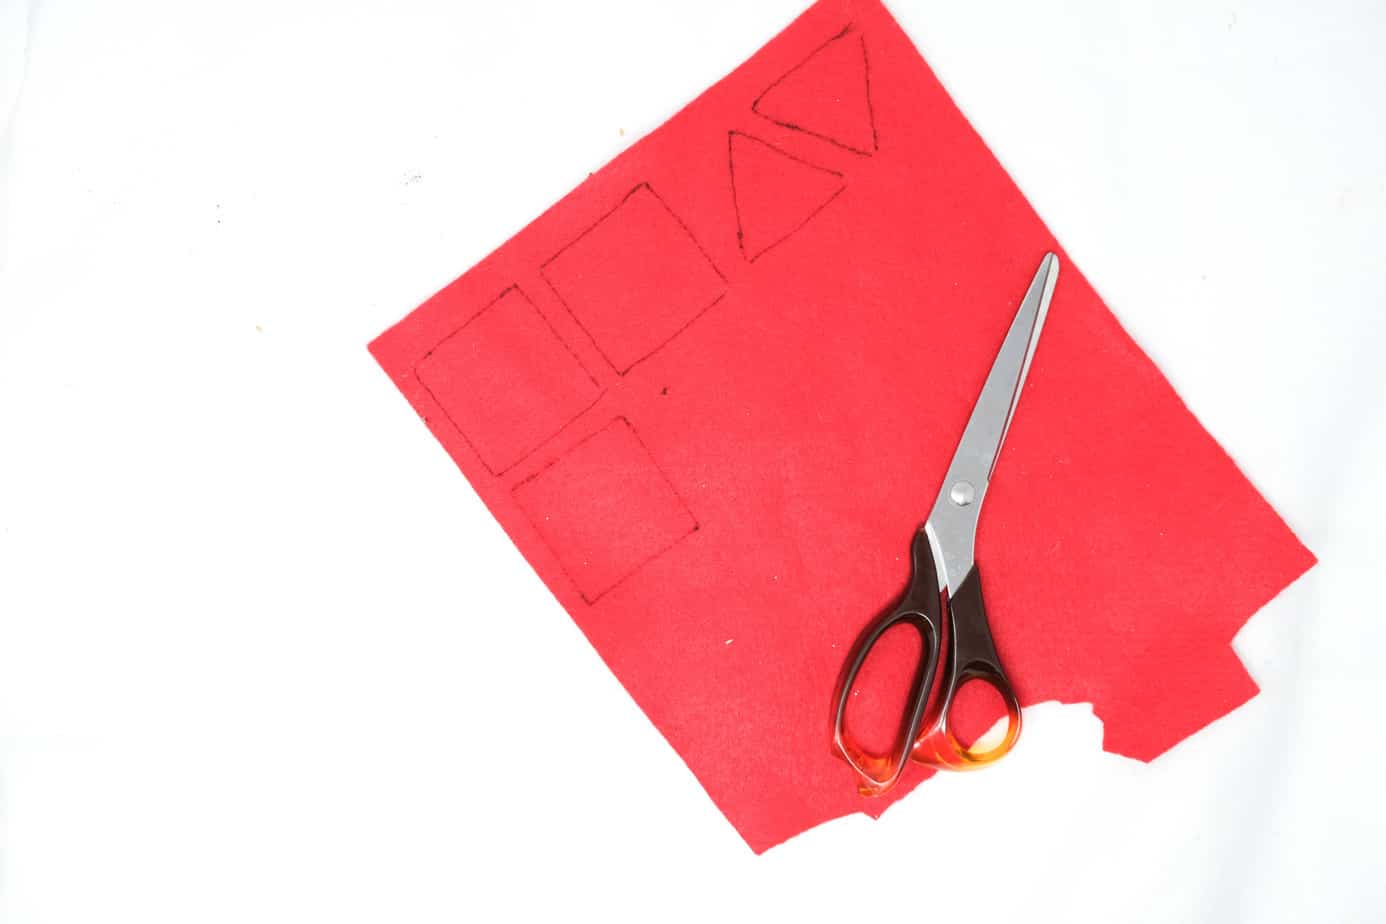
- Print out the template above, cut out the pieces and trace them onto your felt. Each square piece is 2 inches to give you an idea on the size.

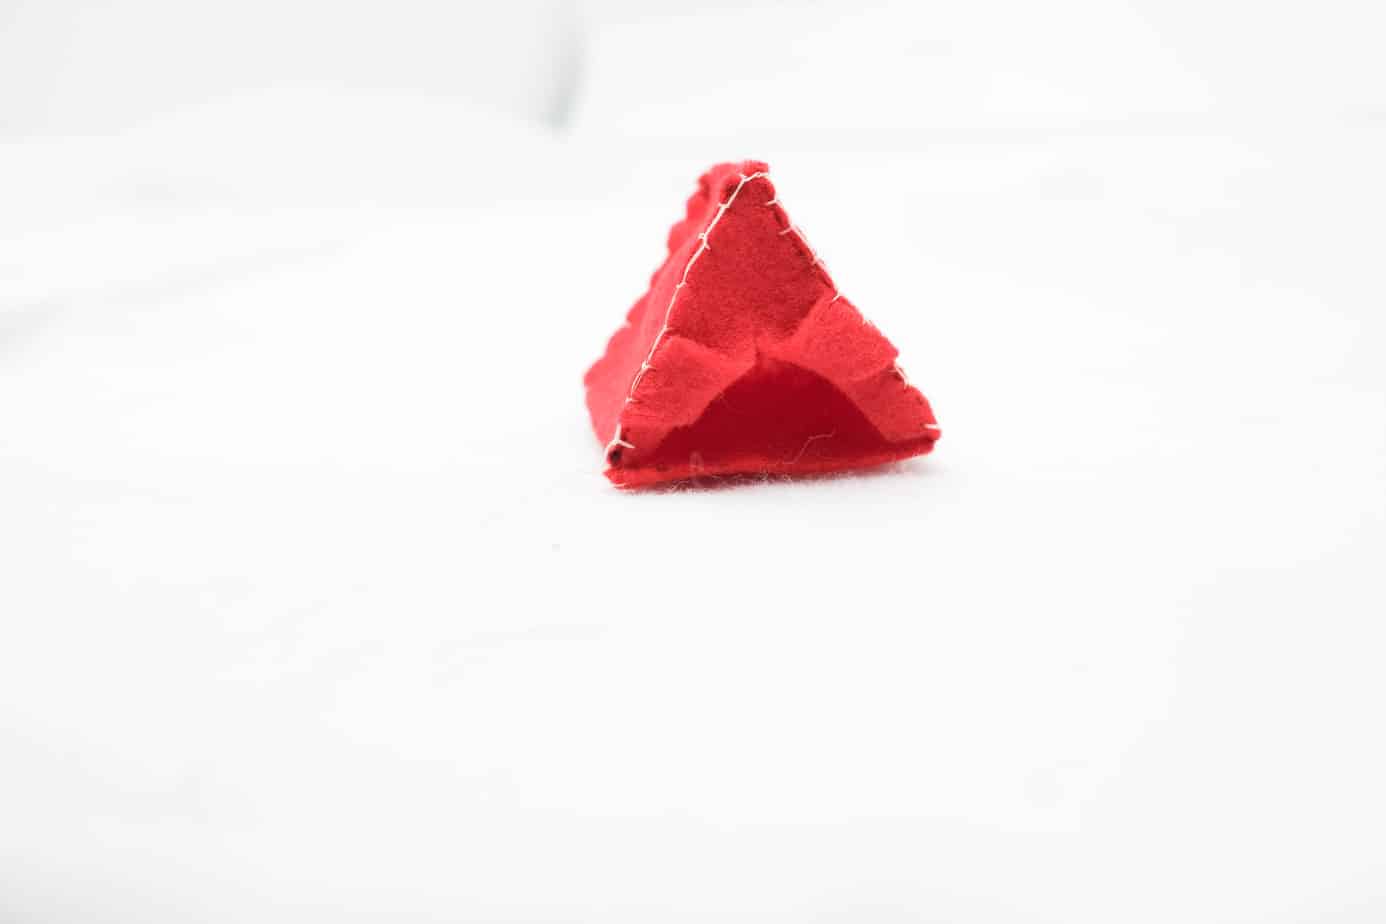
- Start sewing the tent together at the top using a blanket stitch. I just went around the edges (the top of the tent, then down the back triangle piece which made all the tent pieces attach besides the front flap).
- Cut a slit in the second triangular piece since this will be the front of the tent. You can choose to tack the flaps to the side of the tent or just completely cut it out. (I started with flaps and ended up removing them because I liked the look better!). Sew along those edges until all the pieces are attached.
- Finish out at the top of the tent with a big loop that can be used for a hook or to attatch some other hanging material from later. P.S. If you do choose flaps make sure you tack them each at the same level (unlike me.... ugh!)
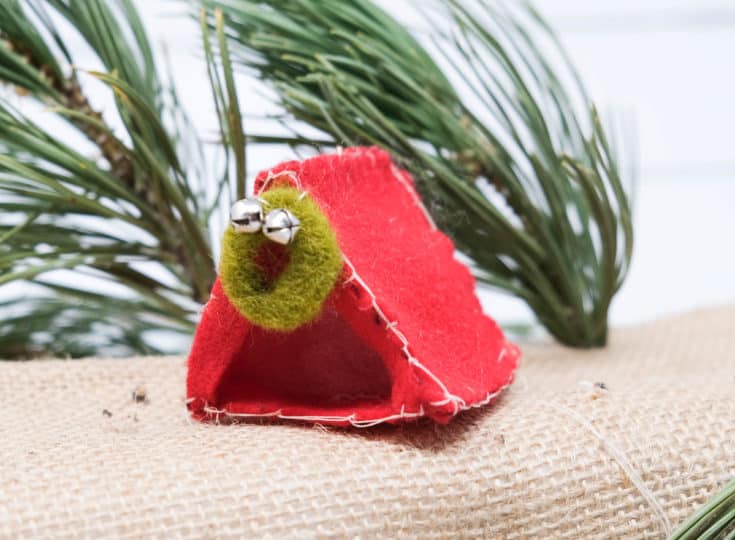
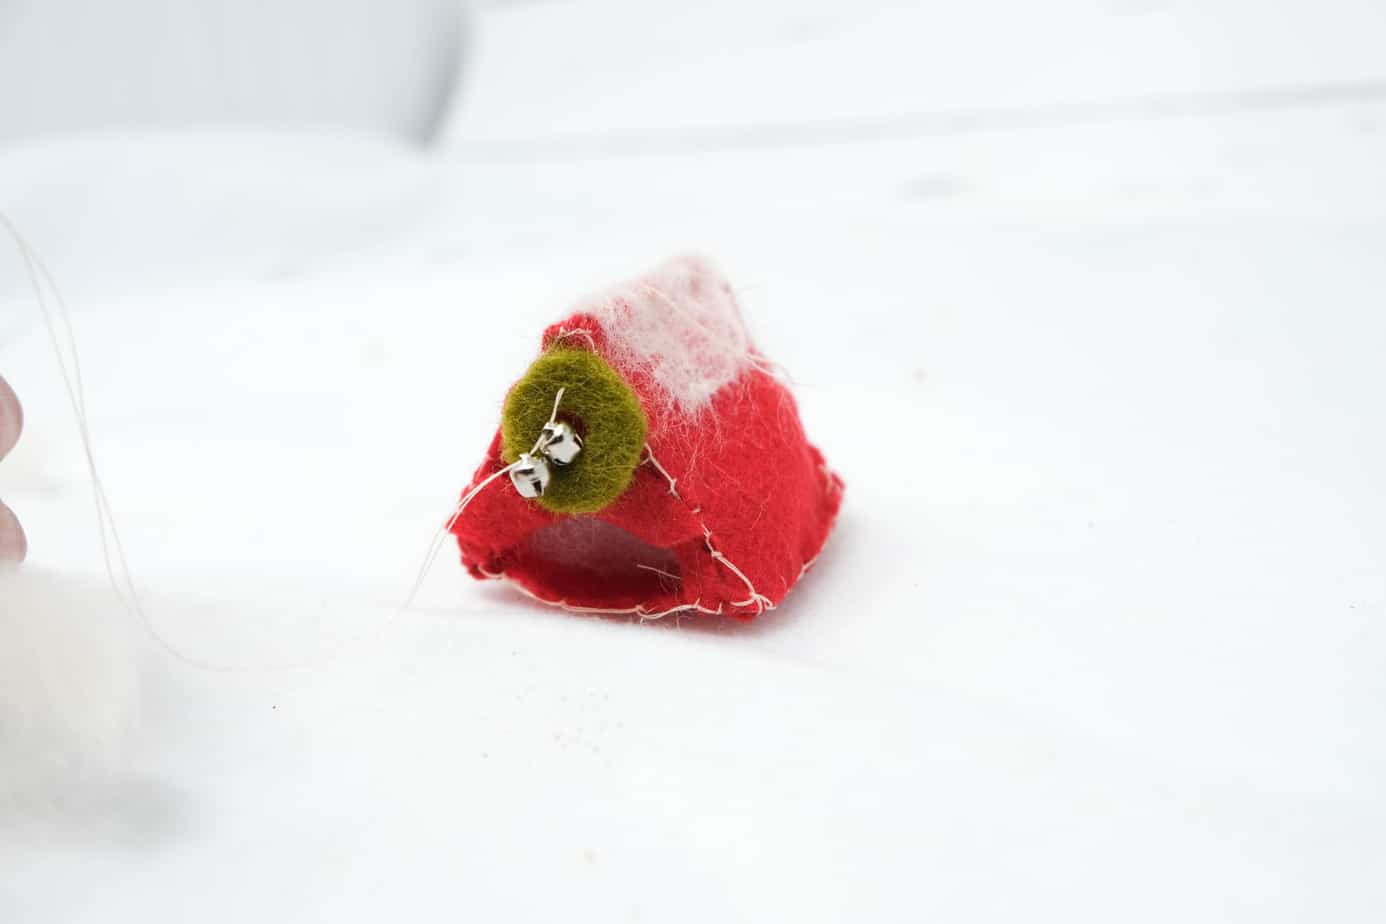
- Now add any embellishments you like. I cut out a tiny wreath out of felted wool (sheets of wool felted flat so they're easy to use and have an awesome texture). I also added some bells on top! You can add things like snow ontop, or stitch on/glue on decor on the sides of the tent. The picture below is me adding the bells and wreath. I tried snow on the tent so that you could see how it might look!
- Add a small amount of stuffing (I literally have an old pillow I take from... LOL!) and put a small amount in the back of the tent so that it holds it's shape. And you're done!

Let me know in the comments any variations you made or fixes I need for this DIY!
I’m no expert at sewing, I just know the basics! So if something seems off let me know! I’d also love to hear of any you guys made and personalized!
Download your templates + guide now!
Here are some more Christmas/holiday RV articles you’ll love!
- Get the camp COFFEE lover in you life one of these beautiful handmade camping themed coffee cups as a gift this year!
- 29 awesome camping themed ornaments to campify your Christmas tree!
- This FREE pack of 19 different camping themed Christmas printables has you covered – cards, wall art and gift tags all featuring snowy campers full of cheer!
- If you’re having Christmas in the camper this year, check out these beautiful ideas to decorate your camper for Christmas!
- If you plan on camping through the winter, check out these tips for winter camping in an RV!
- Make your own camping themed mini wine bottle ornament!
- DIY this felt tent ornament for the camping lover in you life!