Updated November 20th 2023
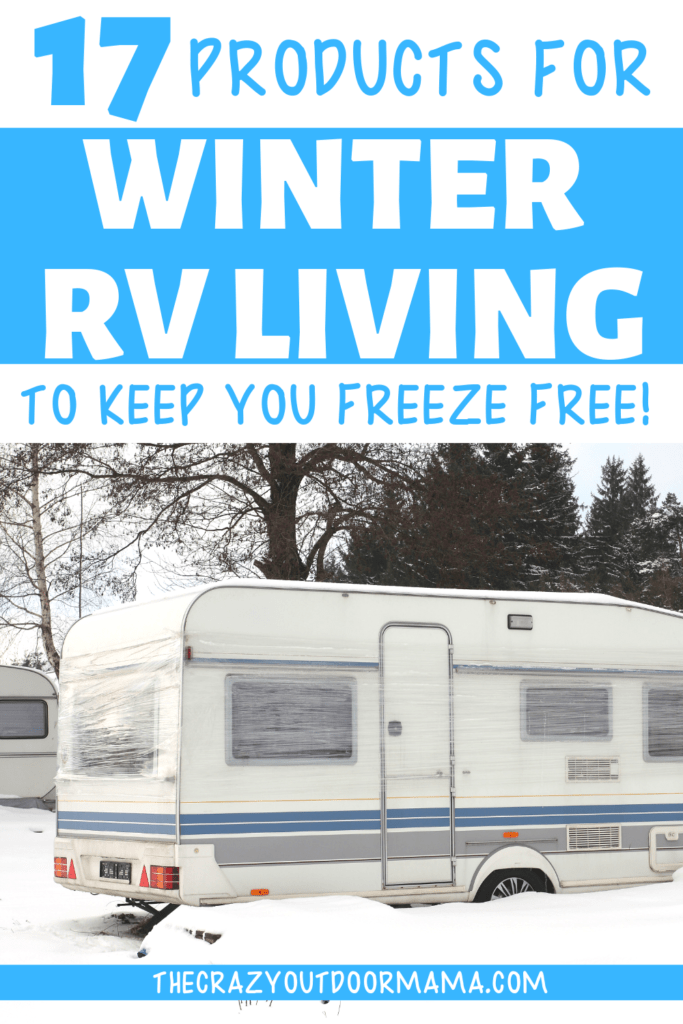
With summer coming to an end, we’ve been thinking pretty hard about figuring out winter RV living to extend our camping season. It’s no joke that it’s a bit harder in the cold weather, and we wonder if it’s worth it with our two youngest still struggling to walk in the snow. But I DO know that many of you might be interested, so I did some digging!
My mother-in-law has a long commute that’s fine during summer. But during winter, things like avalanches can cause closures so she tends to camp in her RV close to work during the cold season. She is hooked up to power, but she manages all the other things on her own.
So here are some tips she gave me on how to winterize a camper to get it ready for cold weather camping!
P.S. While you can boondock during winter, if it’s below freezing, your best bet may be to find a nice campground and just plug in. You’ll use up a TON of propane and gas for your generator each day with all the items you need to stay warm. And most of the items I recommend are made to be used when staying at a campground with power!
Also, keep in mind that using all these heating elements will pull a lot of amps. So while a 30 amp hookup is manageable, stay on the lookout for a 50 amp so you don’t have to coordinate turning off the space heaters to use the microwave! 😋
Before we start – A word on “All Season” RV insulation
There are very few campers that are considered “all-season”, and even if they are, they’re usually only rated to about 32 degrees F. Some of these have enclosed underbellies, extra insulation, dual pane windows and hatch covers (hatches that cover openings such as vents in your RV).
So even if you did buy an all-season camper, it’s still good to make it even warmer so that you can save on propane and electricity costs! The insulation in the walls is still pretty minimal, so you definitely have work to do to make up for this.
Here are the top four-season RVs and some recommended brands!
Good skirting for your RV is a MUST (DIY or Buy)
This is key to winter RV camping and making it WAY easier to keep your pipes and tanks from freezing!
If the temps will be under 30 for more than half a day, then you’ll likely want to make some sort of investment in RV skirting.
Pro Tip: No matter your skirting choice, if you have snow where you’re winter camping, pile it around your skirting! This will help insulate even more!
The amount you plan to move during the cold months will help in figuring out the skirting setup you need – a cheap DIY or a more expensive one you buy online. You’ll especially love the newest camp product on the market – inflatable skirting!
DIY RV Skirtings (Foamboards and vinyls)
If you’re going to be stationary throughout the cold winter, then you can make a pretty darn efficient skirting yourself using insulating foam boards (1″ R Tech Styrofoam you can buy at home depot” and some good tape. There’s a great DIY skirting tutorial here from doityourselfrv.
If you intend on moving quite a bit you may want to look into creating a vinyl skirt like this so that it’s easier to set up and break down (this one uses hooks on the RV and the skirting has grommets so that it just hooks on!)
Purchase an RV Airskirt
Lastly, if you don’t want to deal with all the DIY and other temporary solutions, I suggest investing in a durable system such as Airskirts.
Not only does it set up in under 30 minutes (which makes them perfect for the RVer who wants to travel during winter) but they also pack flat and are WAY more attractive looking.
Read here to see if an RV Airskirt system would be a good solution for you

If you just need to store your RV for the winter months, then it might be a good idea to get an RV cover. Here are 11 of the Best RV Covers for Winter | Video Reviews + Buyer’s Guide .
Insulate RV windows the best you can (3 different options!)
Just like at home, windows really do let a lot of heat out (especially if they are typical camper quality windows!)
If you have single-pane windows, this is even more important for winter RV camping. Luckily there are quite a few solutions that can help keep the cold out.
Let’s focus on the windows themselves first and the options to increase their insulating abilities. If you’re like me and admire the snowy landscapes of winter, then you’ll probably like the clear insulating options with additional removable aspects to them.
Insulate all RV windows with a clear insulator kit
This is a cheap, effective way to increase the R-value (the insulating power) by up to 90%! 3M is pretty much king in this area, so to get clear windows while also insulating, this is your best bet! The one I’m recommending is marketed as a “heat shrink” type.
Recommendation: 3M Indoor Window Insulator Kit
- Goes on clear with no tinting
- Has an option to heatshrink, but can be applied without doing so (see tip above) meaning you can REUSE this next year!
- Increases R value by 90%!

Mount Secondary plexiglass “windows” to create an even thicker barrier
Since I live in a trailer in Wyoming, every winter we seal in our porch to store wood and other items we need to keep dry. While we use cheap plastic material, I’ve always dreamt of getting custom plexiglass panes that go across our entire porch (our neighbor has them on theirs!).
This solution isn’t necessary unless you plan on camping in some pretty cold places, but it’s certainly easier to use this long lasting solution compared to the window film!
Purchase some 0.06″ thickness plexiglass like this (you may have to go to your local Home Depot for bigger sheets), cut it to the right size, then mount it to your windows with some acrylic mounting tape (it’s clear and strong!).
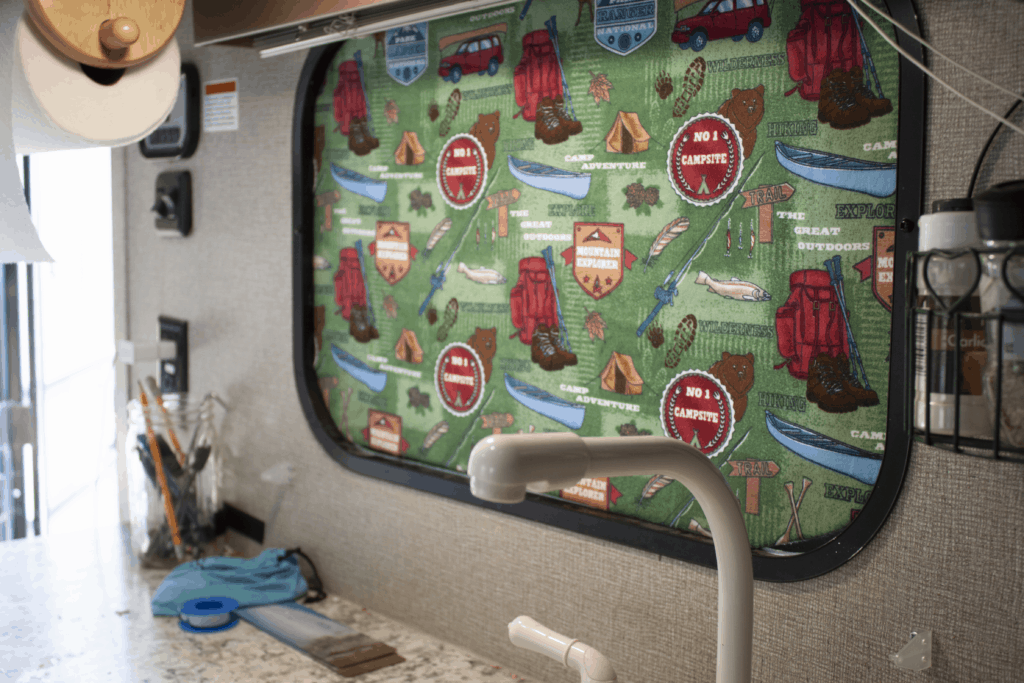
DIY foamboards for extra window insulation
In addition to the window treatment above, you can increase the window insulation of your RV by using foamboard or bubble wrap.
You can create your own DIY custom foamboards for your windows here – this is a tutorial for blackout coverings, however just sub the foam I used for a heavier duty one.
It’s best to only use these at night or snowy days as letting in some sun can do wonders for heating up your camper (and the sunlight is nice to see too!)
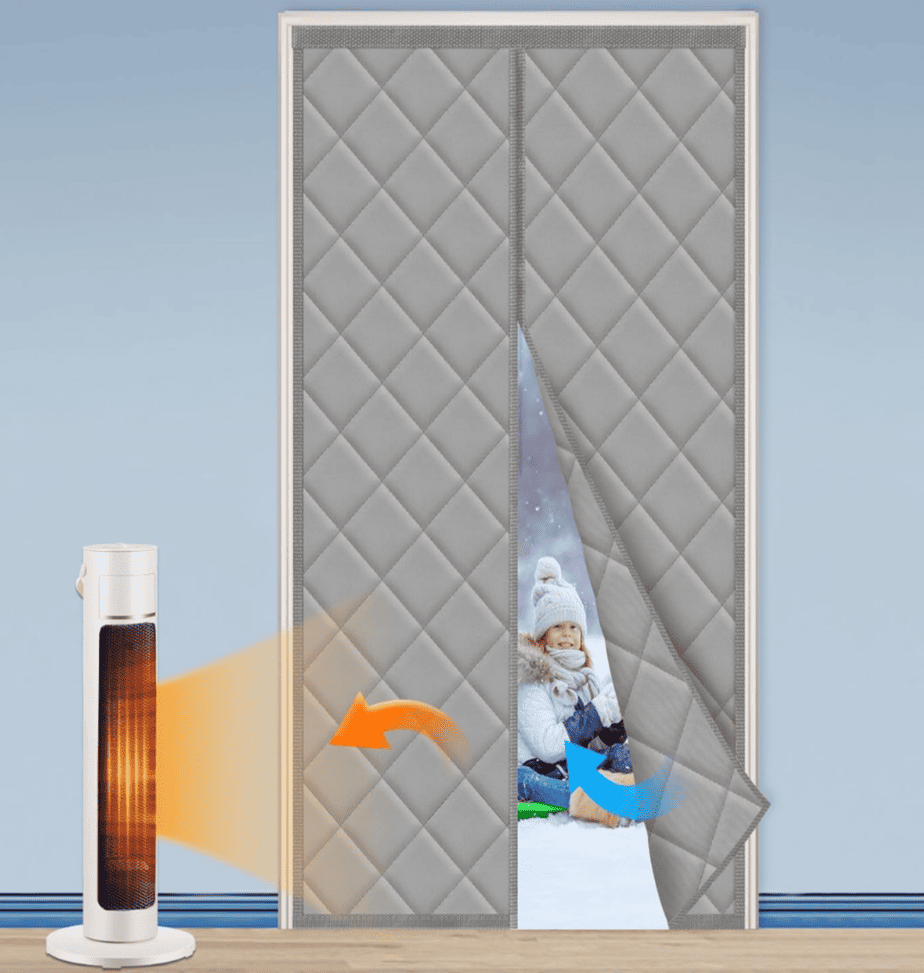
Hang up Thermal Door Curtains
Opening and closing the door of your camper does lose a ton of heat, but did you know it loses heat even when it’s closed? Since it’s hard to insulate something that is used so often, it’s easier to instead add a layer on top!
I update each of my guides yearly, and as of 2023, winter RVers are LOVING how much of a difference these are making in both comfort (no more cold feet!) and straight up savings in heating costs.
Recommendation: Magnetic Thermal Door Cover
- Auto closes with magnetic function
- Great at keeping drafts out from hard to seal door areas
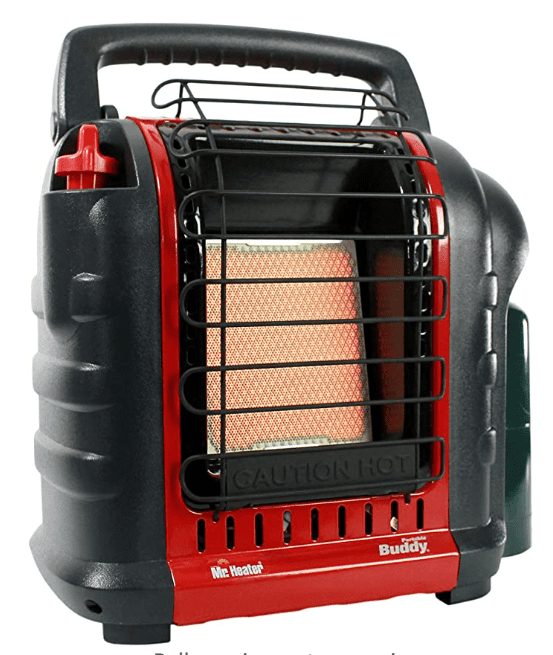
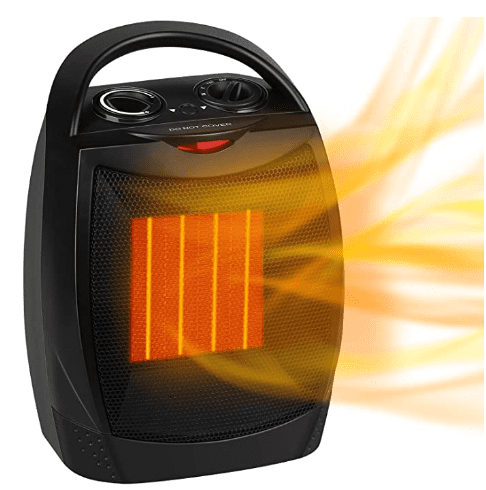
Get a Safe Space Heater for Extra Heat
There’s no way your tiny little furnace will be able to keep up with a real winter camping experience (I’m talking below freezing temperatures) so you’ll likely have to supplement with an indoor safe heater.
Mr. Heater is a great brand, and most of their heaters have many safety features that will cause the unit to shut off should any dangerous situation occur such as tipping or low oxygen levels.
There is a smaller size heater here, however, I am recommending this one because it is more appropriate for the majority of people’s situations!
Recommendation: Mr. Heater Indoor-Safe Portable RV Radiant Heater
- 4,000 – 9,000 BTU for spaces up to 225 square feet
- Auto shutoff if tipped or detects low oxygen levels
- Easily connects to the propane tank
Insulate any vents in your trailer
Vents with fans are great during summer. But in cold weather, they tend to allow a TON of cool air or even snow in if they’re open! The thing is, they do need to remain open – ventilation is super important to reduce humidity and moisture in your trailer.
To solve this, get a vent cover! They can be open through snow, rain, and even travel allowing you to get fresh air all year long (this is really helpful when cooking, cleaning, and bathing in your RV, which all create a ton of moisture!)
This helps create an extra pocket of air between your camper and the environment as well as having a good way to let humidity escape without being worried about the weather.
To create a powerful insulating effect, you gotta get the “vent pillow” to keep lodged inside the vent on the inside of the camper for even more insulation! Best of all, you can use this all year long as well – summer to keep the heat out, and winter to keep the heat in!
Pro tip – If you buy the vent pillow, make sure to point the reflective side down into your camper to “reflect” the heat back down into your camper!
Recommendation: Camco RV Roof Vent Cover
- Allows vent to be open all year long to let moisture out from common activities such as cooking, cleaning, and bathing.
- Aerodynamic design allows you to keep it open even during travel!
- Easy to clean screen that doesn’t require you to dismount the whole vent cover

Recommendation: Camco RV Vent Insulator (Pillow)
- Multi use – point the reflective side up during summer to help keep your RV cooler
- 2.75″ of insulating foam
- Fits most standard 14″ RV vents

Winter prep your AC Unit
This is another thing you probably know about if you have year-round window-mounted AC units (my mom’s house in Idaho has three of them!) They can let in a TON of cold air.
This means it’s important to stop that airflow (and increase the longevity of the AC unit by protecting it from the elements) as well as insulate the inside too!
There’s a mix of top-mounted and side-mounted AC units in RVs / trailers, so I’ll mention the best solution for both.
While you don’t need both (and the inside solution only works for side-mounted units, as that’s what I have experience with), if you have the means, it can’t hurt to make it extra insulated!
Recommendation: Veranda Window AC Cover (for side mounted AC units)
- Interior bound seams for strength and durability
- Includes strap for use in high wind areas
- Designed specifically to cover an a/c unit in the off season!

Recommendation: Camco Air Conditioning Cover (for top mounted AC units)
- A variety of styles and shape options are available
- Drawcord for a better fit
- Two color choices

Prevent your black tank from freezing
If you plan on using your bathroom, then you’ll need to make sure you include A LOT of antifreeze — both right when you start as well as with each flush (no water!)
This may be overkill for some areas that don’t get cold winters, but better be safe than sorry and just “flush” with a bit of antifreeze.
- Pro Tip #1: Make sure to start off with 1 gallon of antifreeze and about 12 oz with each “#2”.
- Pro Tip #2: Do not leave your sewer line hooked up if at all possible. Instead, only use it when you are dumping. While you can insulate it, it is just another possible freezing point!
- Pro Tip #3: Keep your dump tank valves close and wrapped in insulation when not using them if they’re exposed to the elements
Full disclosure, you can get this product cheaper at Walmart or maybe your local hardware store. Usually, Amazon has the best prices, but not always!
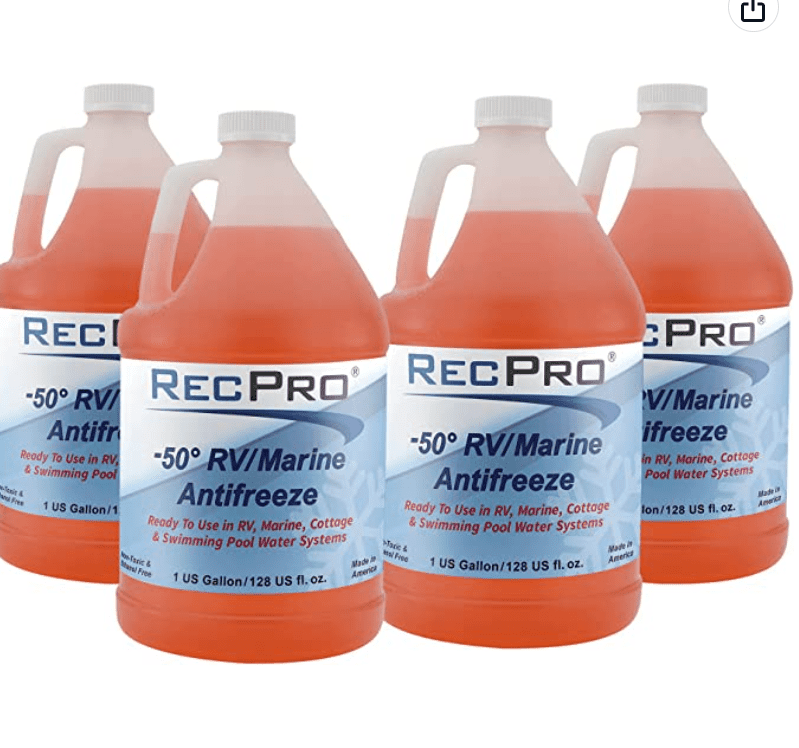
Recommendation: RecPro RV Antifreeze
- This RV antifreeze is ready to go so you don’t have to mix or dilute it.
- Non toxic and non hazardous, so you don’t have to worry about kids or pets getting sick from this
- -50 burst protection (this means that your pipes or tank will not BURST, however, may still turn to a “slushie” consistency that wouldn’t be good for pumping… making it perfect for the black tank!)
Keep Your Camper’s Under Carriage From Freezing
MANY people choose to “dry camp” during winter due to the difficulty of keeping tanks and lines from freezing (except for use of the toilet because it isn’t difficult to keep from freezing because since you can just add a little antifreeze every time you use it to flush.
Most winter RVers will instead bring a ton of bottled water for drinking and dishes, but opt to use a facility such as a campground shower instead of their own.
Factors such as how low the temps get and power availability (being hooked up to shore power obviously makes it easier to use more heaters on the underside of the camper.) Another factor is the overall design of your camper. Some all-season campers do have an enclosed underbelly and tank heaters which will drastically change the difficulty of RV water usage in winter.
Pro tip: Put a small ceramic heater such as this under your camper (if it’s enclosed) to help keep things a bit warmer!
Monitor Undercarriage Temps
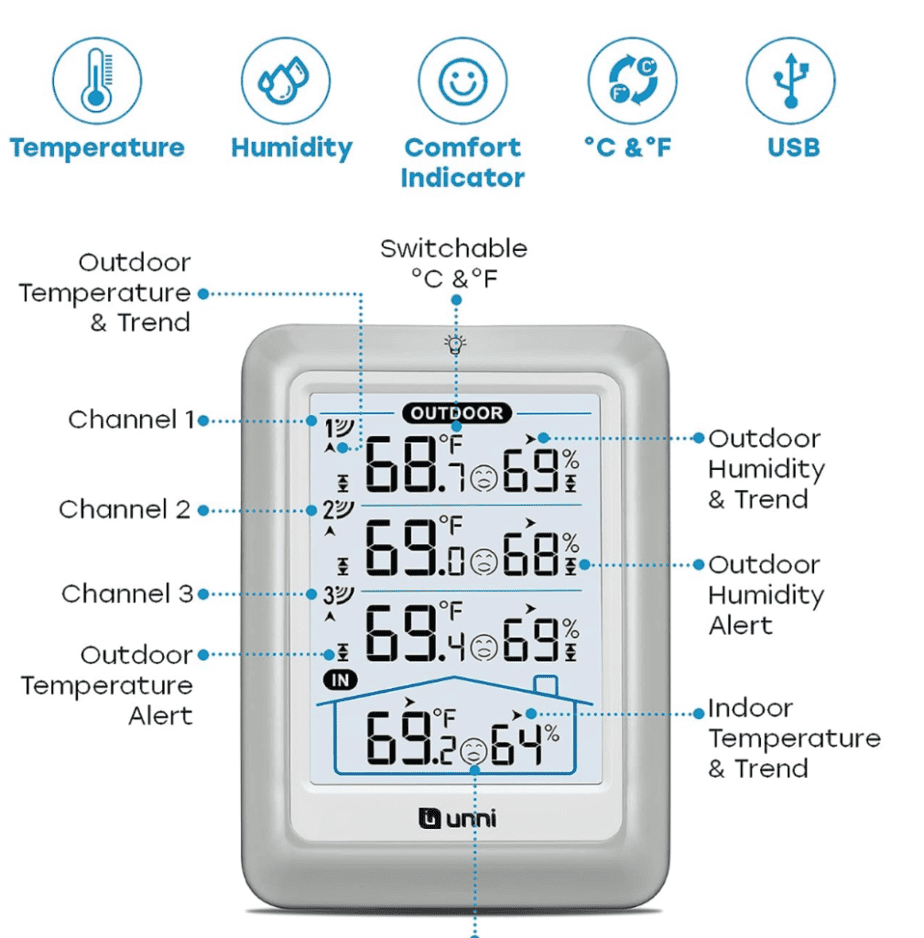
Before doing anything to get your RV’s undercarriage winterized, you should first see how much work you actually need to do by checking the temperatures. While it’s possible to just check it yourself initially, or once a day, it’s much safer to install a temperature monitoring device if possible.
Recommendation: Indoor/Outdoor Wireless Thermometer with Display
- Can monitor three different locations at once
- Also monitors humidity, which can be a BIG issue for winter RV living
- Temperature range is from -40 F to 158 F
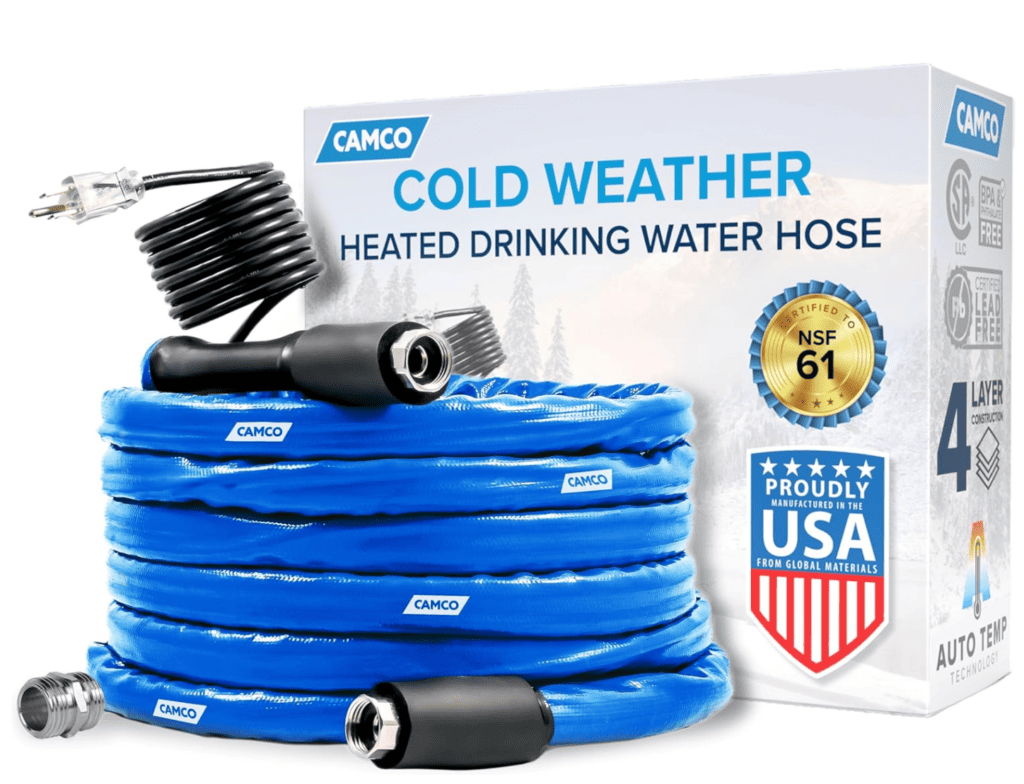
Get a heated water hose and tank pad
Some RV parks will not allow any “homemade” looking hoses (heat tape and pipe insulation) , so it’s better to just go with something that’s easy to use and pack around.
Recommendation: Camco Heated Water Hose
- Tough exterior jacket to prevent damage and kinks
- The manufacturer states it’s good to -25 degrees
Recommendation: Holding Tank Heater Pad for Campers with Automatic Thermostat Control
- Self adhesive so easy installation onto tanks
- Built in thermostat turs on at 45 F and turns off at 68 F
- The manufacturer states it works up to 50 gallon holding tanks

Prevent mold and moisture with a dehumidifier
Cooking, cleaning, and even just breathing can create humidity which will lead to mold in your RV or trailer. This is why a dehumidifier is pretty standard in most RVs, even during summer!
The difference is that during winter, it’s less likely you’ll have as much airflow (well, hopefully you won’t!) So you’ll need a way to remove the moisture. Make sure to monitor under your mattress for signs of mold – MANY winter RVers see it build up there.
Recommendation: Pro Breeze Electric Mini Dehumidifier (150 sq ft)
- Optimal for 150 sq ft and collects around 9 ounces of water a day
- 16 ounce water tank
- Auto shut off when full
- No compressor = much less noise!

Use rugs and draft guards
There are tons of options for rugs, so I can’t recommend anything specific there, however it’s a great idea to add a good felt rug pad underneath it to really create a great insulating layer.
I recommend the thickest (1/2″) and then you can trim it to size to fit inside your camper. I’d also suggest buying this rug tape to really make sure the felt rug pad stays where you need it to.
Recommendation: 1/2″ Thick Felt Rug Pad
- 3 options for thickness as well as option rubber bottom for non slip qualities
- Adds extra insulation over the entire floor of your camper
- Can be cut to size for a perfect fit

Reduce the need to keep the thermostat too high by getting a heated mattress pad!
You should always bring a sleeping bag or a ton of extra blankets when winter camping, but a heated mattress pad can really bring the comfort level up without a need for a ton of extra stuff.
I love this pad because it’s waterproof (so I don’t have to worry about it so much) and it has a sweet wiring system to adjust the temperature of the blanket throughout the night!
Recommendation: Sunbeam Heated Mattress Pad
- Water resistant backing made from 100% cotton
- 10 Setting controller with a 10 hour auto off (this can be disabled of course)
- Each side can control their own heat levels!

What are your best tips for RV camping in the winter?
It feels like this was a pretty long list, but there’s always more to know and we all learn more by sharing the knowledge! I’d love it if you could leave any comments with your best ideas on winter trailer camping in the comments below!
Related RV articles to help ya out!
- 13 Best Quiet RV Generators (2021) for Camping in Peace
- 11 Best RV Covers for Winter | Video Reviews + Buyer’s Guide
- To compliment your RV outdoor mats, check out the Best RV Step Covers
- 61 tips to completely organize your whole camper (from a professional organizer turned full timer!)
- The secret listing tips to get your camper sold or rented FAST
- 9 gross spots in your RV you probably totally missed!
- Get your RV Shower set up spill proof with these easy tips
- This set of basic tools should fix almost anything in your camper
- 9 steps to organize your tiny RV bathroom and gain a ton of space!
- Check out how to DIY your own black out shades for your RV for temperature control and darkened afternoon naps
- All the outdoor upgrades for your RV that will make camp life way easier (check out the indoor RV upgrades too!)